Practical design guides
Depop Photos: Plan the Views That Show Fit and Wear
A bright cover photo cannot answer a buyer’s question about an unseen cuff, label or measurement. Before editing a resale image, decide what evidence the complete listing needs to show. A coherent set starts with the actual garment, not a generated ideal version of it.
This tutorial combines Depop’s photography guidance with a fictional cardigan shot plan made in the live Ciyo workspace on November 15. We checked the six-view board and the returned CSV, then corrected an inconsistent measurement instruction. Sketches are not photos of a real item, and this example supplies no listing or sale result.
Quick answer
Photograph the whole item, its back, its label, useful measurements and any wear or fastening detail that affects the purchase. Keep the original files. Review the set against a shot checklist before changing backgrounds or choosing a cover. If an important view is missing, take it; do not generate the missing condition evidence.
1. Inspect the actual garment before setting up
Choose one item and give it an internal reference, such as our fictional DC-01 cardigan. Inspect it in good light. Record the features a buyer may need to see: fastening type, cuffs, hem, label and any marks or repairs. Do not let a copied description or an old photograph define its current condition.
Depop’s shop guidance recommends consistent presentation and appropriate lighting, including natural light or a softbox. Use that advice to make details visible. A flattering setup should not change the apparent color or conceal wear.
If you steam or prepare the garment, inspect it again afterward. Keep any required condition details in the record and the images. The purpose is accurate presentation, not making a used item appear unused.
2. Turn buyer questions into a short shot list
A useful checklist names a view and the question it answers. Six views are the editorial plan for this fictional cardigan, not a claim that every Depop listing requires exactly six photographs. Adapt the set to the garment and current listing flow.
Keep the instructions specific enough that another person can take the shot. “Detail” is ambiguous; “show the fastening closed and open without covering it with a hand” gives the photographer a concrete task.
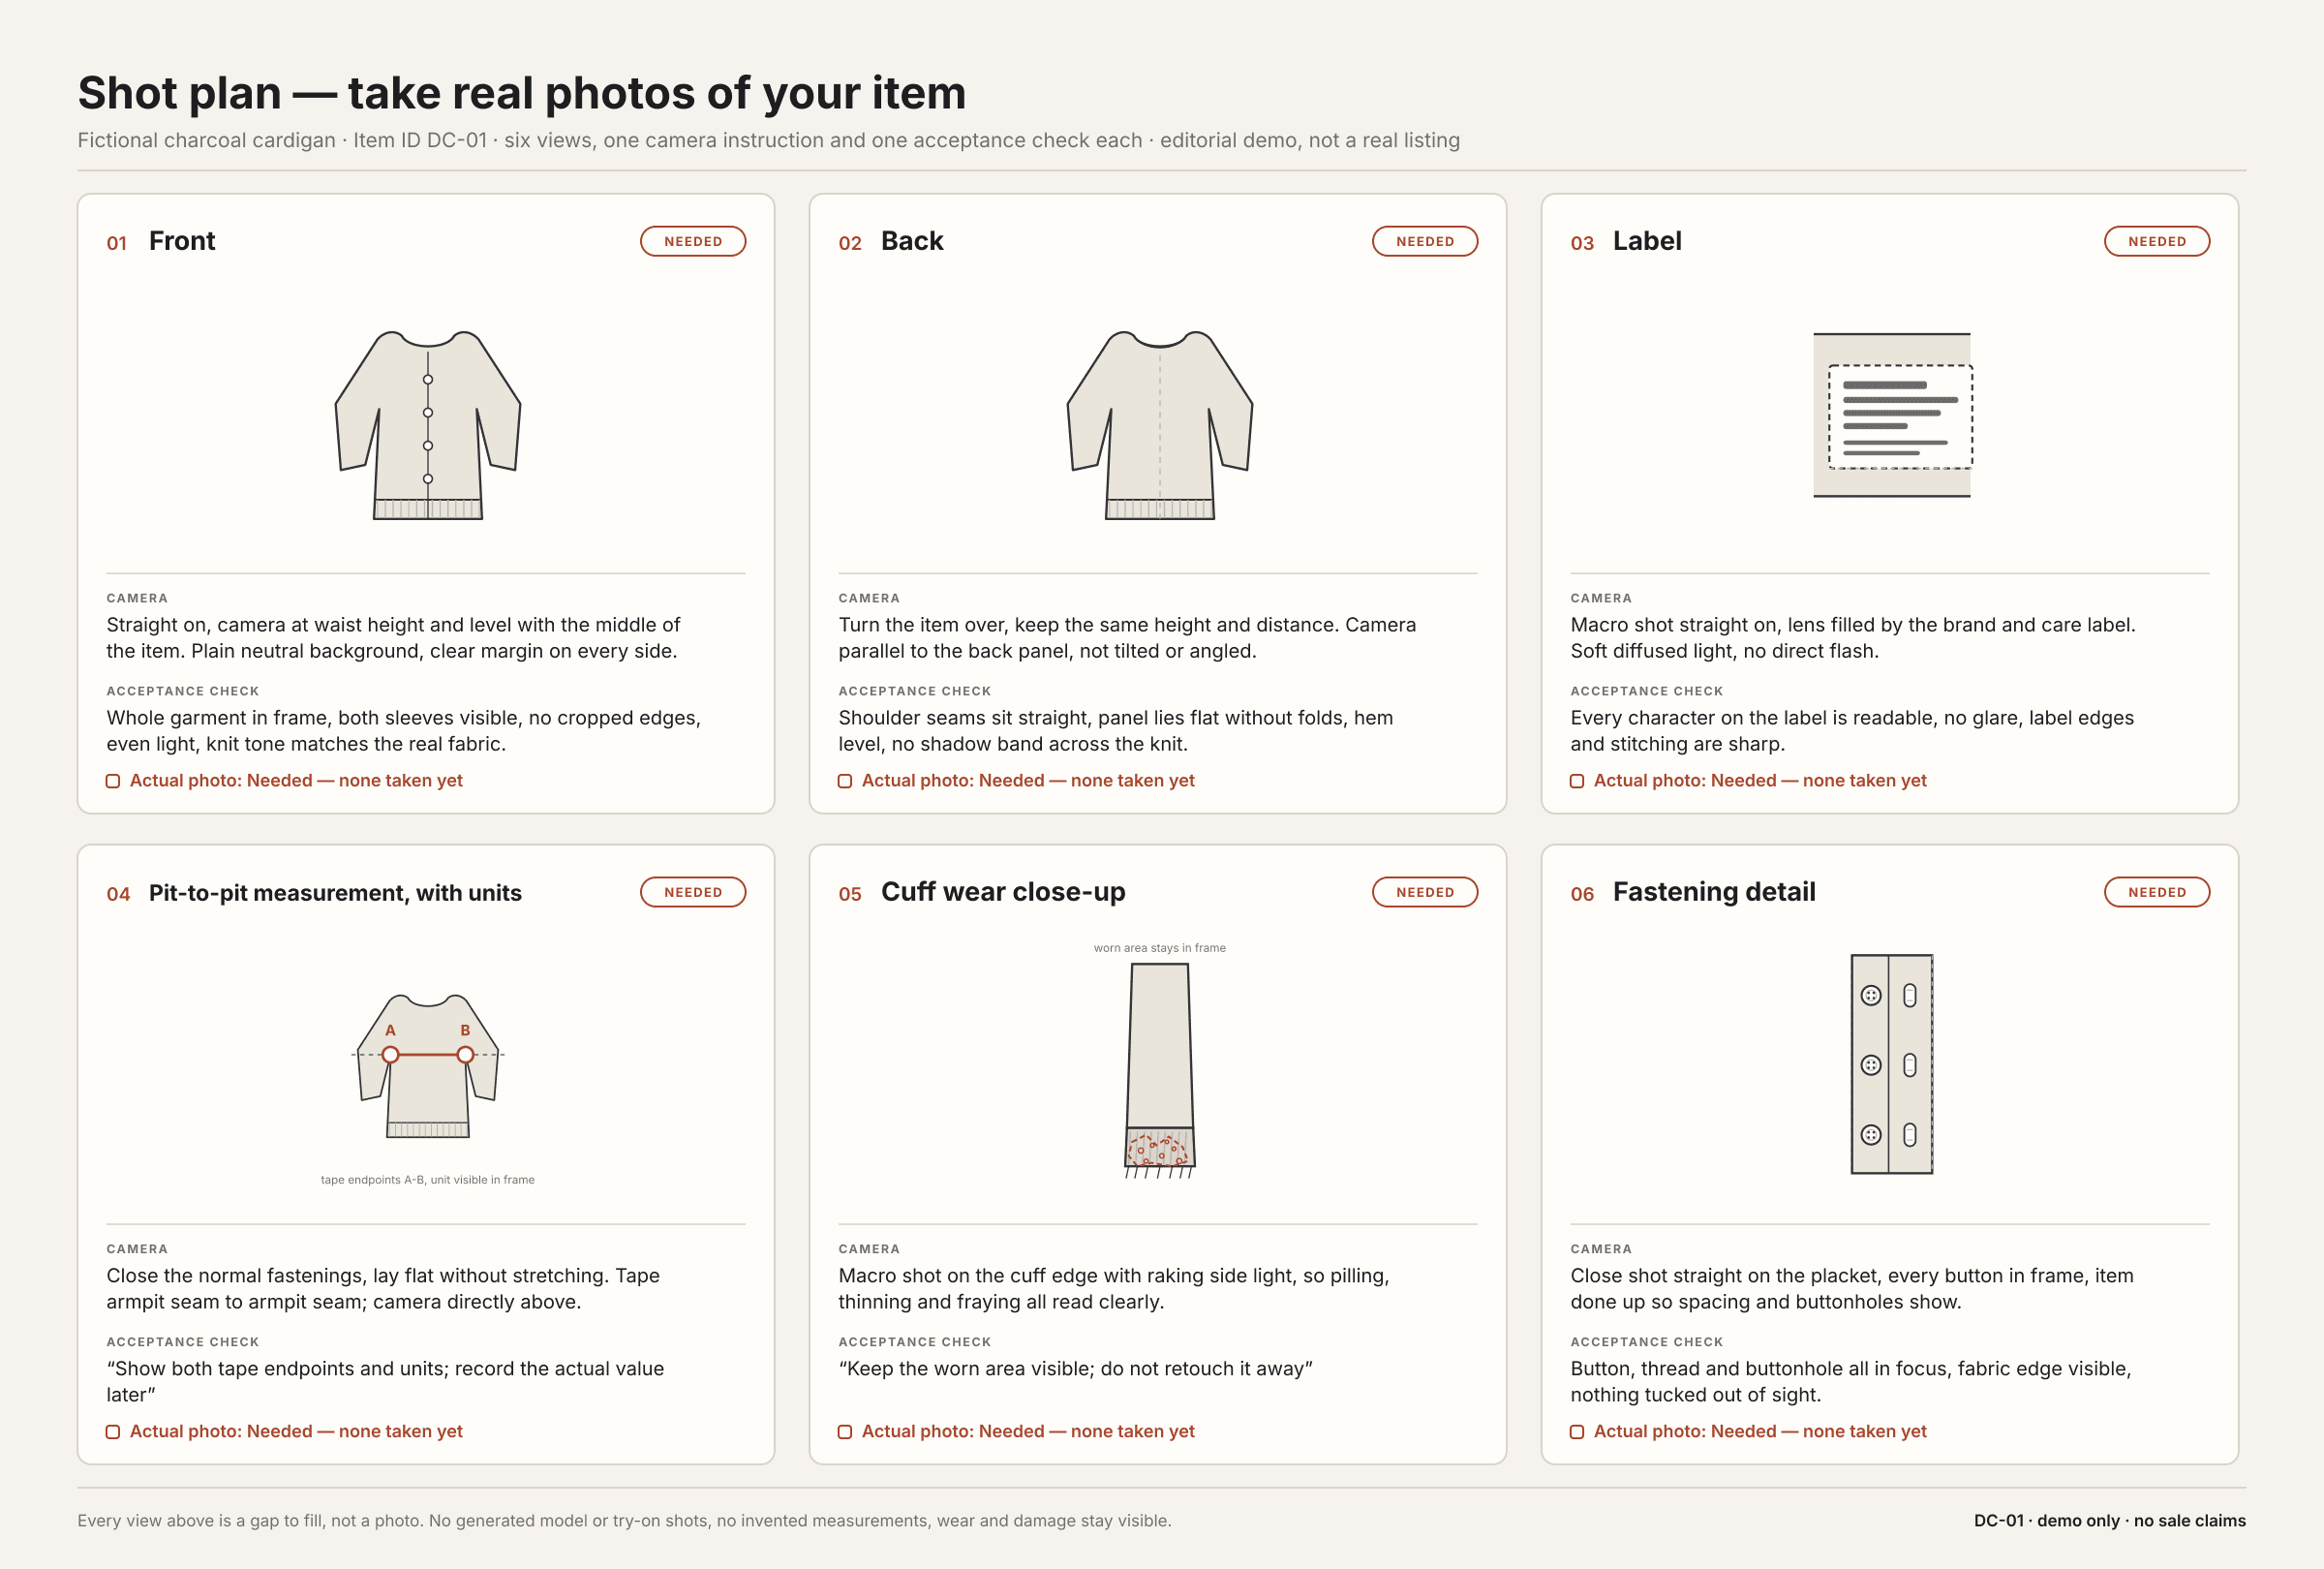
| View | Camera instruction | Acceptance check |
|---|---|---|
| Front | Lay or hang the actual cardigan without hiding its outline | Whole garment and fastening visible |
| Back | Use comparable lighting and distance | Back shape and hem visible |
| Label | Focus on the actual garment label | Relevant text readable; no invented label |
| Measurement | Show both tape endpoints and units | Actual value can be read without guessing |
| Cuff wear | Show the worn area clearly | Wear remains visible and is not retouched away |
| Fastening | Photograph the actual closure | Missing or damaged parts remain apparent |
3. Build a planning board in Ciyo
Put one slot per planned view on a clean Ciyo board. Add the instruction and acceptance check beside it. If you use a simple garment sketch, label the board “Shot plan — take real photos of your item.” Keep every unfilled source-photo slot visibly marked as needed.
After photography, replace the placeholders with authorized images of the actual item and check the set as a whole. This is where a planning canvas helps: you can notice a missing back view or an unreadable tape endpoint without searching through filenames.
A small seller can use one board per batch with stable item references. A shop working with another photographer should agree on the checklist first, then review one garment before repeating the setup. A visually uniform contact sheet is useful only when its item identities are correct.
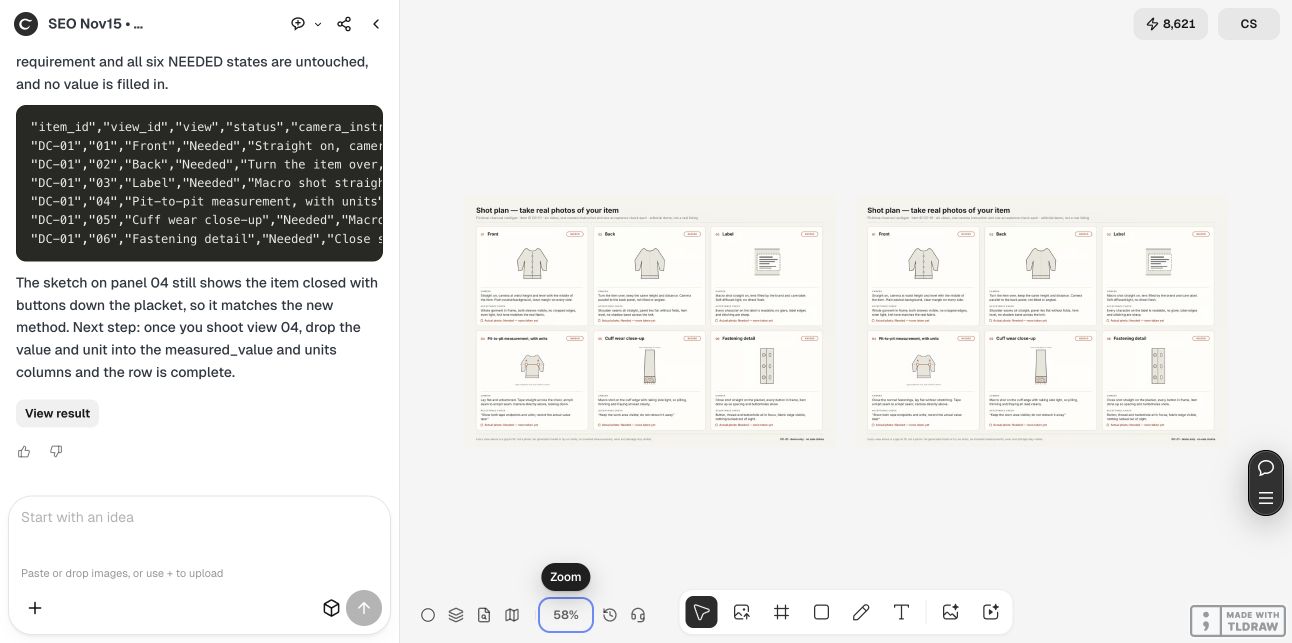
Our actual Ciyo result was a 2400 × 1620 six-panel board with a camera instruction, an acceptance check and a Needed state for every source photo. The first measurement instruction said to leave the cardigan unbuttoned. We asked for a reproducible closed-fastening method; the corrected board and CSV now say to close the normal fastenings and lay the garment flat without stretching. Both tape endpoints and units must be visible, with the value left blank until photographed.
We saved and parsed the returned CSV: all six rows remain Needed, and measurement values, units, photo filenames and dates are empty. The chat did not deliver its workspace SVG or PDF. The download here is the actual CSV source text, not a photographed garment, completed listing or measurement result.
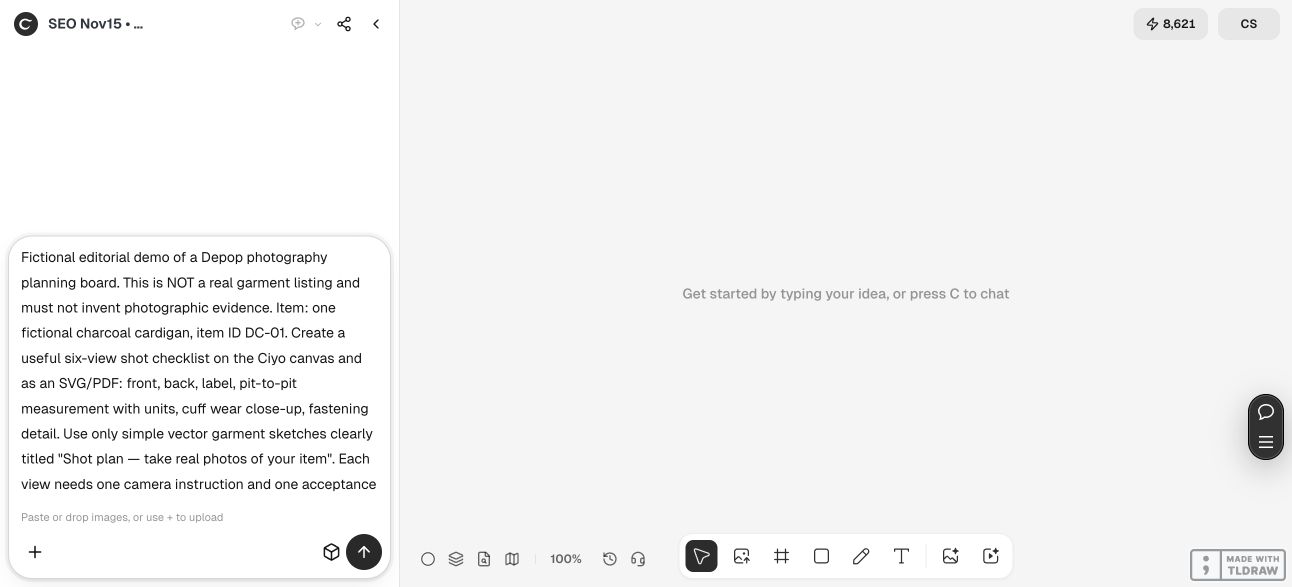
Prepare a shot-plan board for [ITEM ID AND ACTUAL GARMENT]. Required views: [VIEWS]. For each, give one camera instruction and one acceptance check. Mark photos not yet supplied as Needed. Label any sketch Shot plan — take real photos of your item. Keep condition details, labels and actual measurements visible. Do not invent missing views, measurements or condition, and do not publish a listing.4. Edit for visibility without changing the item
Keep an untouched source file and make changes on a copy. Compare edited and original versions at the same scale. Check edges, texture, fastening, visible wear and the actual garment color rather than approving an edit solely because the background looks cleaner.
Depop offers in-app photo editing powered by Photoroom, according to its product-release documentation. You may already have enough control in the listing flow. Choose an additional tool only when it solves a specific remaining task; this guide does not require moving every photo through Ciyo.
Do not use generated try-on imagery to establish how an actual used garment fits, or synthesize a label or a missing measurement. If the photograph cannot answer a condition question, another photograph is the appropriate next step.
5. Review the complete listing before publishing
Read the description beside the selected images. Confirm that the item reference, color, visible details and stated condition agree. Check that a crop has not removed a measurement endpoint or hidden the area discussed in the description. Then choose the cover from the checked set.
A November 13 r/Depop discussion about marketplace quality also contains concerns about how listings are presented. It is community context, not a controlled study of photography or a testimonial for Ciyo. The six-view plan here is our editorial method for making the evidence easier to review.
Keep the condition record and original files after listing. If you discover a mistake, correct the actual listing through the platform’s normal process; a revised planning board alone does not update it.
Original post November 13, 2026, verified November 15. A discussion about marketplace quality and listing presentation. Our photo checklist is an editorial adaptation; the poster did not use or endorse Ciyo, and no sales effect is established.
Questions about Depop photo planning
Do I need exactly six photos?
No. Six is the demonstration’s checklist for a fictional cardigan. Choose the views the actual item needs and follow the current listing flow.
Can AI make a missing measurement photo?
It cannot establish the measurement of an actual garment. Take a real photograph showing the tape, endpoints and units, then record the value.
Should I remove visible wear when editing?
No. Keep condition evidence visible and make the description agree with the actual item. Use editing to improve visibility without changing what is being offered.
Does the Ciyo board publish to Depop?
No publication is demonstrated here. The board helps plan and review the source set; you complete the actual listing separately.
Plan one complete photo set
Bring one garment’s known details into Ciyo and make a shot checklist. Fill it with actual source photos before approving the listing.