Ciyo · Practical design
Blur a Product Photo Background Without Losing the Product
A busy background can compete with the product, but softening it should not change the item being sold. A blur request that redraws a label or closes a handle gap can create a cleaner image with the wrong product.
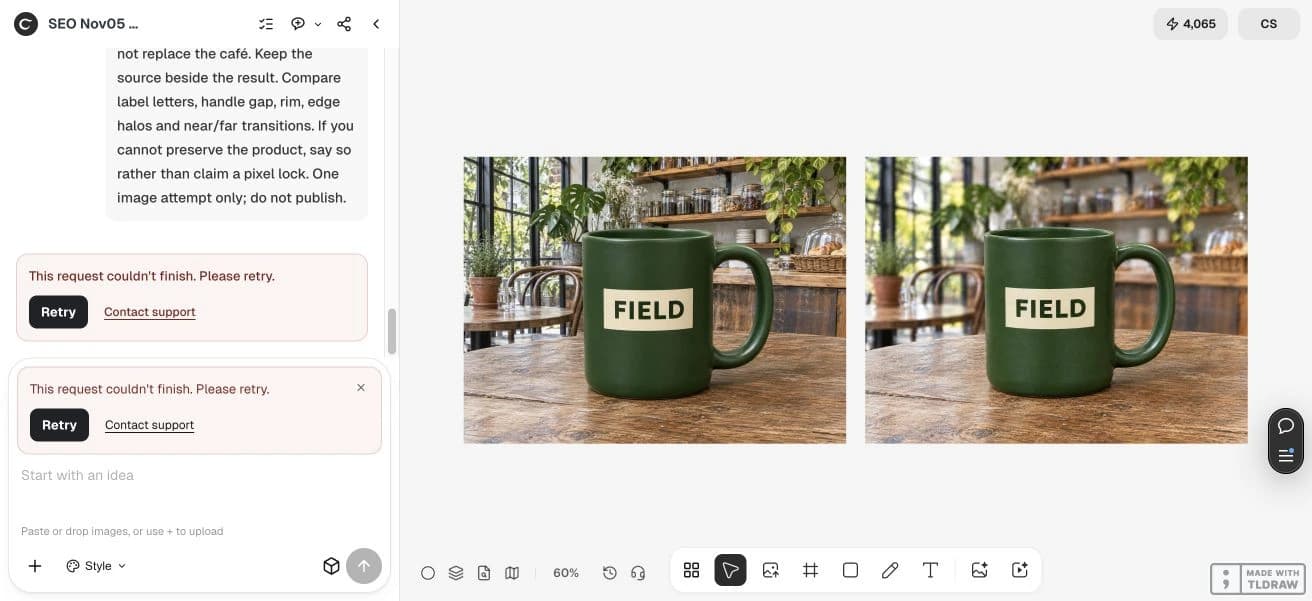
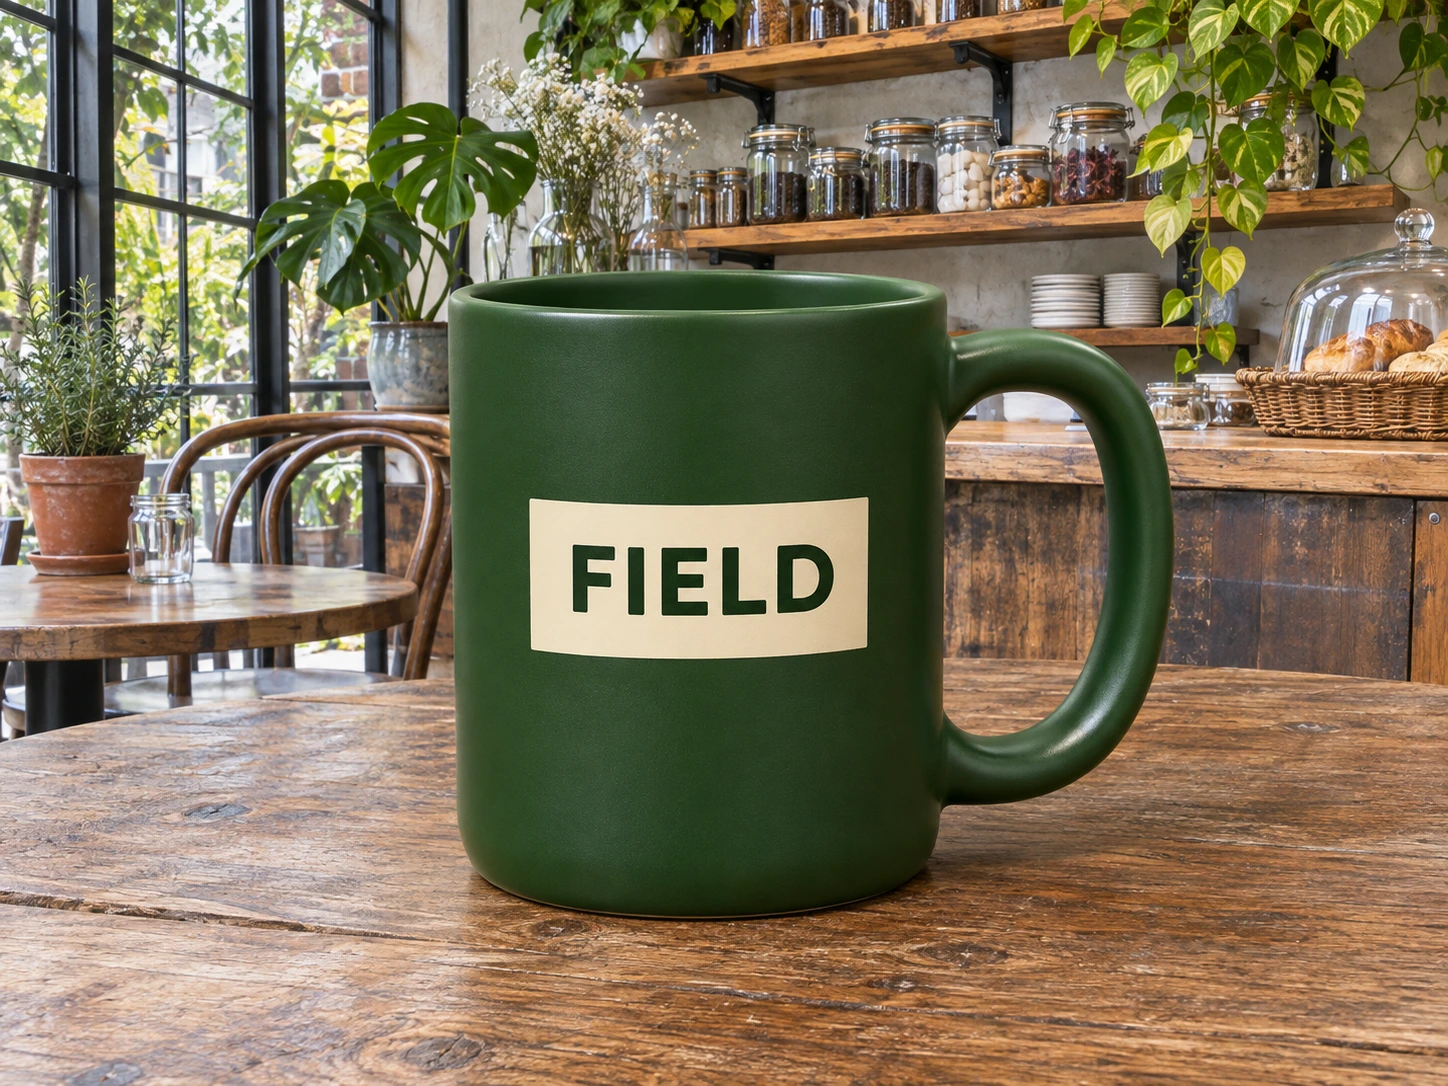
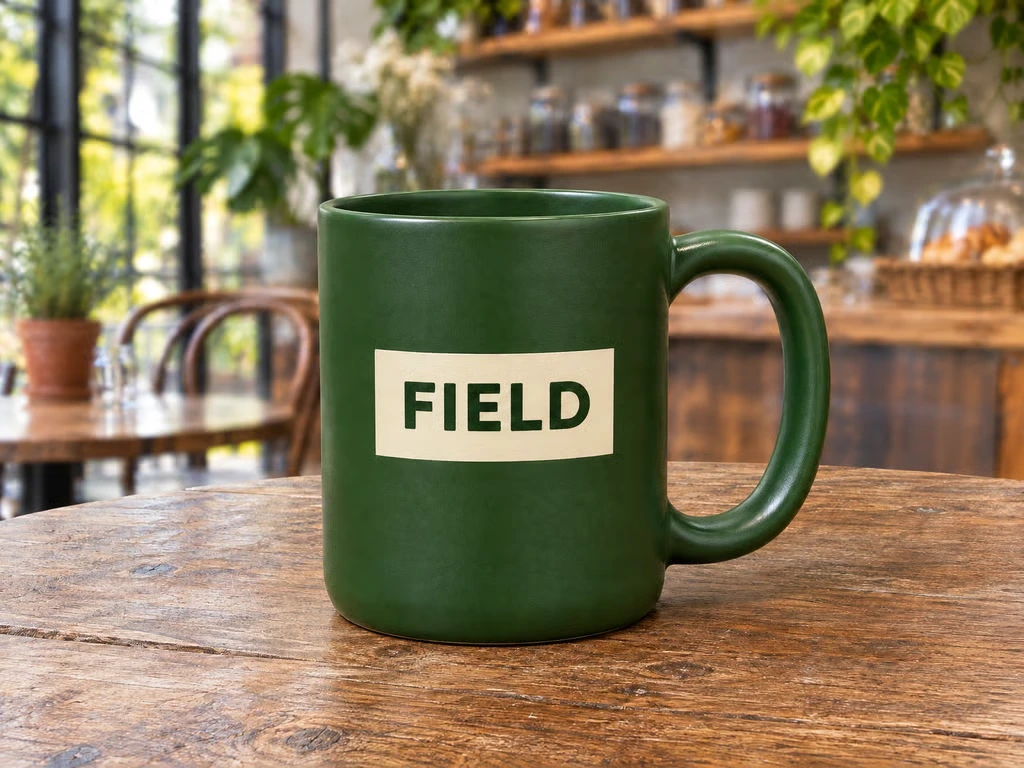
Our November 5 development example uses a synthetic green FIELD mug in a fictional café. The agent attempts failed, but a separate Quick Edit completed with a visibly softer background. The scene is a controlled input, not a real product photograph or a pixel-fidelity benchmark.
Quick answer: preserve the product and judge the transition
Keep the original, choose a restrained amount of background softening, and compare the product at matching scale. Look especially at the rim, label, handle opening and where foreground meets background. An image model’s promise to preserve them is not a pixel lock.
For a product that must remain exact, a masked composite can be more controllable: preserve the original foreground over a blurred copy of the background. That method still needs a careful mask, especially through handles, glass and fine edges.
1. Decide which depth should remain sharp
The mug and nearby table are the foreground in this example; the shelves, jars and window structure are distant. Blurring everything behind an arbitrary silhouette can look like a cutout rather than a photograph. The table under the mug should not suddenly become unrelated to the contact shadow.
Choose the output’s purpose before editing. A lifestyle campaign image may tolerate a visible shallow-depth effect. A detailed product listing may need more of the object sharp and a simpler, verified photograph instead of an aggressive effect.
| Region | Keep | Reject when |
|---|---|---|
| Product label | FIELD wording and placement | Letters or label shape change |
| Handle | Open gap and original contour | Gap fills or edge glows |
| Foreground table | Contact and near detail | Abrupt artificial blur boundary |
| Café background | Same scene with less distraction | New objects or replacement setting |
2. Request one constrained edit
Keep the source on the canvas, select the image and open Quick Edit. Name the features to retain: green finish, FIELD label, rim, handle and framing. Ask for softer distant detail in the same café rather than a replacement setting. Review the current quote before activating Run.
After the failed agent attempts, the direct edit completed. The control quoted four credits for this attempt. The saved preview shows a softer café background with FIELD readable and the handle opening present; it does not establish an unchanged foreground. We reviewed a 1024 × 768 CDN preview, not a pixel-locked master.
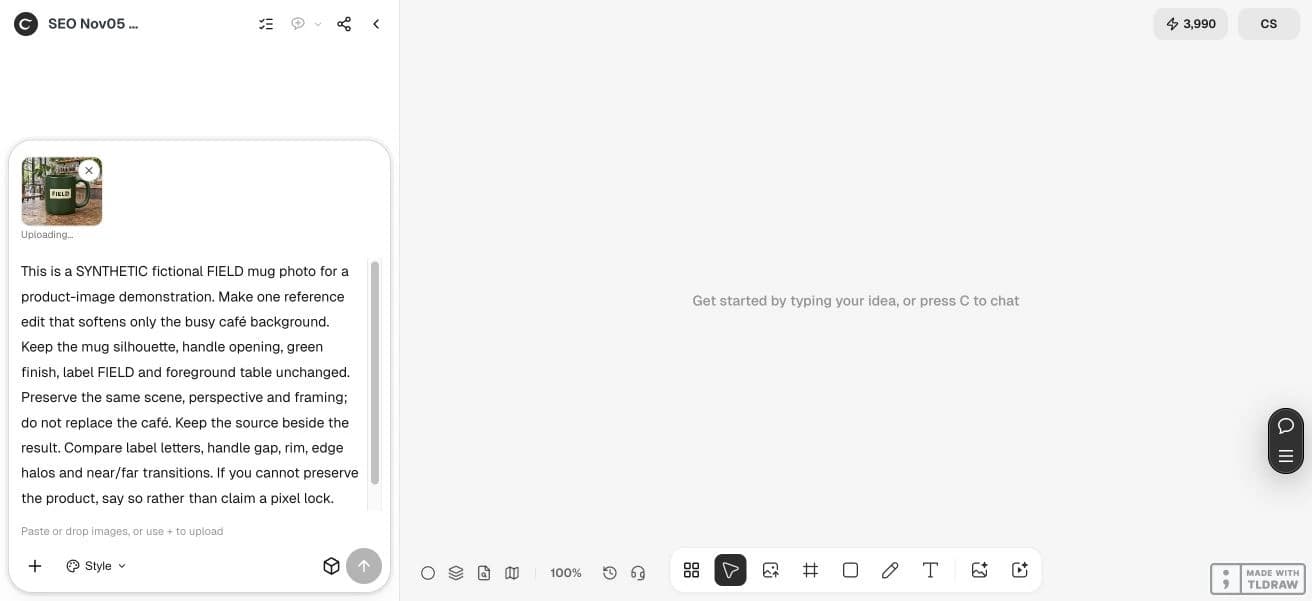
Soften only the distant café background in this synthetic FIELD mug image. Preserve the exact green mug, readable FIELD label, rim, handle opening and foreground table. Keep the same café, perspective and framing; do not invent a replacement setting. Preserve the original beside the result. Compare label letters, handle gap, rim and edge halos before accepting the edit; do not claim unchanged pixels without a file comparison.3. Compare the foreground before choosing a result
Read every label letter, compare the mug’s outer shape and inspect the handle opening. Watch for a different rim thickness, a shifted highlight or a softened edge that removes a real feature. Use matching scale and framing rather than comparing unrelated thumbnails.
A plausible green mug is not necessarily the original mug. If the edit changes the sale item, reject it for product-identification use even if the background looks better. Keep accepted creative reinterpretations separate from a verified product image.
4. Use a masked composite when exactness matters
An alternative is to duplicate the source, blur the lower copy, and place the original product foreground above it through a mask. Adobe’s documented workflow uses this separation. It is a method comparison, not a claim that Ciyo exposes an identical blur slider or editing interface.
Inspect the mask around the handle, rim and contact shadow. A hard cutout may need refinement, while a broad feather can create halos or leak background color over the product. Uniform blur is a graphic effect; it does not reconstruct the original lens or recover hidden scene detail.
5. Inspect the saved image at its destination size
Check dimensions, sharpness, label readability and edge transitions in the actual exported file. Compression and resizing can reveal ringing or halos that were less obvious on a large canvas. Keep the unmodified source and record which version you accepted.
If neither the generated edit nor the mask can preserve the item convincingly, use a manual edit or a new photograph. This is a small illustrative workflow, not a quality guarantee. It does not establish marketplace compliance or unchanged original pixels without an explicit file comparison.
Questions before you start
Does telling the model to preserve the product lock its pixels?
No. Verify the result. If exact pixels matter, use a controlled mask/composite and compare the saved foreground.
Can I blur the handle opening too?
It contains the background, so it needs consistent depth treatment. Check the edge and interior together to avoid a cutout appearance.
Is background blur the same as background replacement?
No. This task keeps the photographed scene and changes emphasis; replacement invents or substitutes a setting.
When is a new photo the better option?
When edits cannot preserve the product or create convincing depth transitions, especially for an image used to identify the item being sold.
Start with one clear brief
Bring your approved facts and references to Ciyo. Inspect the saved result before using it in print or a campaign.