Paper patterns
Draw a six-spoke blocking guide for a crochet snowflake
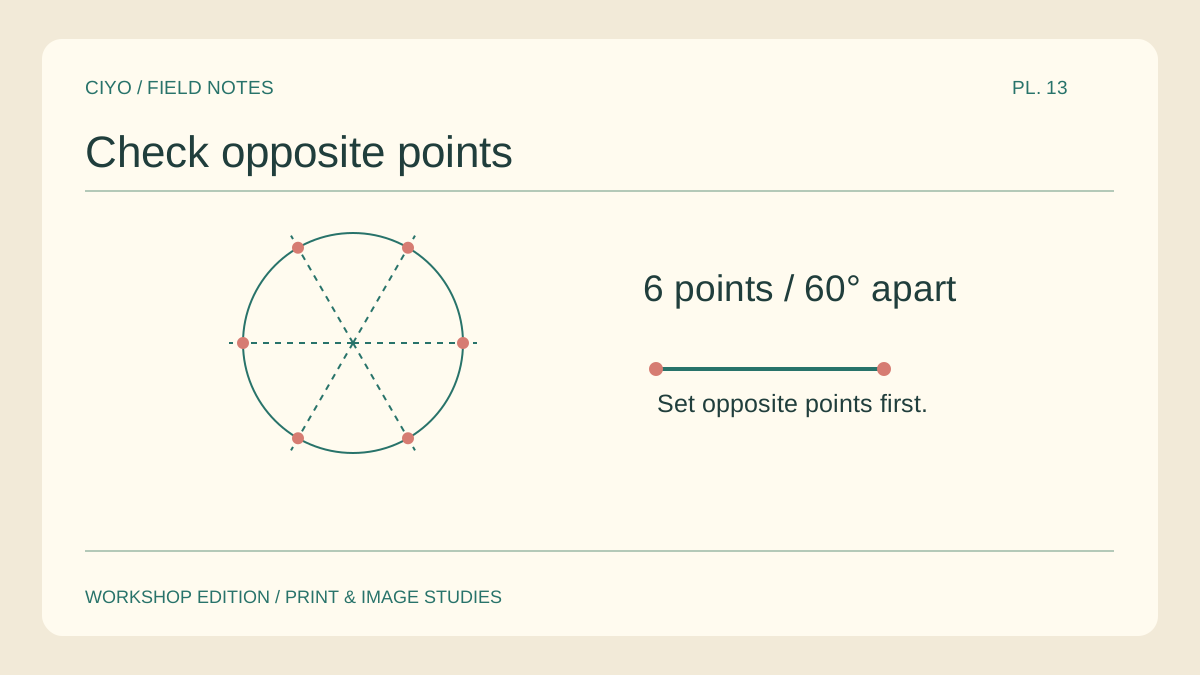
A finished six-point crochet snowflake can look uneven when one point is stretched farther than the others. A paper guide underneath a protected blocking surface helps you compare radii. It also makes repeat decorations easier to size alike.
Measure the relaxed snowflake
Lay the piece flat without stretching it. Measure from the centre to two opposite tips. Choose a target radius that suits your yarn and stitch pattern, following the yarn maker’s care instructions for any wet or heat treatment.
Draw the guide circle
Place a dot at the centre of a spare sheet. Use a compass to draw a circle at the selected radius. Label the radius as well as the diameter so someone measuring from the middle does not double the intended stretch.
Divide it into six
Mark directions at 60-degree intervals. As a check, each pair of opposite marks should form a straight line through the centre. Extend the six marks slightly beyond the circle so the snowflake cannot hide them all.
Protect the work
Keep paper and ink separated from damp yarn with a suitable clear protective layer. Try the setup on a scrap first. Use a stable pinning surface intended for the method and keep the printed template underneath it.
Position opposite points
Centre the motif, place one tip at the ring and then position the opposite tip. Move to the next opposing pair. Check intermediate loops for distortion before fixing all six points at their final locations.
Save a reusable sheet
Write the yarn, intended diameter and stitch pattern reference outside the circle. If a second snowflake is meant to match, use that labelled ring again. For a digital starting point, a six-petal outline supplies six equally spaced directions.
Make a six-point reference
Set the editor to six petals and one ring, then export an outline as a starting guide. Set the required print diameter separately.