Maker artwork
Enamel Pin Design: Separate Color Fills with Metal
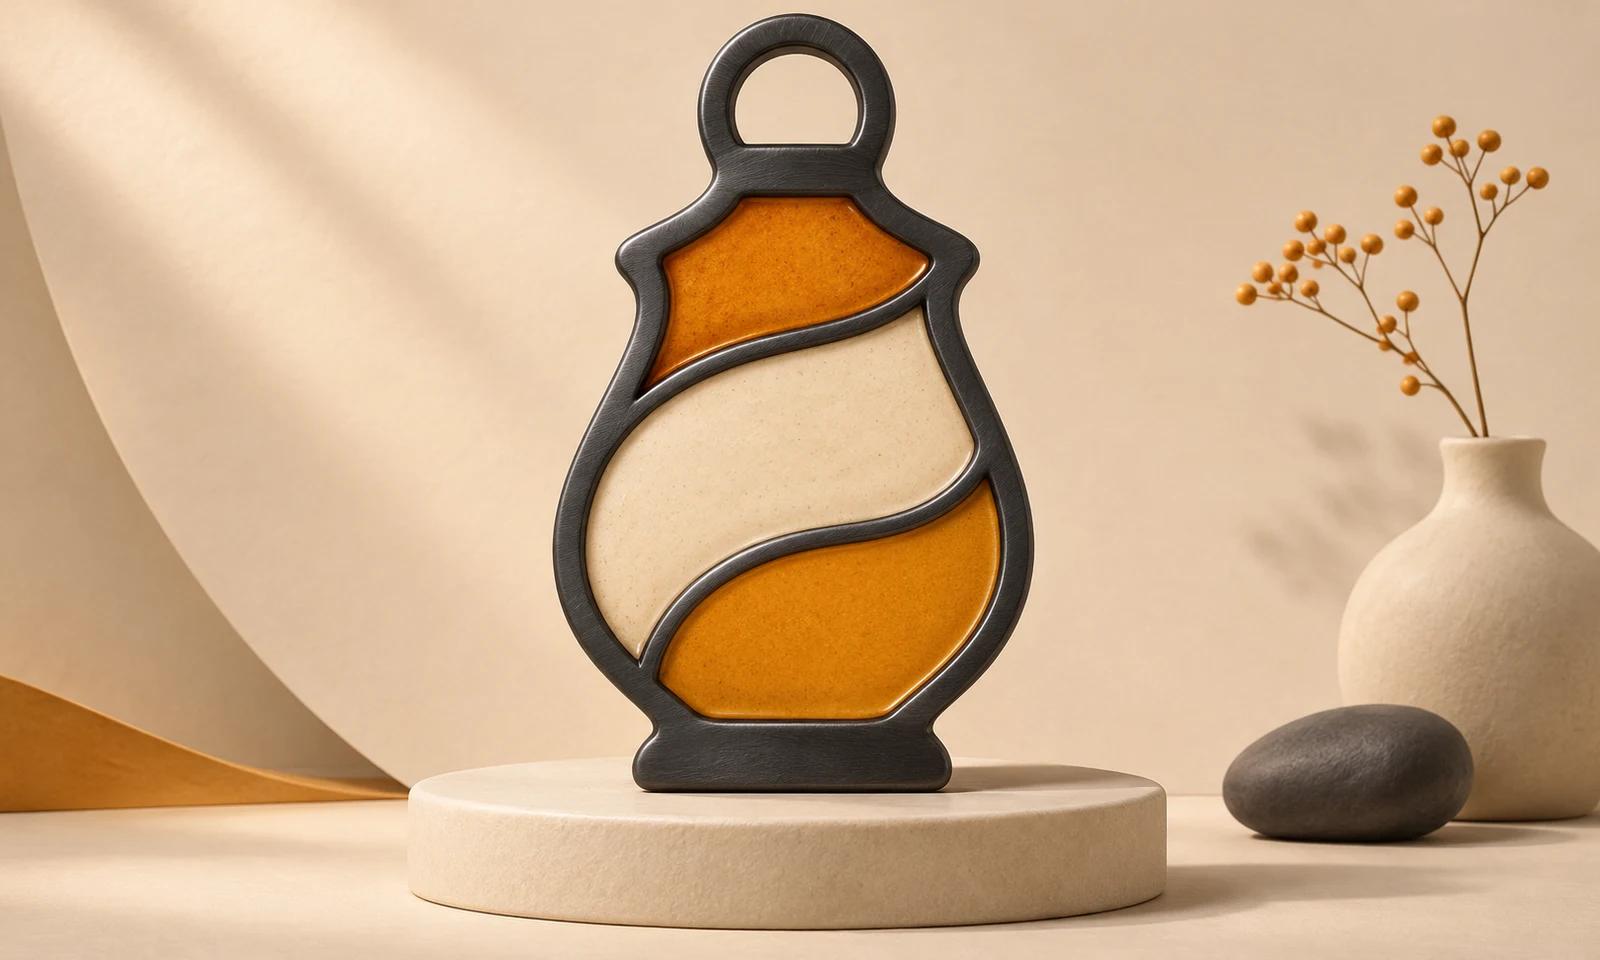
A colorful pin concept can hide the question a maker needs answered: which areas are metal, which hold enamel, and which are actual holes? A polished product-style picture does not necessarily make those boundaries clear.
We built an original lantern pin concept in a live Ciyo project, using flat vector geometry and a separate black-and-white map. We reviewed WizardPins’ artwork guidance as a named reference. No pin was manufactured or approved for production.
Quick answer: show the material boundaries explicitly
Use closed color regions, make the intended metal separators visible, and distinguish empty cutouts from enamel fills. Keep the physical size and the chosen maker’s requirements beside the artwork.
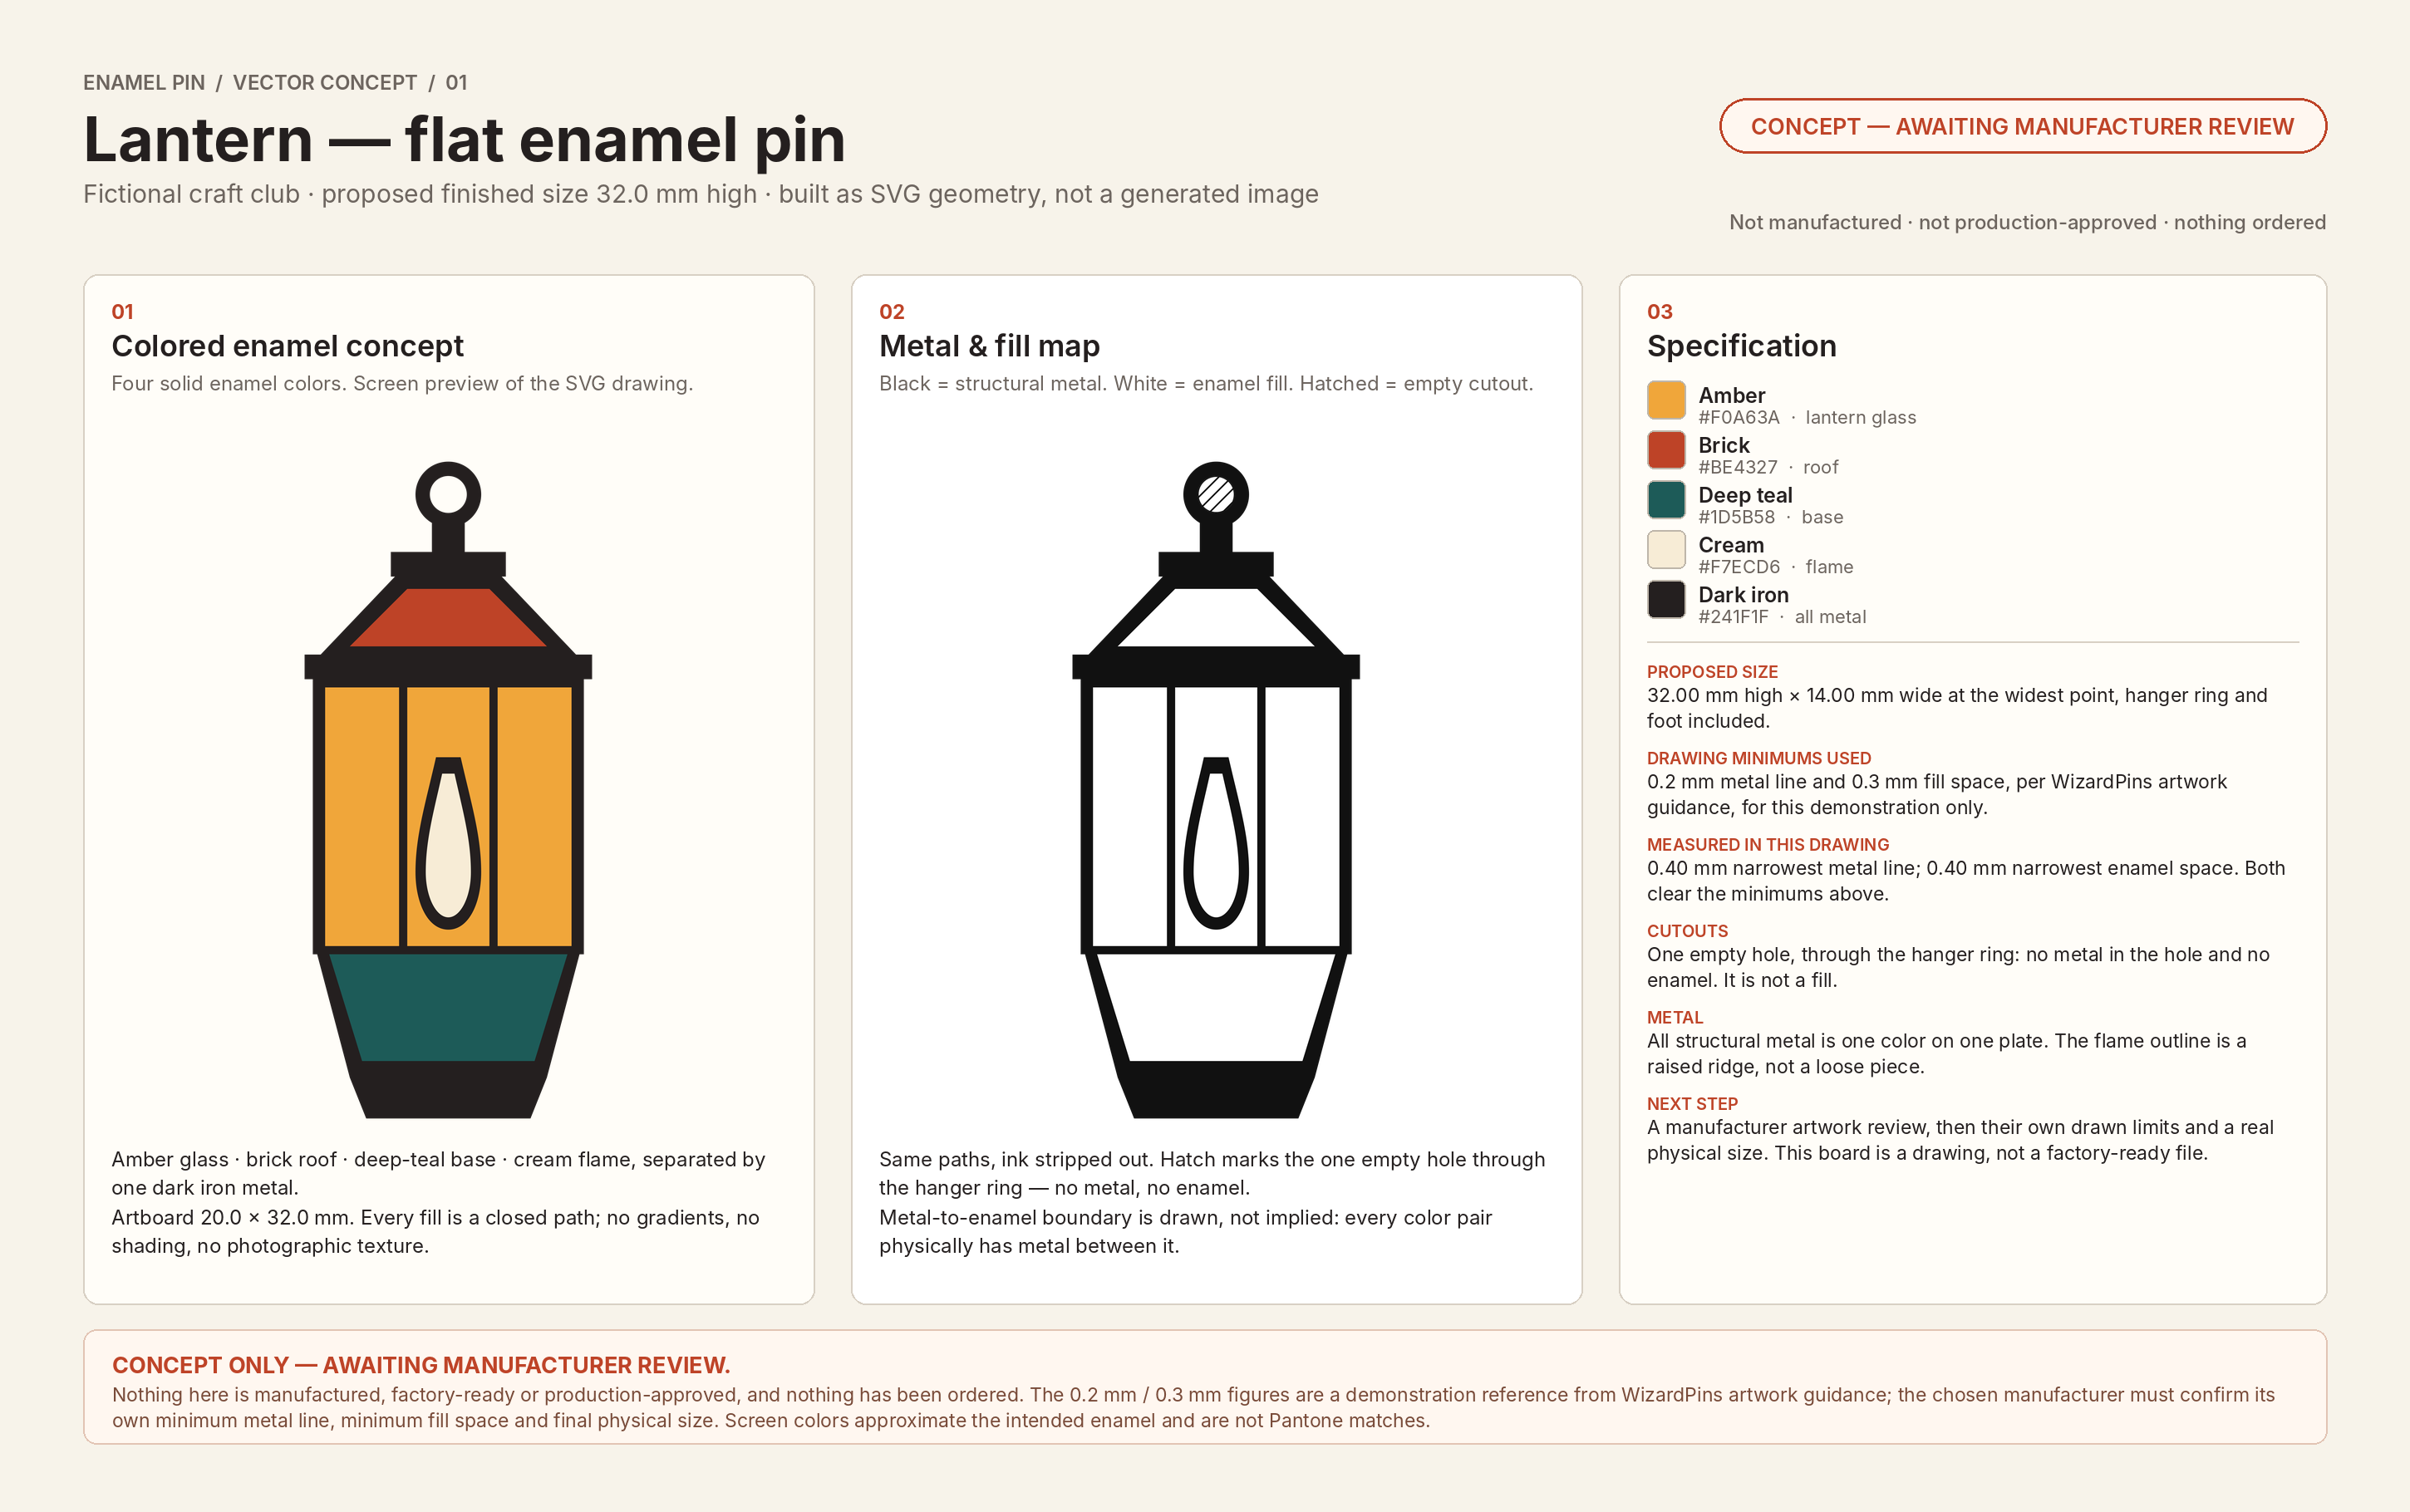
The demonstration proposes a 32 mm height and four enamel colors separated by one dark-metal color. Its drawing uses a 20 × 32 mm SVG canvas. These are concept dimensions, not a factory specification.
| Step | Prepare | Question |
|---|---|---|
| 1 | Size and maker instructions | What limits apply to this product? |
| 2 | Flat colored concept | Which regions receive each enamel? |
| 3 | Metal-and-fill map | Which shapes are metal, enamel or empty? |
| 4 | Editable sources and review board | Can the maker inspect the same geometry? |
| 5 | Manufacturer proof and sample | What needs changing before production? |
1. Choose size and process before adding small detail
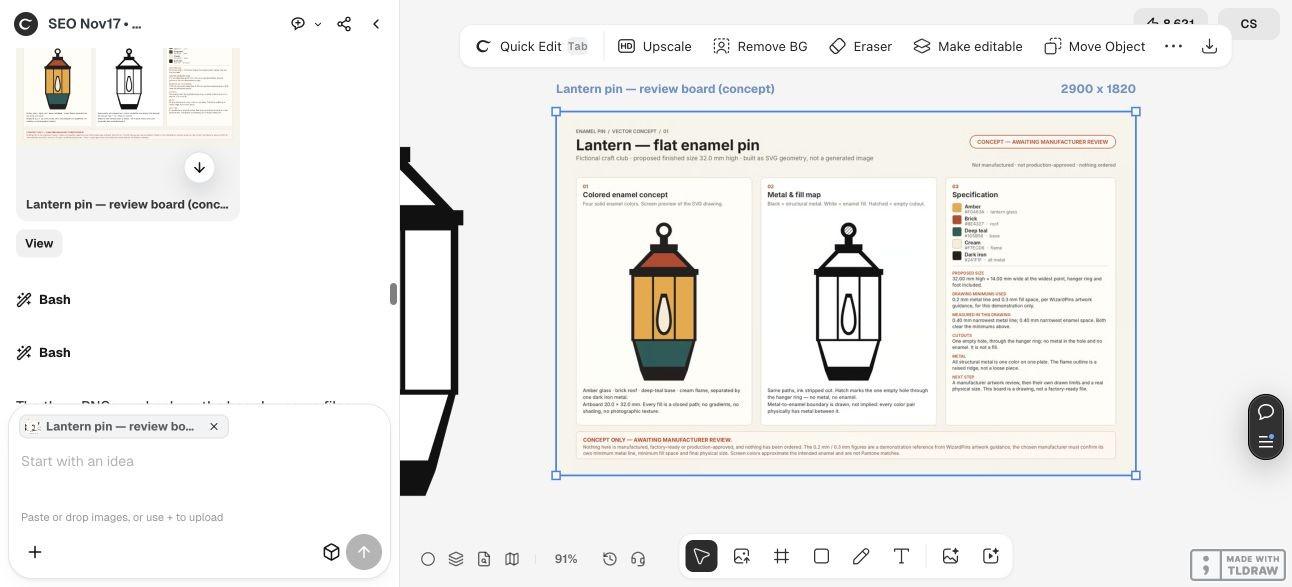
Start with the intended height and width, the main silhouette and a small set of colors. The fictional lantern uses amber, brick, deep teal and cream within a dark structural outline.
WizardPins’ artwork guidance lists 0.2 mm minimum metal lines and 0.3 mm minimum color spaces. We used those as demonstration references. The selected manufacturer must confirm its own limits, construction and finished dimensions.
Avoid turning a supplier’s threshold into a universal guarantee. A line that exists in a vector file still needs review in the context of the pin’s geometry, material and production process.
2. Ask for geometry rather than a rendered product photograph
For the source handoff, request flat artwork without gradients, lighting or texture. This makes the enamel boundaries inspectable instead of making the object appear manufactured.
The live Ciyo run built closed SVG shapes and rendered previews from them. The input requests four fills and one metal color, plus a separate map that explains cutouts. No image model was used; design agent reasoning remains billable usage.
Review the shape as a concept. Attachment placement, backing, metal finish and production tolerances still need to be agreed with the maker.
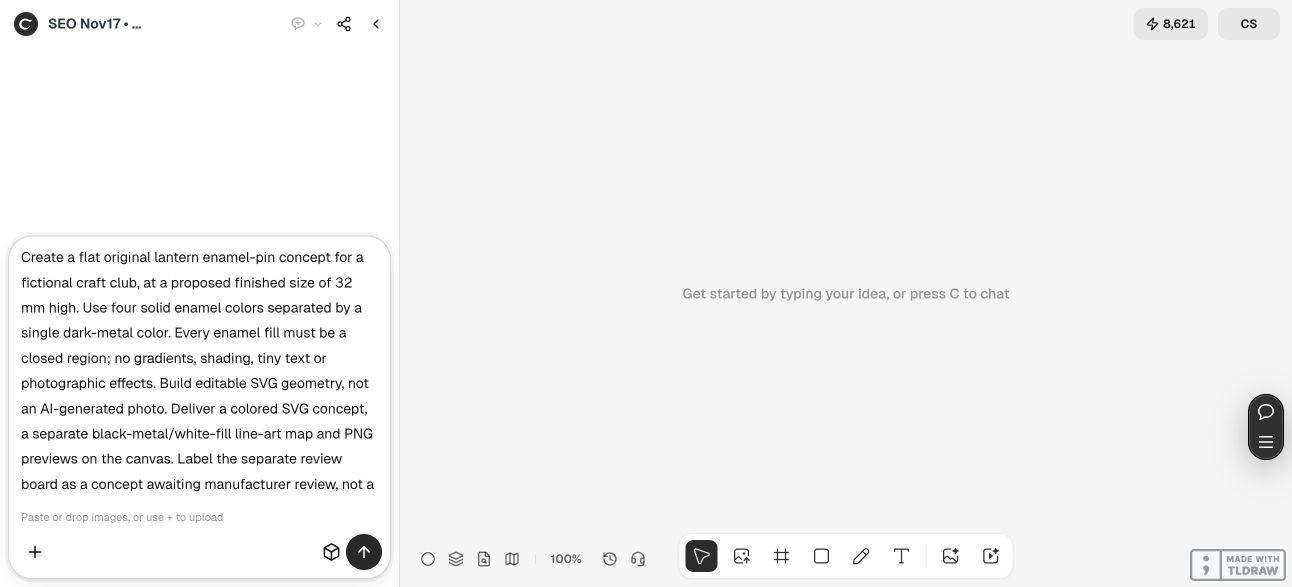
Create an original flat enamel-pin concept for [subject] at a proposed [finished dimensions]. Use [number] solid enamel colors separated by [metal color]. Make every enamel fill a closed region and distinguish structural metal from empty cutouts. Deliver an editable colored SVG, a separate metal-and-fill map and PNG previews. Use [named maker’s current limits] as a reference and label the review board as a concept awaiting manufacturer review. No gradients, tiny text, rendered product photograph, order or factory-ready claim.3. Read the colored concept and map together
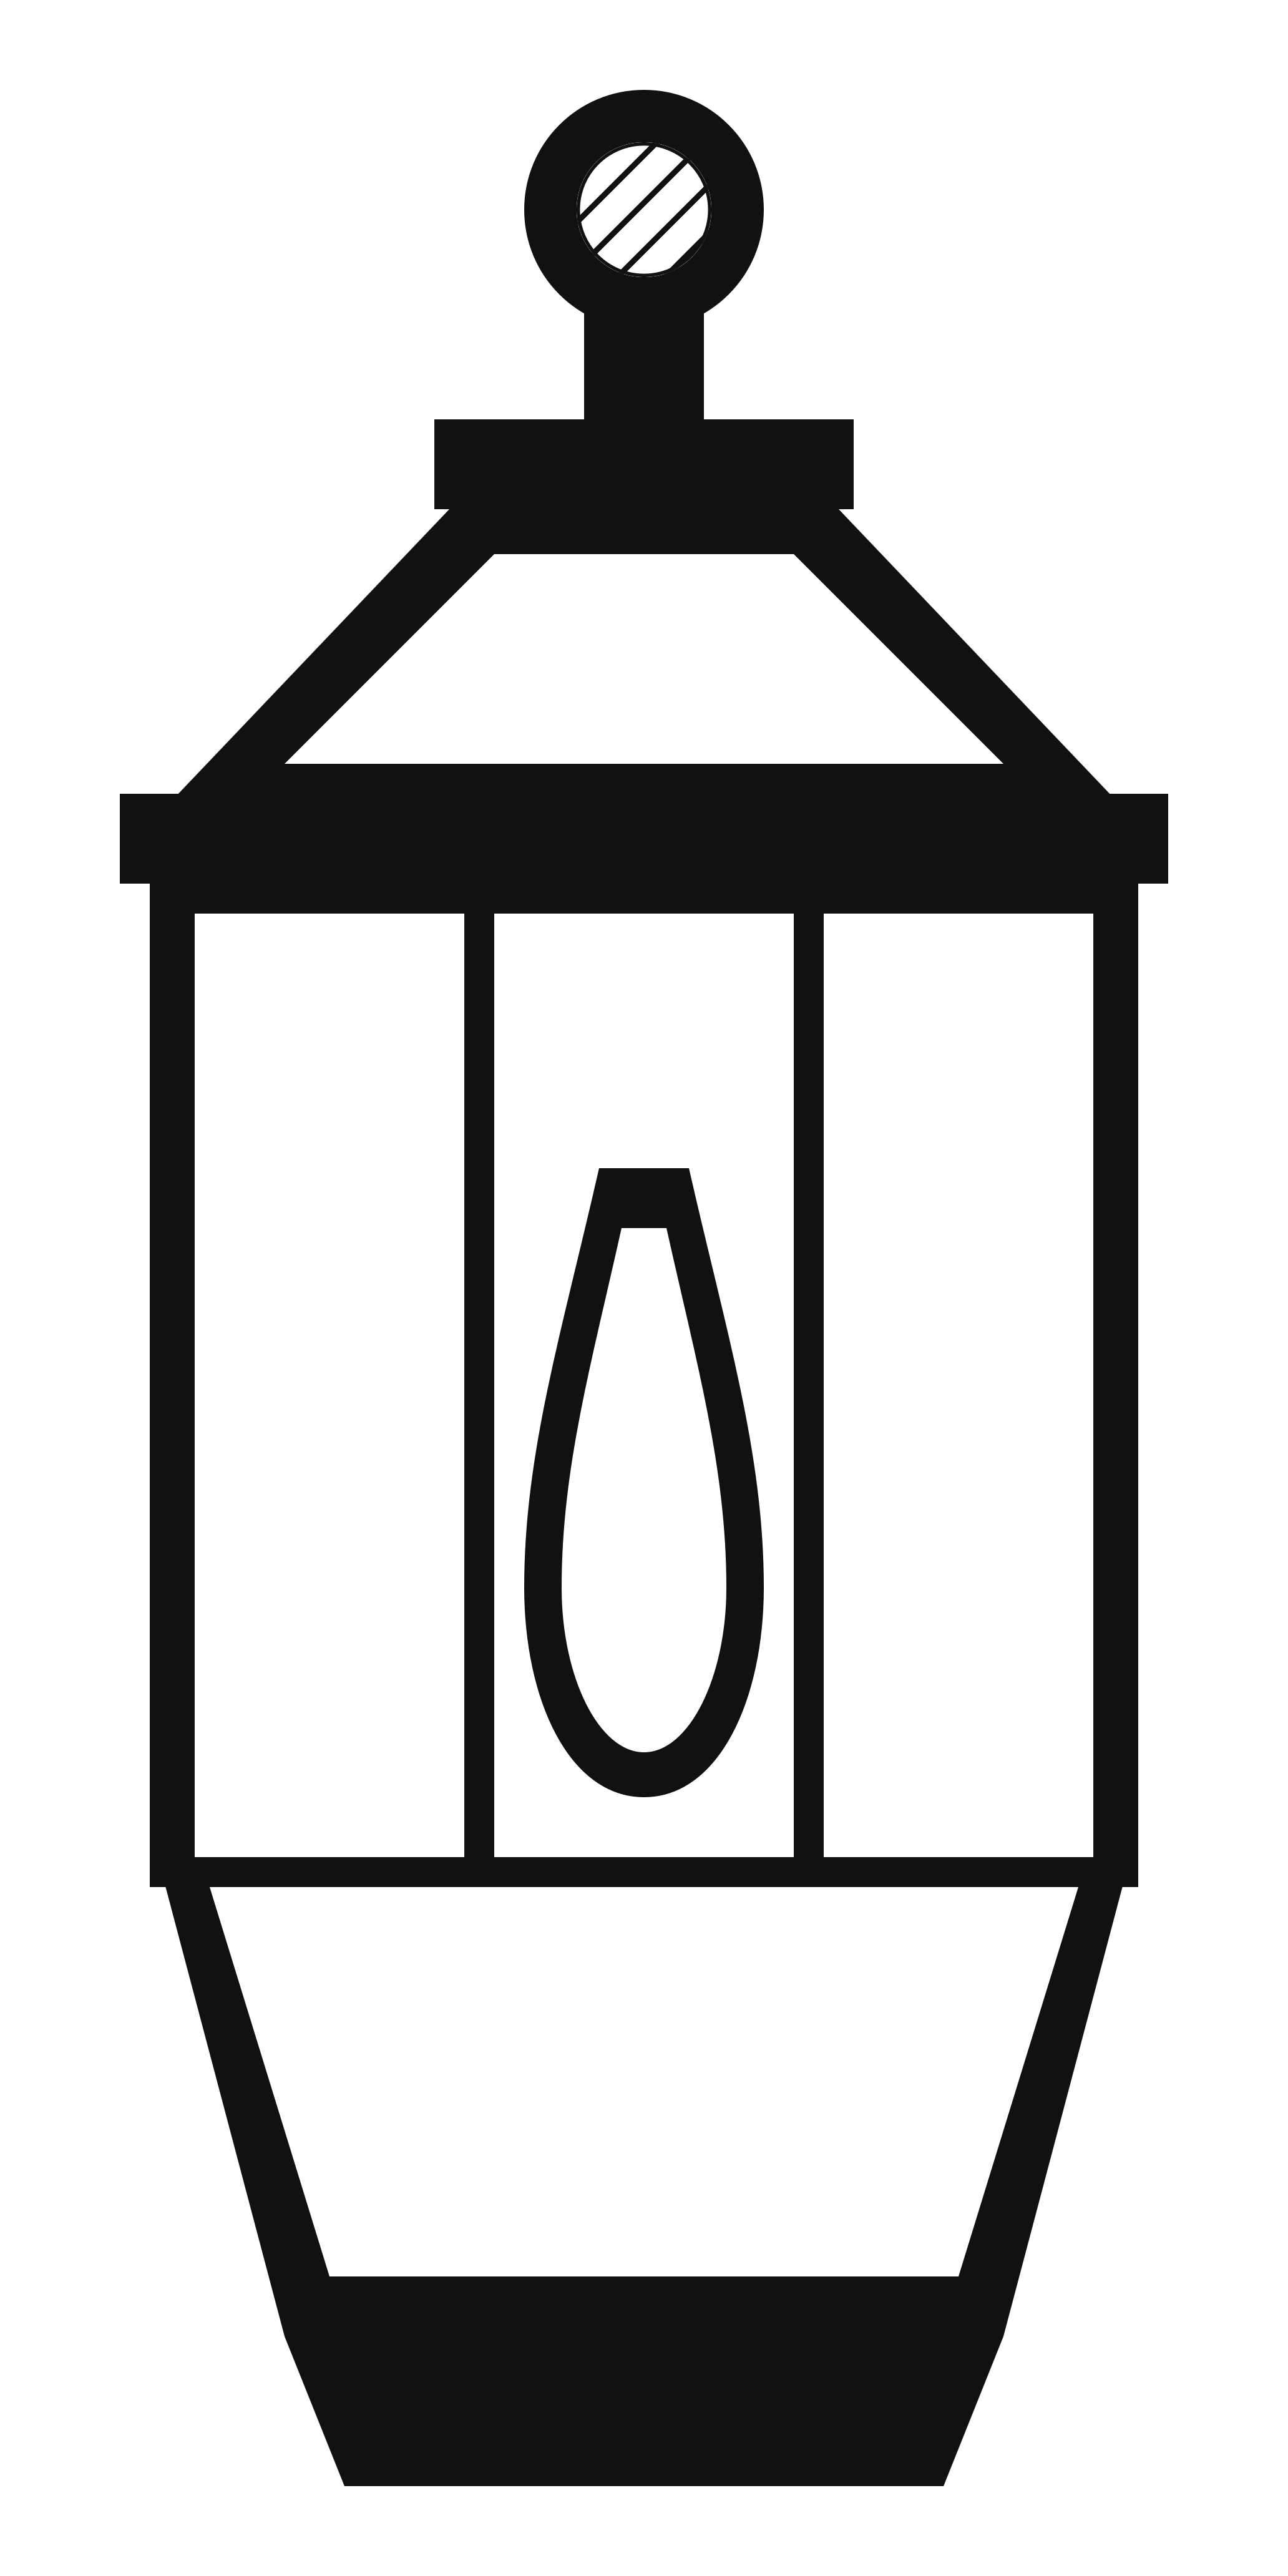
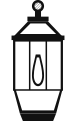
The colored version identifies four intended enamel colors. The map turns structural metal black and enamel white, while the hole through the upper ring is hatched and explicitly identified as empty.
The small cream flame is an enamel region inside a metal outline, not a hole. That distinction is easy to lose if a reviewer sees only a white shape on a screen. Keep the key beside the map.
Check the borders between adjacent fills and the outer edge. If two colors need a metal separator, make it part of the geometry rather than relying on a thin visual contrast that disappears in another view.

4. Supply the same editable geometry used for the review
The linked colored SVG and map preserve the drawn shapes at a stated scale of 0.1 mm per drawing unit. Neither contains visible lettering inside the pin artwork; review notes belong on the separate board.
Ciyo supplied these sources as copyable text because this run’s canvas handoff did not attach SVG files. We saved them separately. The map’s hatched hole is an explanatory review convention, not an instruction to print hatching on the pin.
Keep color names and source revisions together. Screen hex values identify the concept palette; a manufacturer’s physical enamel or color-matching process is a separate decision.

5. Review the maker’s proof before production
Ask the selected manufacturer to confirm the size, minimum regions, structural metal and proposed cutout. Review any simplification or change against the original concept rather than approving an unfamiliar redraw by appearance alone.
Confirm the physical finish, color selection and attachment plan in the maker’s own proof. If those decisions affect the design, revise the source and map together so they do not describe different pins.
A physical sample is the place to judge the manufactured result. This tutorial demonstrates concept preparation and an editable handoff; it does not establish enamel filling quality, durability or safe construction.
Enamel-pin artwork questions
Is a white region always a hole?
No. In this example white on the map denotes enamel fill. Only the hatched ring region is labelled as an empty cutout.
Are the cited minimum dimensions universal?
No. They are demonstration references from WizardPins’ guidance. Confirm the actual limits with the manufacturer and product you select.
Can I use gradients in this flat concept?
This example uses solid separated fills so material boundaries remain clear. Discuss other effects and processes with the manufacturer rather than treating a shaded preview as an enamel specification.
Are the screen colors production matches?
No. Hex values describe the concept palette. Physical enamel and metal choices require the manufacturer’s matching and approval process.
Was the pin manufactured?
No. The live Ciyo run produced concept artwork, editable source and review images. No order, factory approval or physical sample is claimed.
Make the material decisions visible
Give Ciyo the silhouette, intended size and color plan. Review the closed fills and metal map together, then confirm the manufacturing details with your chosen maker.