Practical creative workflows
Image Print Size: Check Pixels Before Changing PPI
A 300 PPI tag can make a file look ready for a product card while its pixel dimensions remain too small for the requested placement. Start with the final physical size and the detail you actually have.
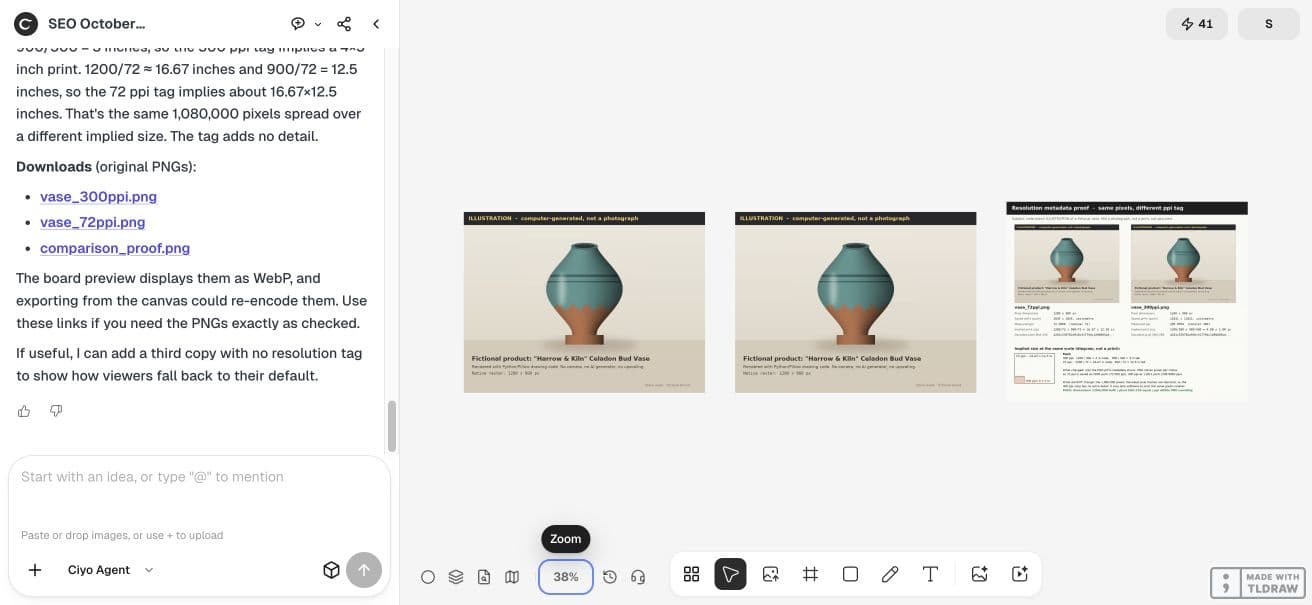
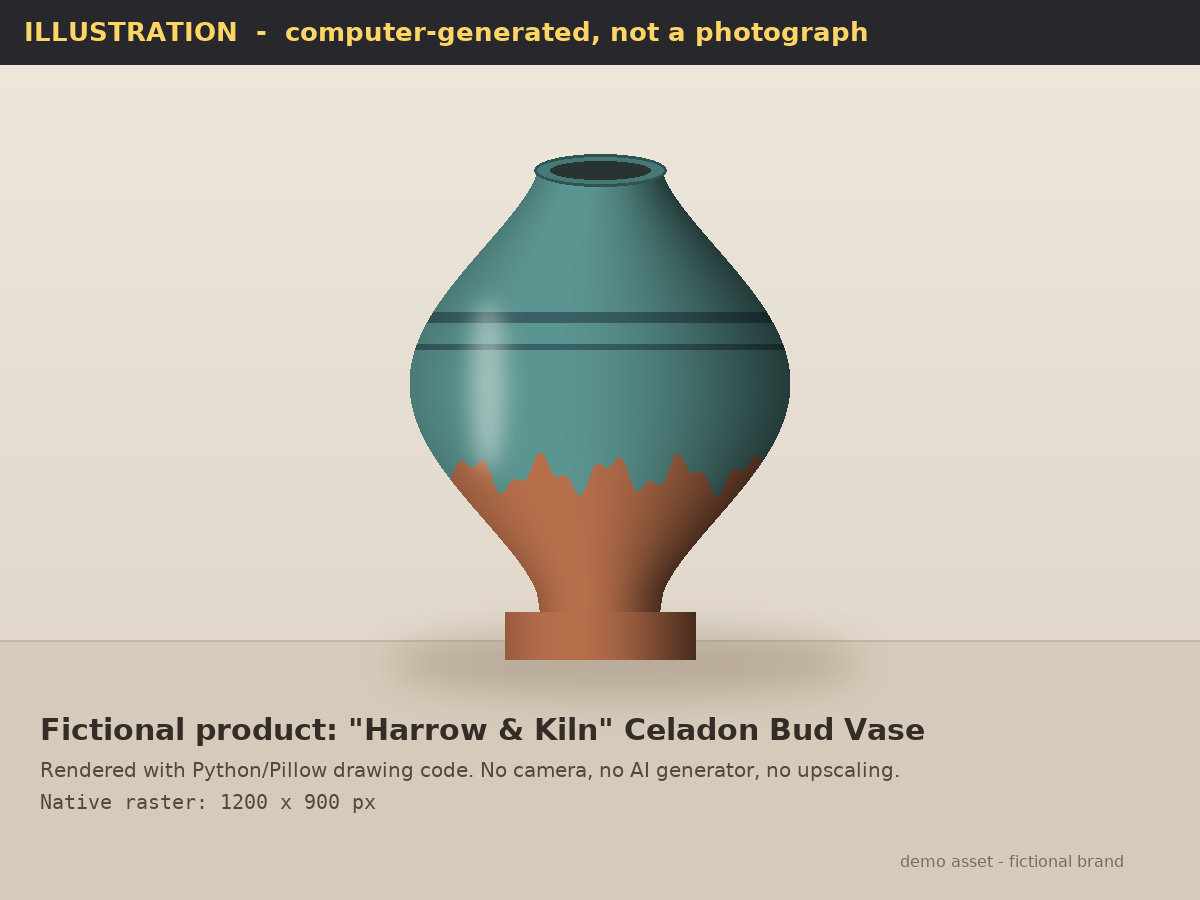
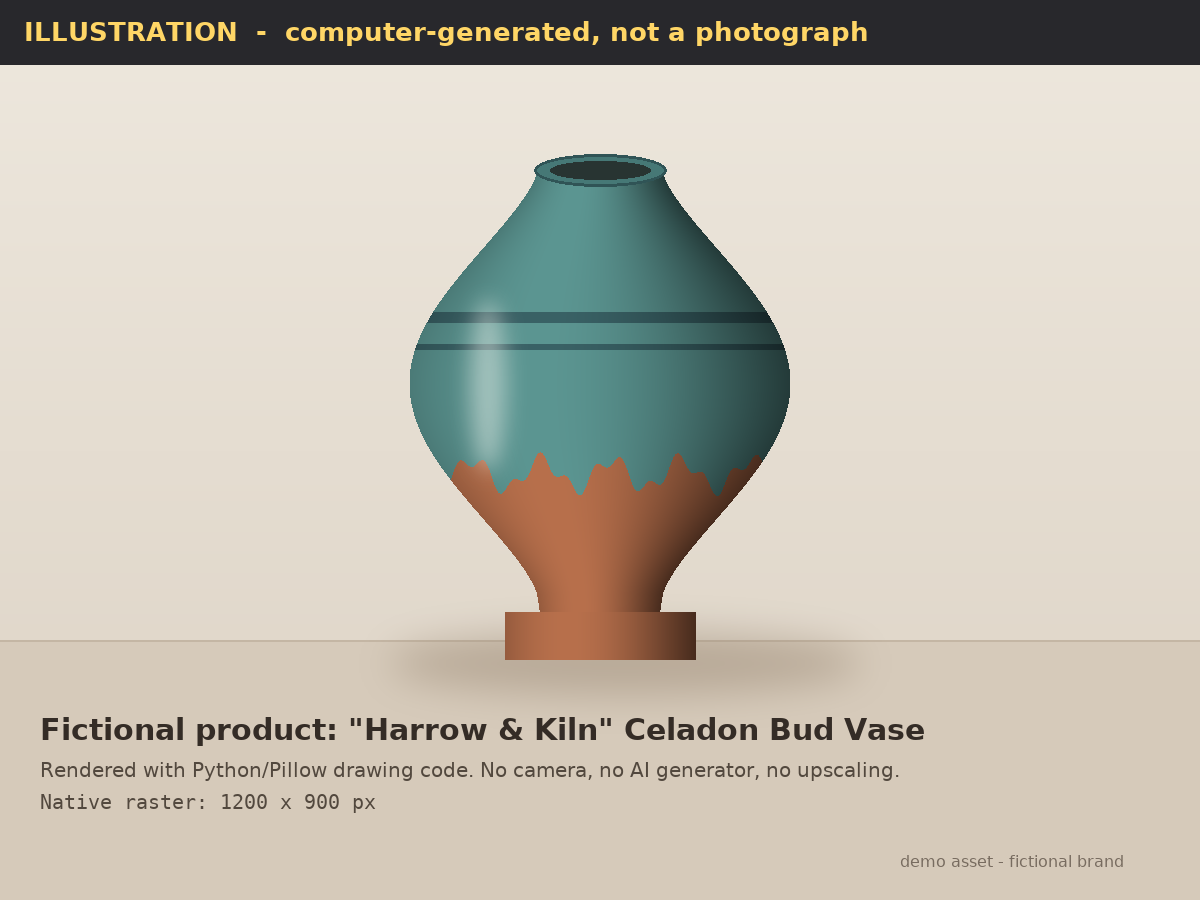
We asked Ciyo for two copies of a fictional pottery illustration: both 1200×900 pixels, one tagged 72 PPI and one tagged 300 PPI. Their decoded pixels are identical. The live example makes the difference between a resolution tag and resampling easy to inspect.
Calculate the placement, not a magic number
For a chosen PPI, implied width in inches is pixel width divided by PPI. Our 1200×900 example implies 4×3 inches at 300 PPI, or about 16.67×12.5 inches at 72 PPI. These are arithmetic examples, not universal quality targets.
Ask the printer or layout owner what resolution the specific job needs. Viewing distance, material and source detail matter. A metadata field cannot determine whether the glaze, edge or label in a real product photo is sharp enough.
| Tag | Implied width | Implied height | Pixel count |
|---|---|---|---|
| 300 PPI | 4 in | 3 in | 1,080,000 |
| 72 PPI | About 16.67 in | 12.5 in | 1,080,000 |
Make a controlled metadata comparison
In an isolated Ciyo project, ask for a clearly labelled illustration and two tagged copies. Hold pixel content constant and require the agent to reopen the saved PNGs. Keeping the drawing fixed isolates the variable you want to understand.
Our example uses code rather than a photographed item or an image-generation benchmark. With your own approved image, attach the original and ask the agent to preserve its decoded pixels while changing only the resolution metadata.
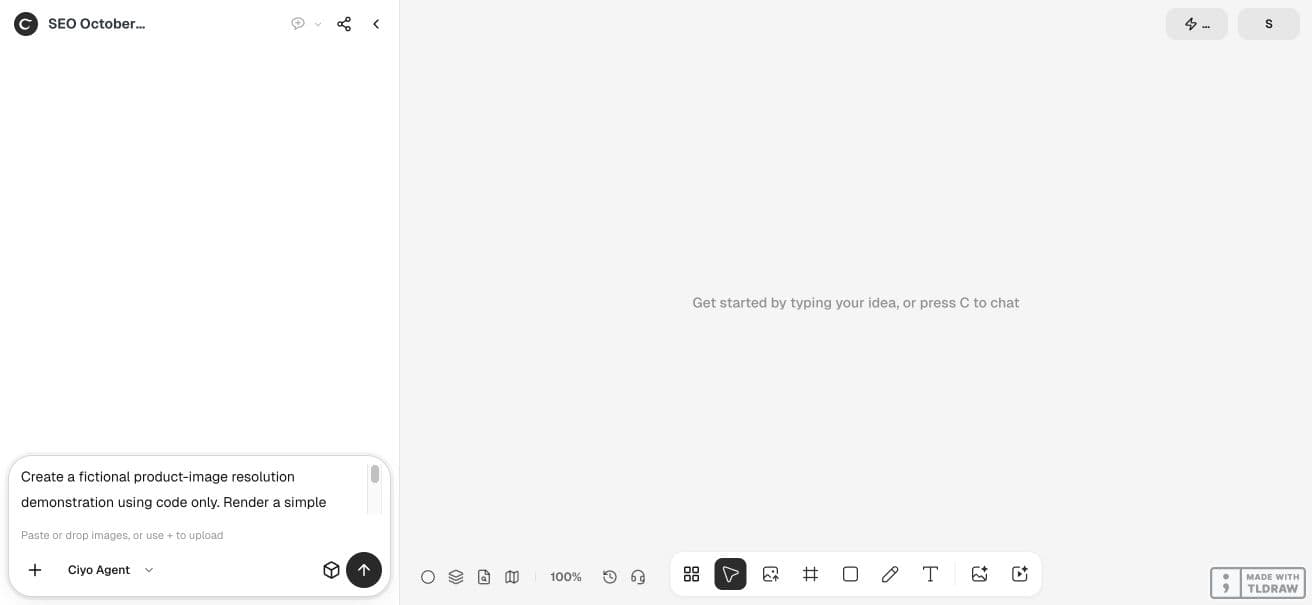
Create a fictional product-image resolution demonstration using code only. Render a simple pottery product illustration, clearly labelled illustration, at 1200x900 pixels. Deliver two PNG copies with identical decoded pixel content but different resolution metadata: 72 ppi and 300 ppi. Explain 1200/300=4 inches and 900/300=3 inches, versus about 16.67x12.5 inches at 72 ppi, without gaining image detail from metadata. Make a readable comparison proof PNG and place it and the source illustration on the canvas. Validate native dimensions, decoded pixel hashes equal, and actual saved ppi metadata allowing format rounding. No claim of a physical print, real photography, or upscaling quality. Use no paid generator. Provide downloads and measured checks.Inspect original downloads
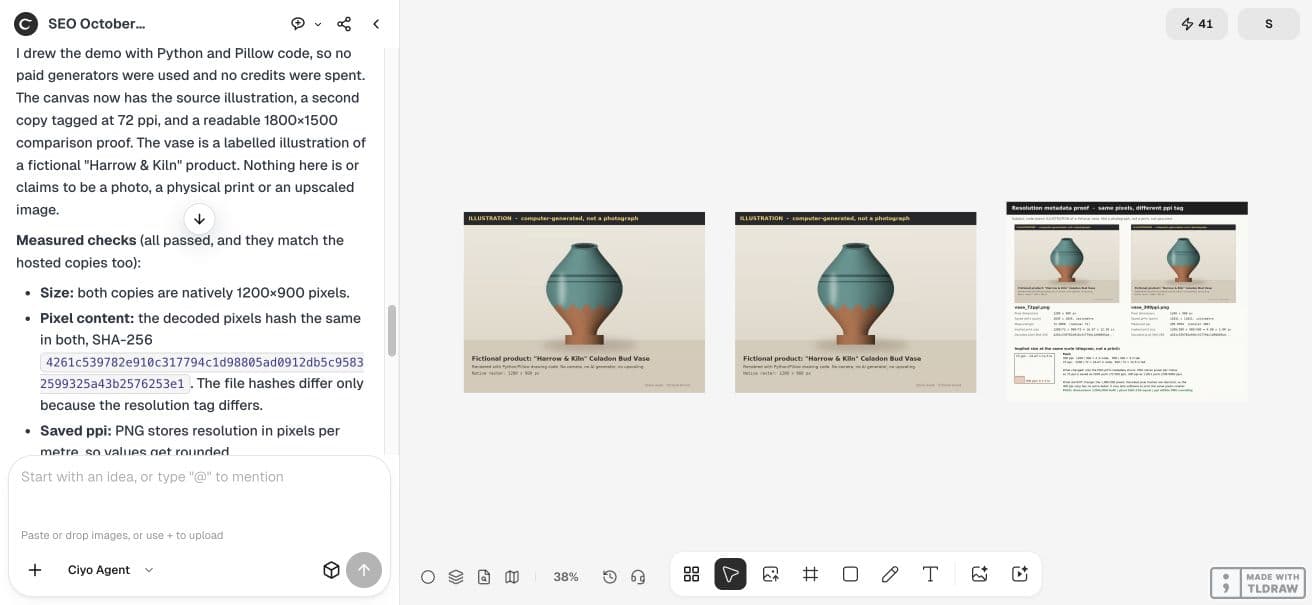
Ciyo delivered two tagged PNGs and a comparison proof. We downloaded the original PNG URLs and independently decoded the files. Both measure 1200×900 and produce the same RGBA pixel hash. Changing the tag added no image detail.
The stored values read back as 72.009 and 299.9994 PPI because PNG records pixels per metre using integers. Those small differences are metadata rounding in these files. The comparison uses the requested 72 and 300 values for readable arithmetic.
Keep resampling as an explicit separate choice
Adobe’s resolution documentation distinguishes changing physical size without resampling from changing the number of pixels. If you need more pixels, describe that as a resampling or enlargement step and inspect the resulting detail. Do not describe a tag-only change as an upscale.
Check the delivered file’s metadata
Keep the original file and the delivered version separate. A canvas export or optimized preview may be re-encoded; inspect the file that will reach the layout tool rather than assuming every route preserves all metadata.
Place it at the intended size and print a proof
In the receiving layout, confirm the image’s effective resolution at its placed size. Scaling a four-inch image to eight inches spreads the same pixels over twice the width. Read the placement settings and inspect the actual product detail at that size.
We did not print this illustration. Before a production run, use the printer’s requested format, color handling and physical proof process. The repeatable result here is narrower: a checked pixel count, two verified tags and an honest distinction between metadata and detail.
Practical questions
Does setting 300 PPI make an image sharper?
A tag-only change adds no pixels. Our downloaded copies have identical decoded image content.
Why is the measured 300 PPI value slightly different?
PNG stores an integer number of pixels per metre. Converting that back to inches introduces rounding.
Was this a real product photo or print test?
No. It is a fictional code-generated illustration, and the checks were digital.
Check the pixels behind your print placement
Start with one checked example in Ciyo. Keep the source and inspect the exported result before using it in your own project.