Practical print design
Print Bleed vs. Safe Area: Build a Checked Postcard
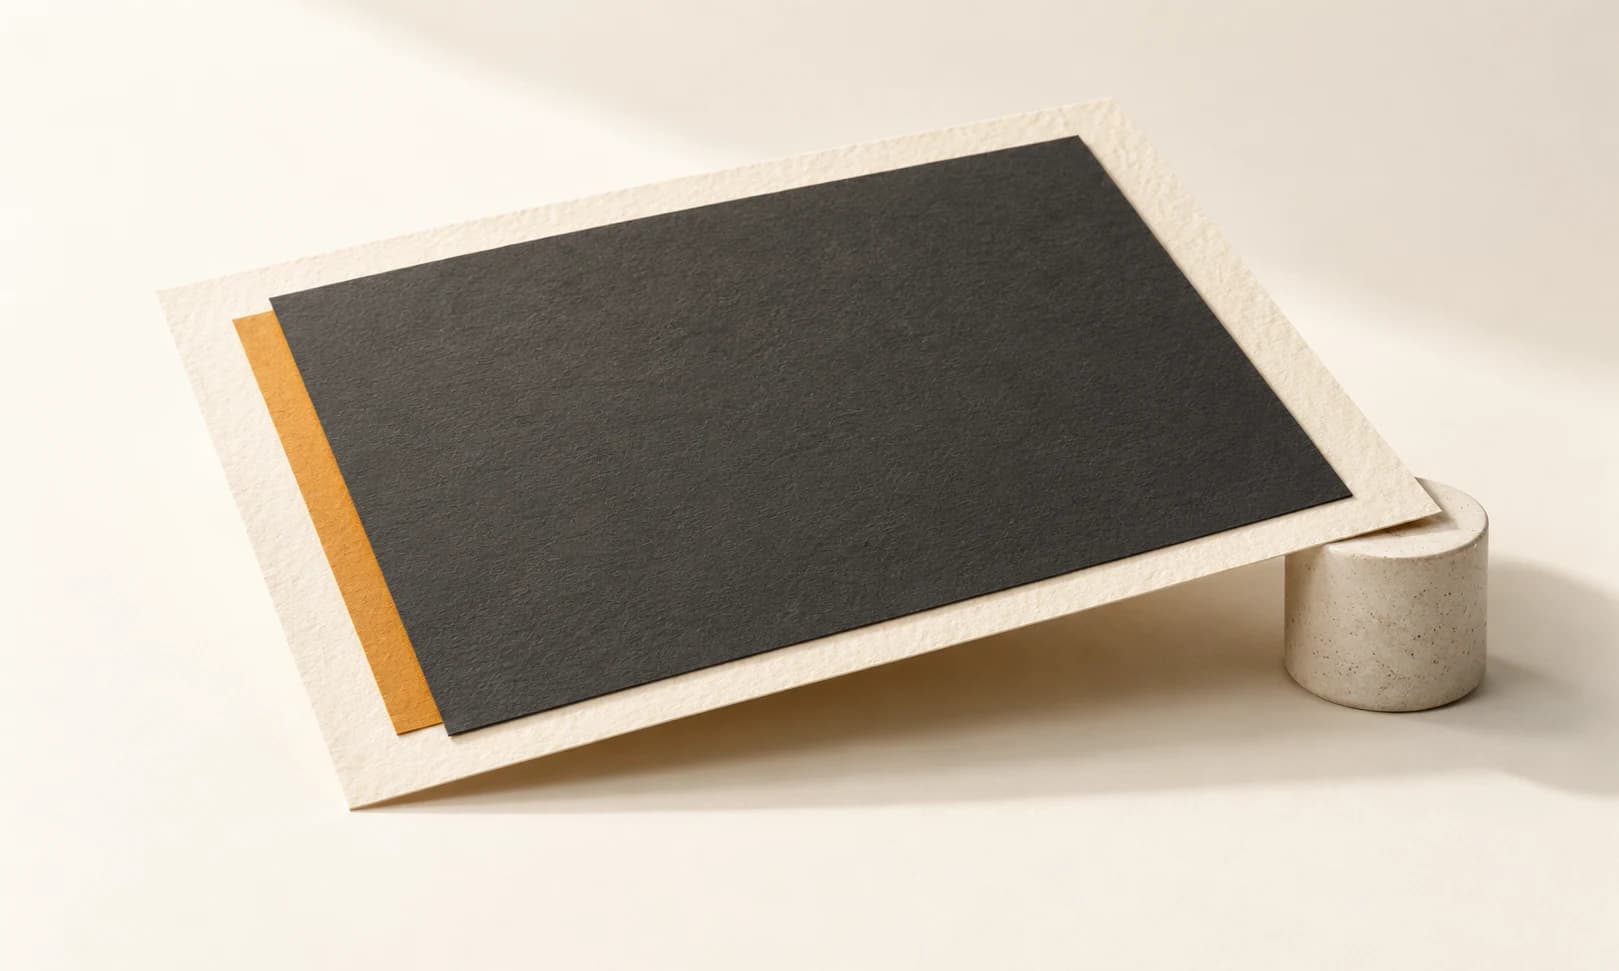
A postcard can look finished on screen and still lose a line of text when it is cut. Before designing, separate the size the reader receives from the extra background outside it and the area that protects essential content inside it.
This walkthrough uses a fictional Cedar Cup Studio card and a demo printer brief: 148×105 mm finished size, 3 mm bleed on each side, and a 5 mm safe inset. These are example requirements, not a universal printing standard. Use the dimensions supplied by your own print provider.
1. Ask for the production brief before the artwork
Get the finished size, bleed, safe inset, accepted file format, color requirements and font policy from the printer. Confirm whether it wants crop marks. Keep that brief next to the artwork so revisions use the same requirements.
Bleed extends edge artwork beyond the cut; a safe inset keeps important content inside it. Adobe’s bleed tutorial explains the extension and notes that providers can require different values. A larger background does not automatically move your headline away from the cut.
2. Calculate all three rectangles
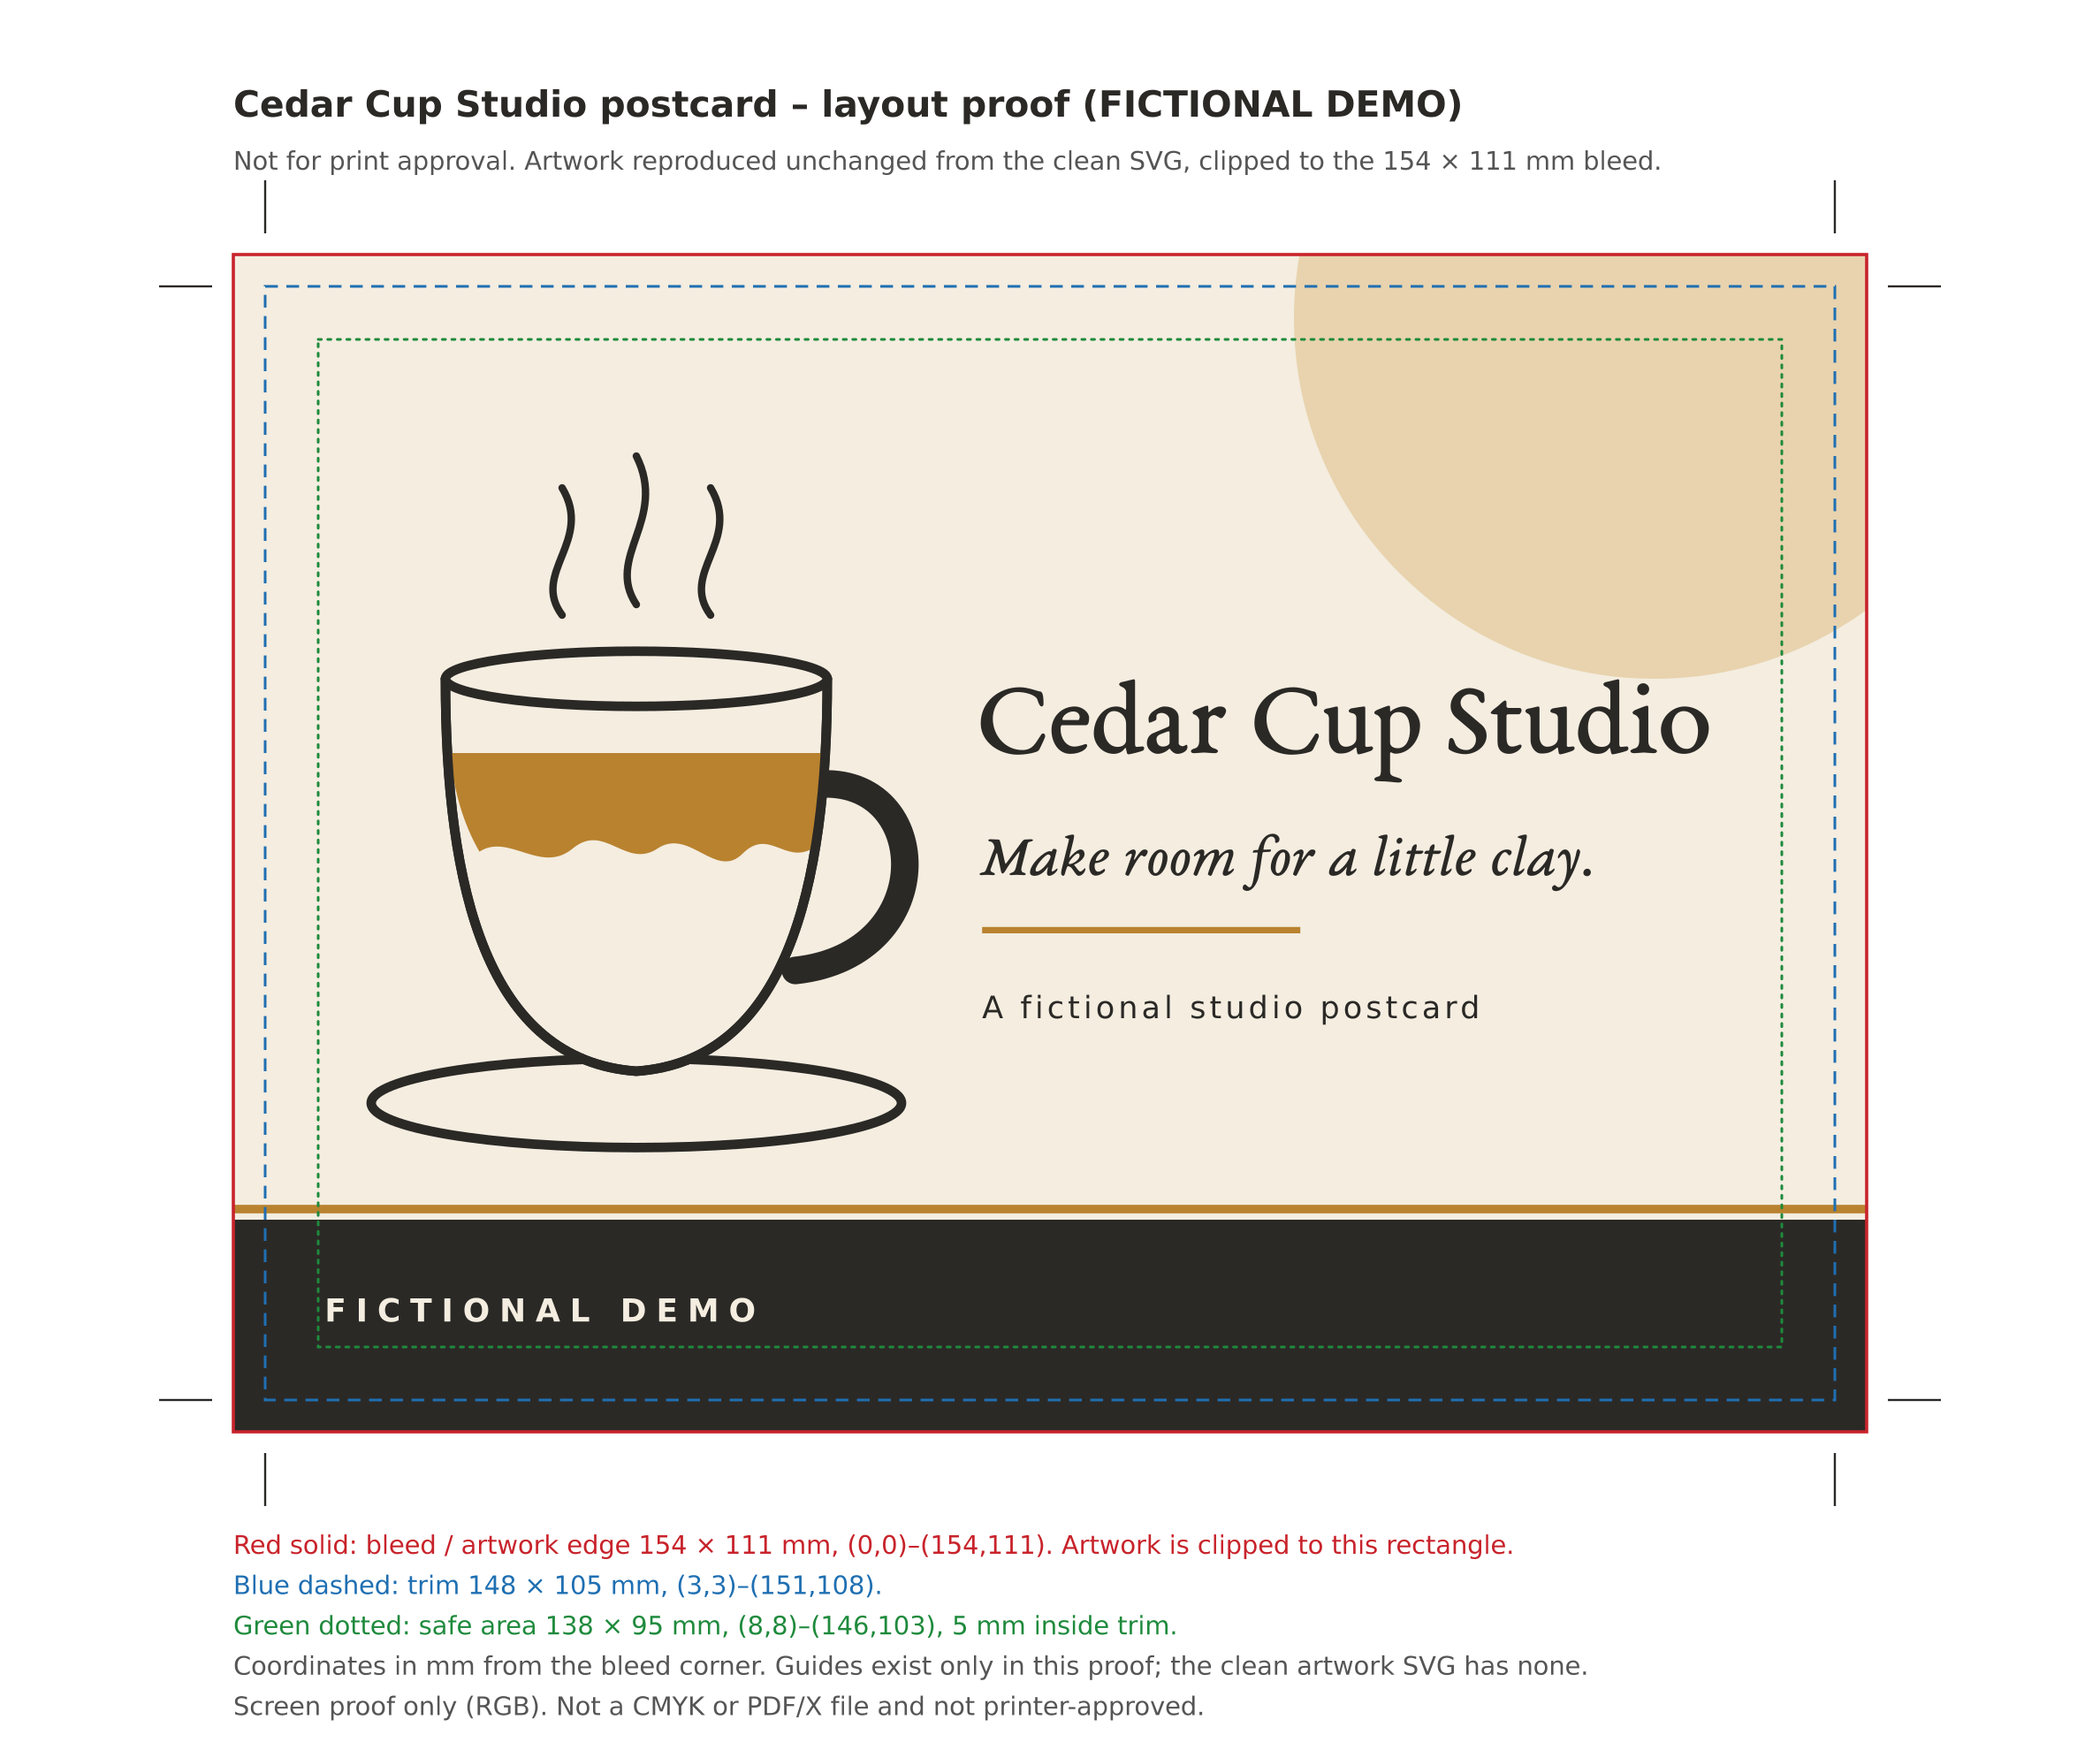
Add the bleed twice to each finished dimension: 148 + 3 + 3 = 154 mm and 105 + 3 + 3 = 111 mm. Subtract the safe inset twice from the trim: 148 − 5 − 5 = 138 mm and 105 − 5 − 5 = 95 mm.
With the full artwork origin at (0,0), the trim begins at (3,3) and the safe area at (8,8). For this example, essential text belongs between x=8 and x=146, and y=8 and y=103. Treat the bounds of the visible letters as content, not just their insertion point.
| Area | Size | Top-left position | Purpose |
|---|---|---|---|
| Full bleed artwork | 154×111 mm | (0,0) | Background reaches the outside edges |
| Finished trim | 148×105 mm | (3,3) | The size after cutting |
| Safe area | 138×95 mm | (8,8) | Keep essential content inside |
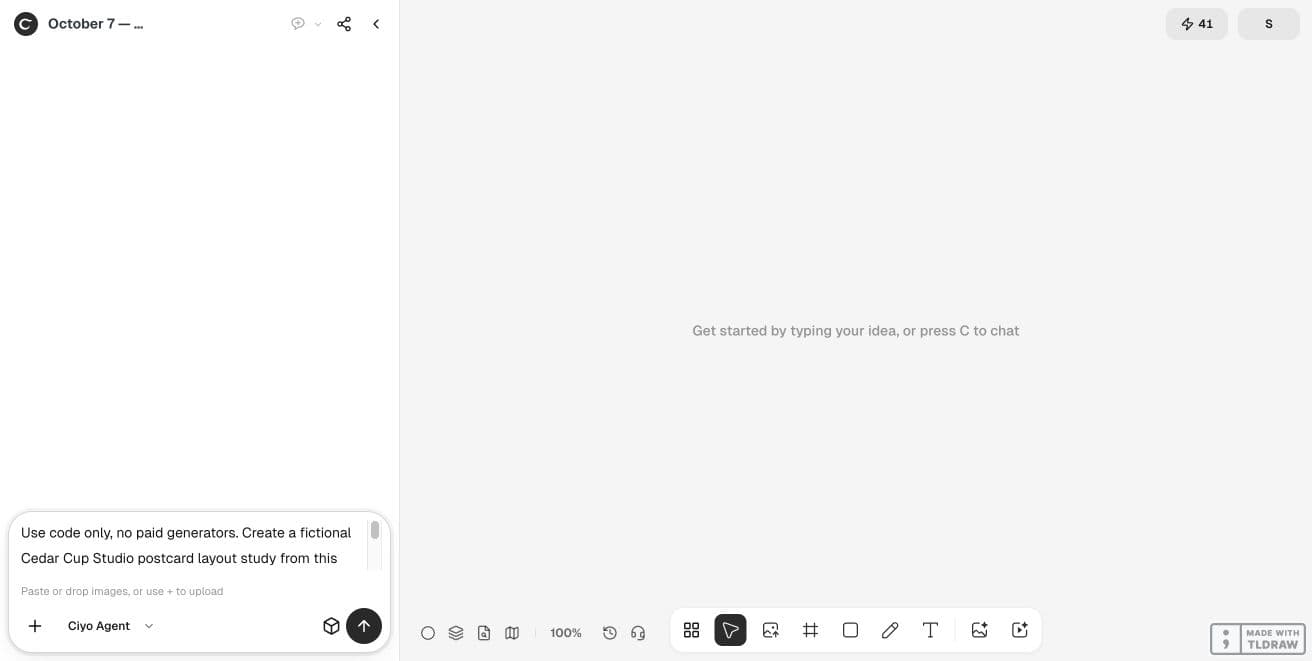
3. Give Ciyo a brief with checkable constraints
Open a clean project and ask the Design agent for an editable SVG plus a separate annotated proof. The demo uses code to build the layout; it does not request a paid image generation. Keep the exact approved copy in the prompt so the review can detect additions or omissions.
Ask for physical width and height in millimeters and a matching viewBox. Request visible file outputs and geometry checks. The prompt below keeps the clean design distinct from the guides you use to inspect it.
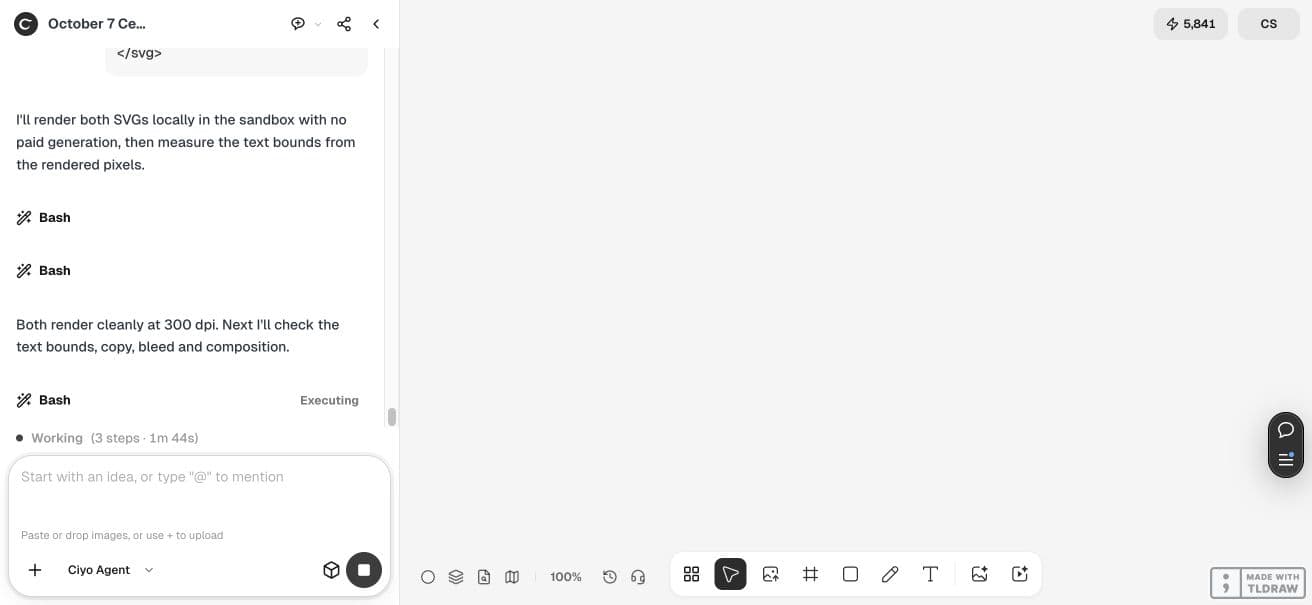
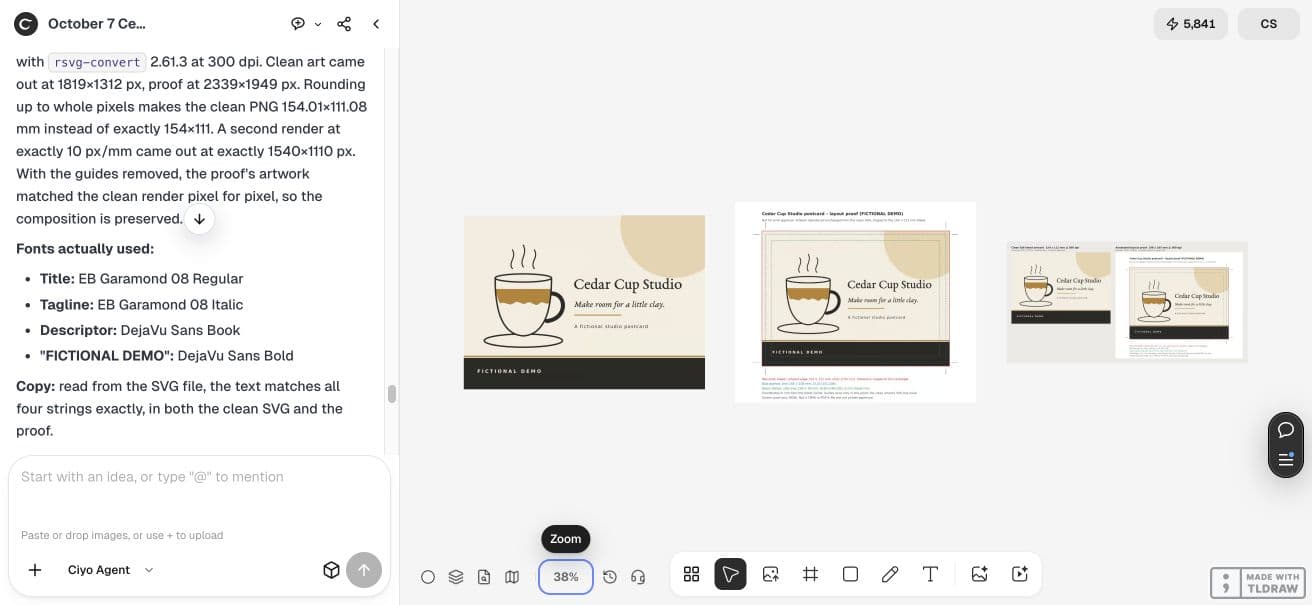
In the live run, Ciyo placed the PNGs on the canvas and pasted the clean SVG source into its reply. SVG was not available as a canvas download. We saved that source unchanged; the article links to it below.
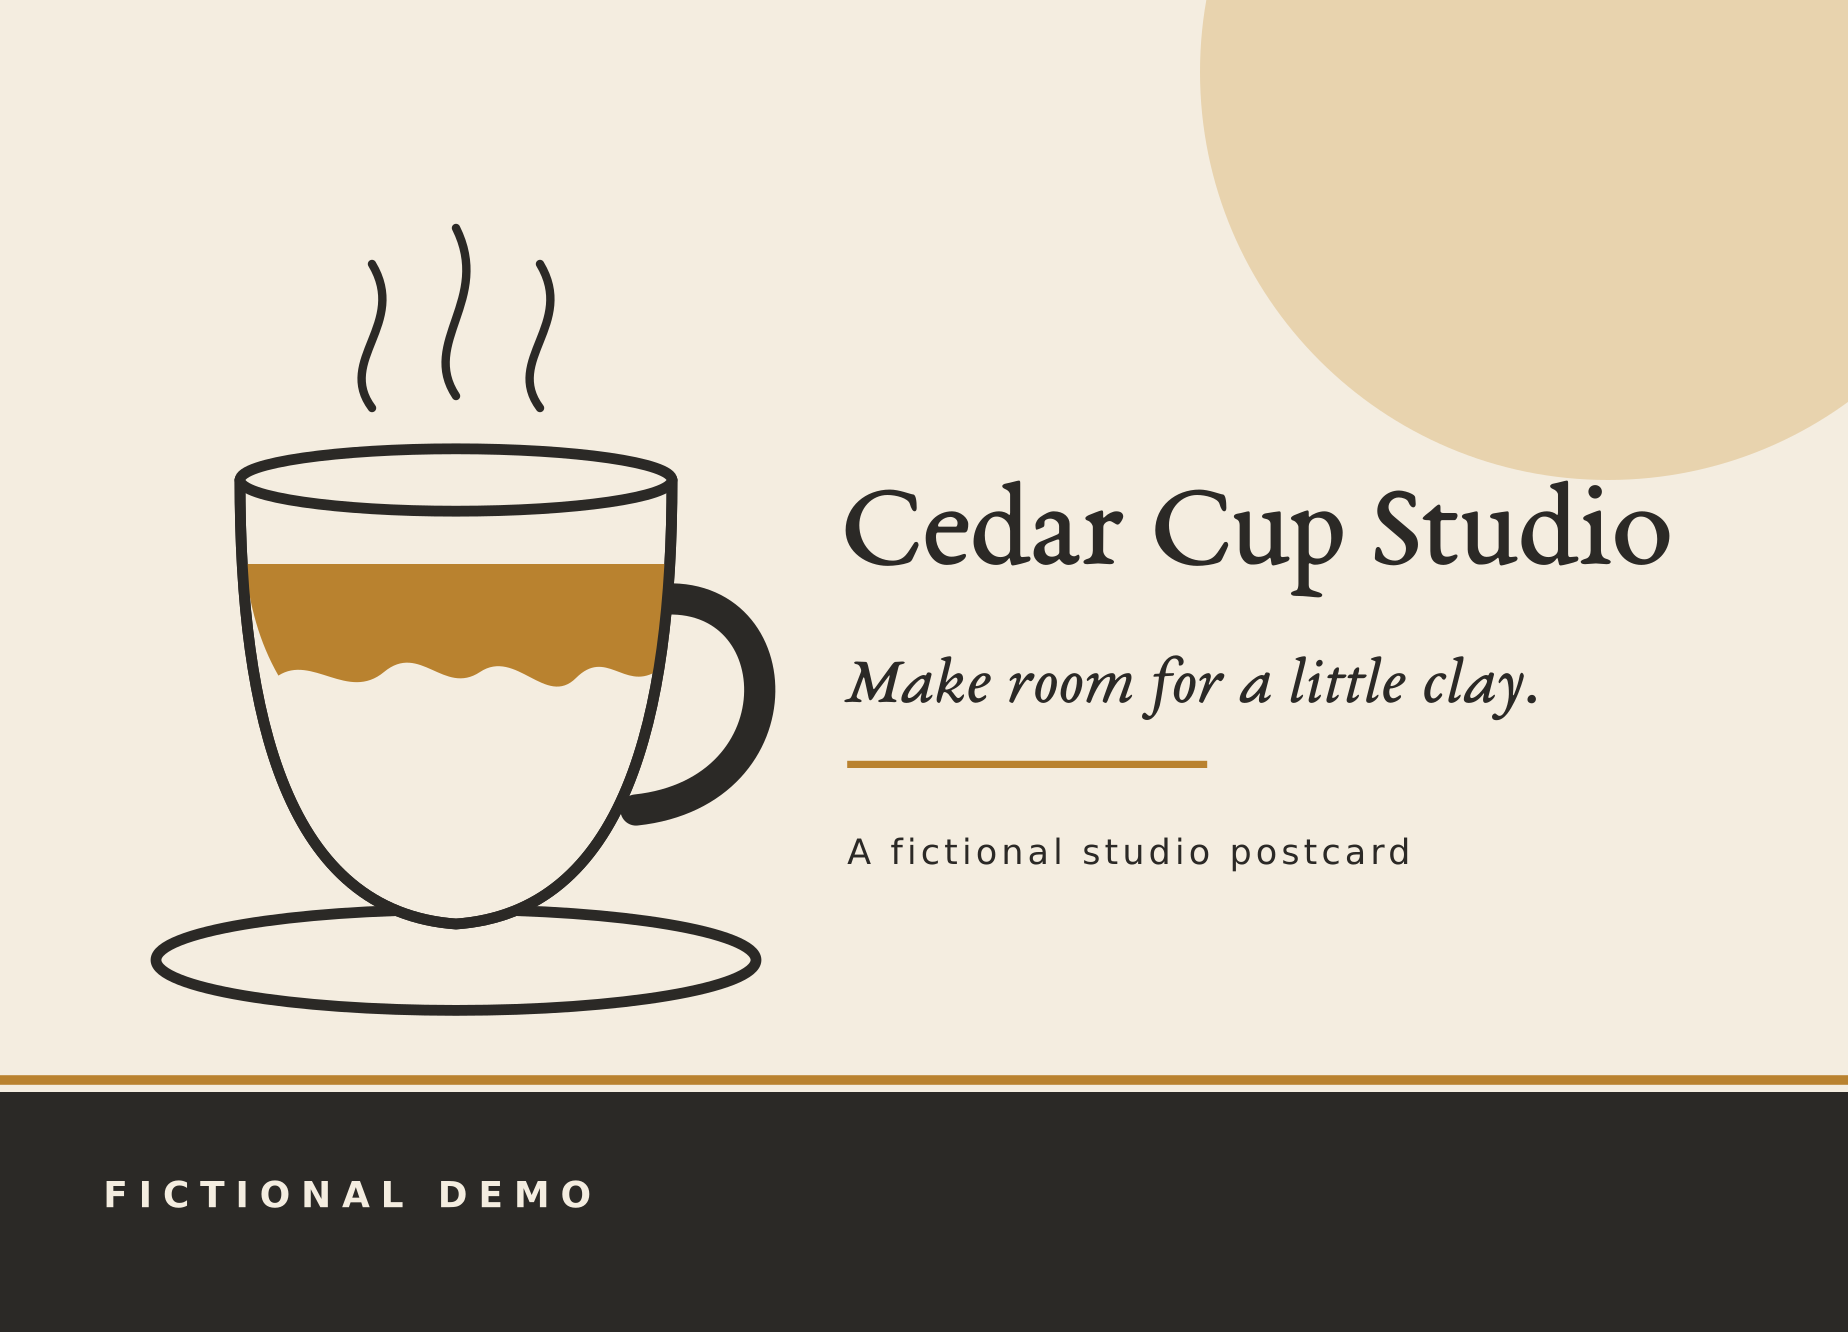
Use code only, no paid generators. Create a fictional Cedar Cup Studio postcard layout study from this demo printer brief: finished trim 148×105 mm; bleed 3 mm on every side; safe inset 5 mm inside trim. Full bleed artwork 154×111 mm. Keep this exact copy: Cedar Cup Studio; Make room for a little clay.; A fictional studio postcard; FICTIONAL DEMO. Use warm ivory, charcoal and restrained amber. Produce editable SVG with width/height in mm and matching viewBox, background extending through bleed. Make a separate annotated proof showing bleed, trim and safe rectangles; guides must never appear in the clean artwork. Render sharp full-bleed and annotated PNGs on canvas, retain SVG downloads, and report geometry and text bounds. Do not claim CMYK, PDF/X, printer approval or physical print testing. First state the brief and calculate the dimensions; then build.4. Inspect a separate proof and the actual file
Use the annotated proof to compare the bleed, trim and safe rectangles. Check that the background reaches the outside edge and that every essential text element fits inside the safe rectangle. A selection box around the whole picture cannot establish where the text sits.
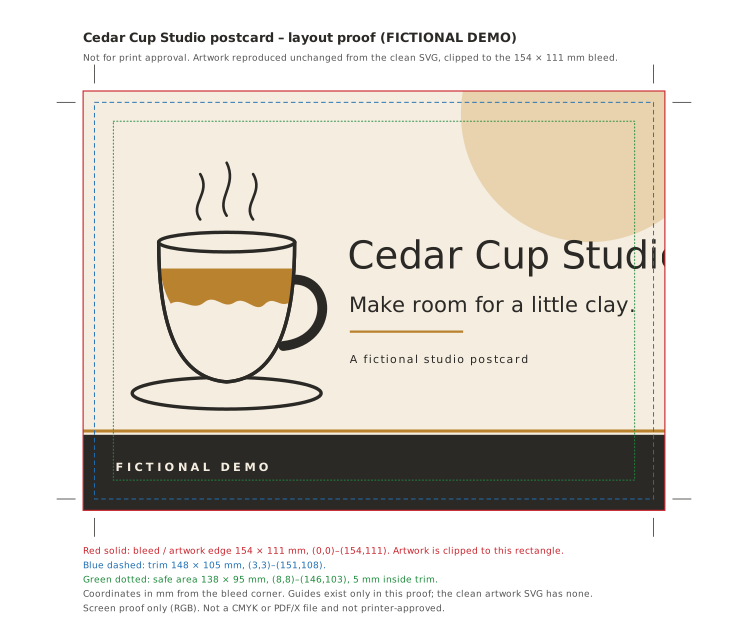
Save the SVG source and verify its physical dimensions, viewBox and rectangle geometry. Inspect the rendered result as well: a text node may depend on a substituted font, and the proof can reveal a visual problem that the coordinate list misses. Keep the checked version with the source brief.
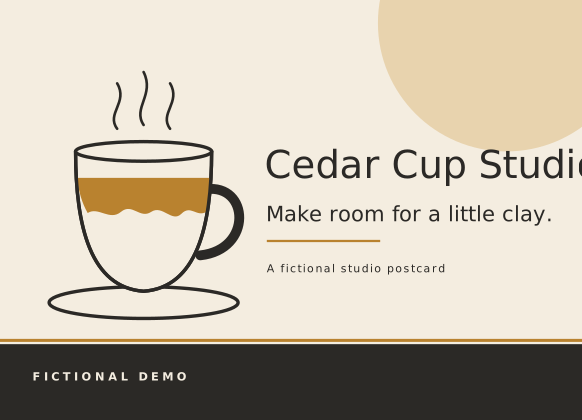
Our independent check of the downloaded 1848×1332 PNG used 12 pixels per millimeter. All four text lines passed the safe-area check. The FICTIONAL DEMO label occupied x=8.92–49.08 mm and y=98.42–100.67 mm under our pixel threshold. These screen measurements depend on antialiasing; a changed font requires a new check.
5. Keep review guides out of the clean artwork
A trim outline drawn into the artwork becomes printable content. Put guide rectangles and explanatory labels in a separate proof file, then compare the clean version with that proof. Do not erase a guide by painting over the background.
Check the exported clean file after revisions. If you move the headline, change a font or resize the card, repeat the text-bound check. Bleed and safe inset protect different parts of the design; changing one does not establish that the other is correct.
The first proof let artwork spill outside its bleed outline. We requested a corrected proof with explicit clipping and a readable legend while keeping the clean PNG unchanged. Review guides belong in that proof, not in the clean delivery file.
6. Hand off a layout study with a clear next step
This demonstration checks a digital layout. It does not establish CMYK conversion, a PDF/X profile, embedded or outlined fonts, printer acceptance, or the behavior of a physical print. Have the provider confirm its delivery requirements, prepare the requested production file, and review a proof at the intended size.
If the provider requires PDF, inspect its page boxes after conversion. Adobe documents separate trim and bleed boxes; naming an SVG “print ready” does not create them. Retain the clean source, annotated proof and production brief so the final handoff can be checked against the same job.
Practical questions
Is 3 mm bleed correct for every printer?
No. It is the fictional requirement used in this example. Get the bleed and safe inset from your print provider before building the layout.
Does extra bleed protect a headline near the cut?
No. Bleed is outside the trim. Keep the entire visible headline inside the safe area, then inspect the rendered file.
Can I send the annotated proof as the production artwork?
Keep it as a review file. Deliver the clean artwork in the format your printer requests, with its required page boxes, color and font handling.
Build one postcard from a clear printer brief
Use Ciyo to create a clean layout and a separate proof, check the dimensions and text, then prepare the provider’s requested production file.