Photography review workflow
Product Photo Proof Sheet for Image Approval
A contact sheet makes it easy to browse many shots. Approval gets harder when feedback arrives as “the third mug photo” and nobody can map that to an original. Adobe documents contact sheets as a layout method. This workflow adds the shot IDs and decisions a product team needs to finish the handoff.
The quick workflow
Collect originals → give each shot an ID → arrange consistent previews → record select, revise or hold → issue a dated approval. Keep thumbnails useful for selection and retain full-size files for technical inspection.
Start with a small, labeled set
For an illustrative travel mug shoot, choose the front, lid-open and handle views. Give each image a stable ID such as S01, S02 and S03. Record which original maps to each ID before you upload or rearrange the previews. Keep alternate angles in the same grid so the reviewer can compare them.
Build the proof on the canvas
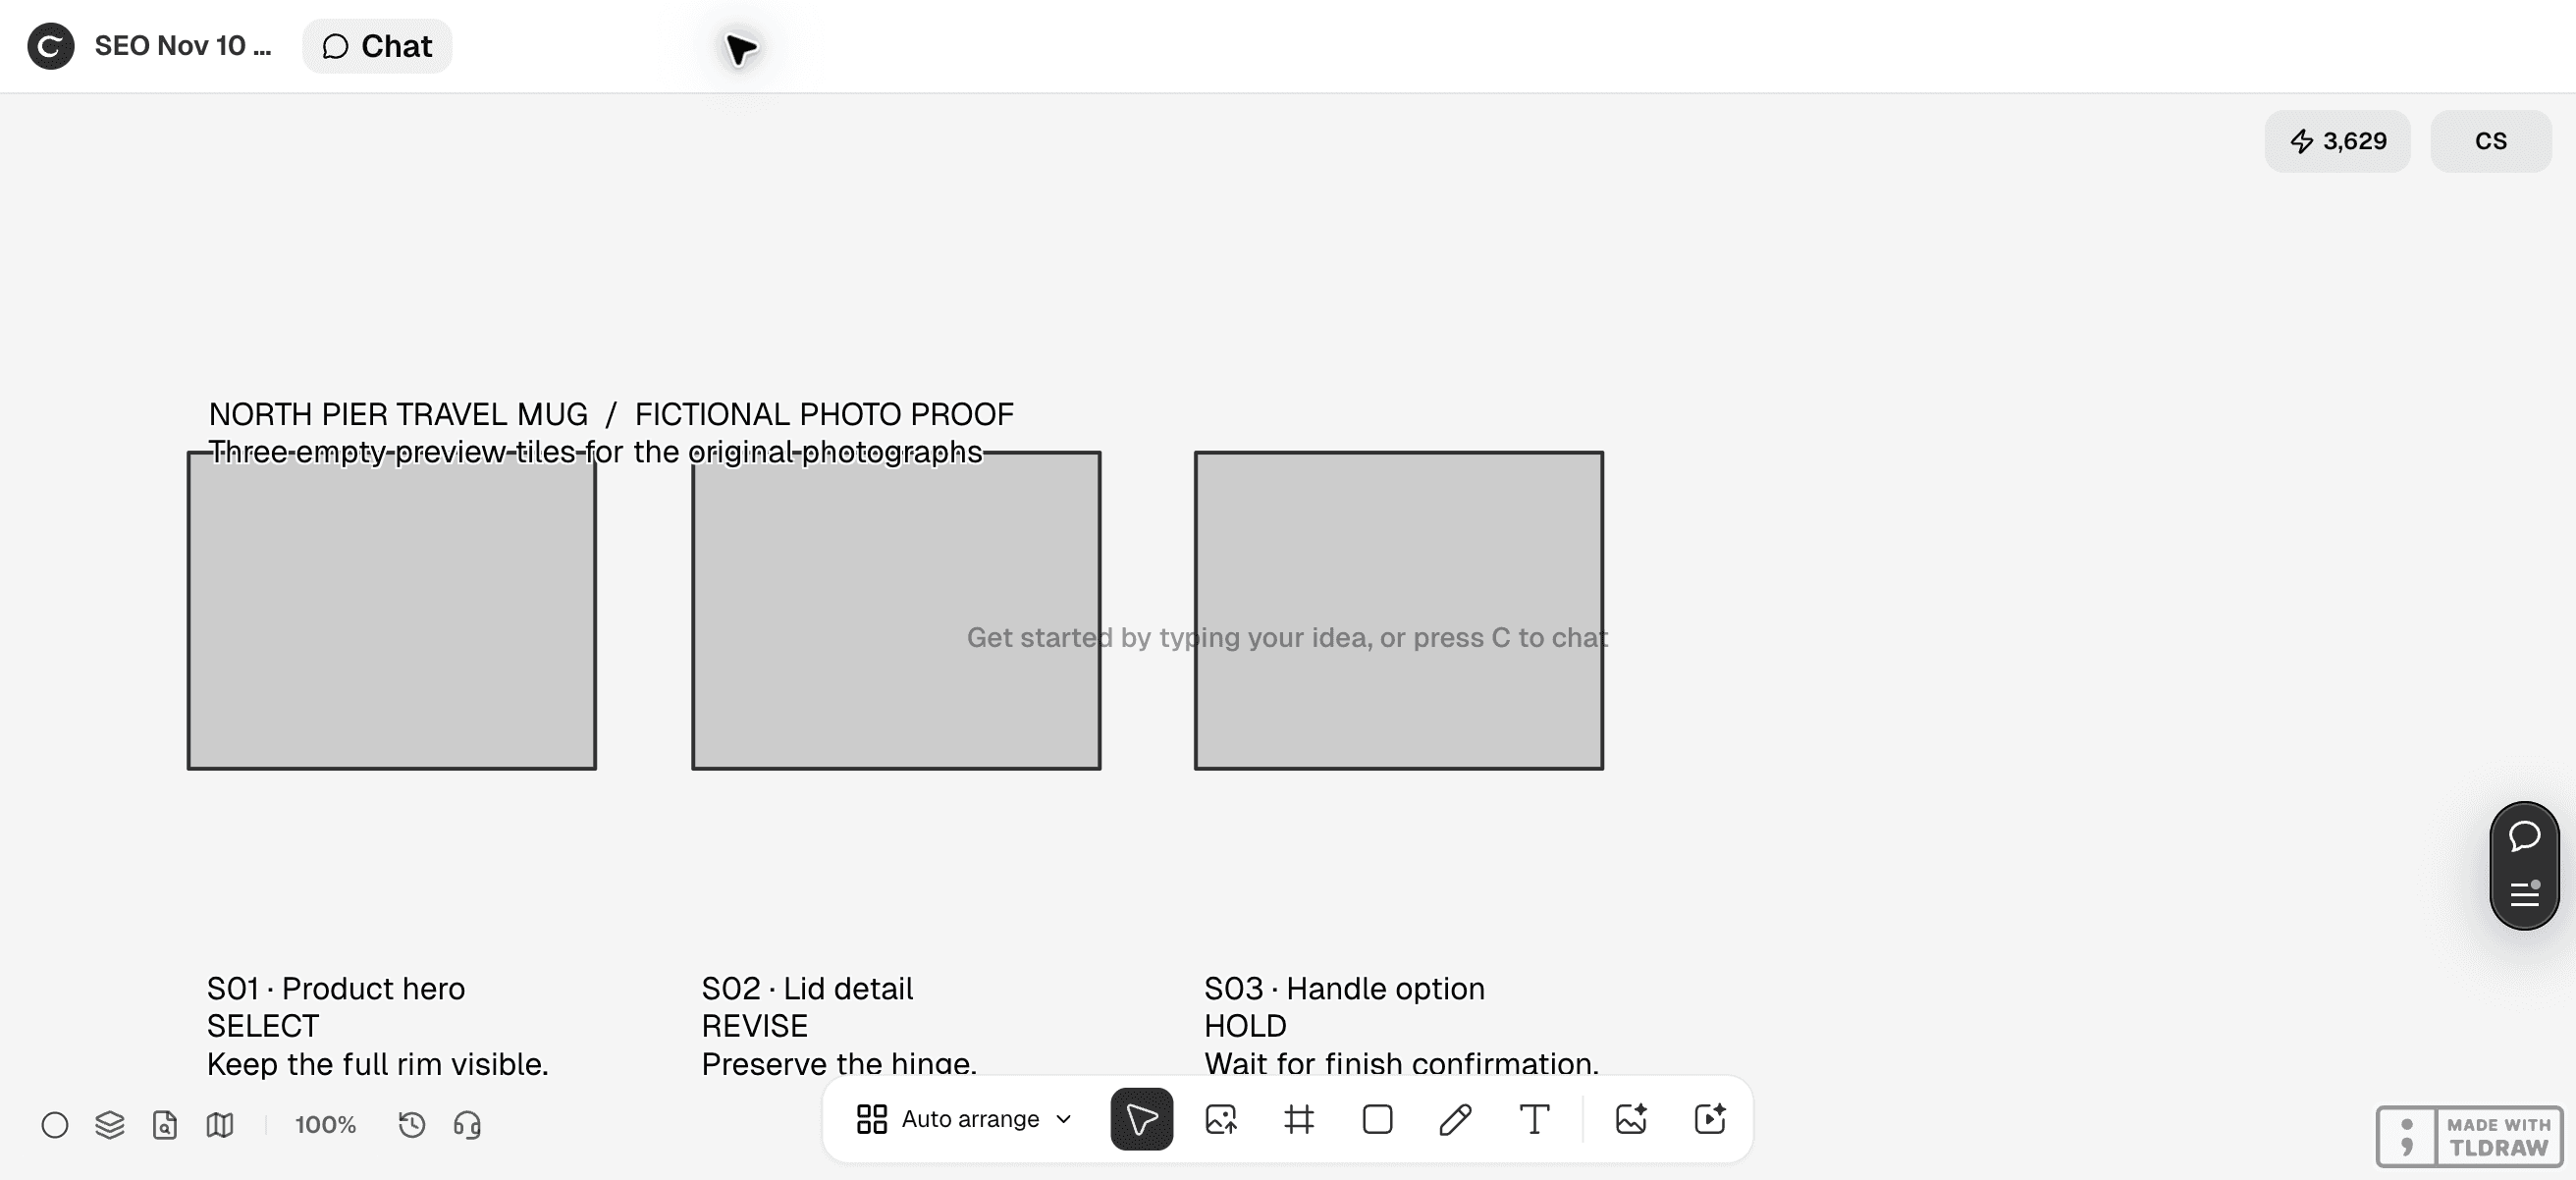
Place the three preview images at consistent scale in Ciyo. Under each image, add the shot ID, the intended use and a one-line question. Keep the original available for a zoomed view. Ask the reviewer to inspect the lid edge or surface finish on the full-size image if the thumbnail hides it.
Make the decision observable
Use one status per shot and one exact note for revisions. The examples below describe a hypothetical review decision.
| Shot | Intended use | Decision | Next action |
|---|---|---|---|
| S01 | Product hero | Select | Keep the full rim visible |
| S02 | Lid detail | Revise | Reduce the glare without obscuring the hinge |
| S03 | Handle option | Hold | Wait for confirmation of the handle finish |
Separate selection from technical approval
A select confirms that the shot serves the placement. Before release, open the approved export and check color, edges and crop at the required size. If the edit changes the product detail being assessed, return the shot to review and preserve the original next to it.
Close the handoff with filenames
Save the proof date, reviewer and approved revision. Map each selected shot ID to the final filename and destination slot. When feedback arrives later, ask for the shot ID and requested change. That keeps notes actionable even when the order of the thumbnails changes.
Build the grid with the toolbar and record the decision
Use the canvas toolbar to add preview images, text labels and any frames you need. Ask the Design agent for a layout plan or to arrange eligible existing elements. It does not create editable text boxes and rectangles from the layout request in the checked product workflow.
For a first proof, use three items and one decision per item. Keep the source ID and revision beside Select, Revise or Hold. If the arrangement changes later, the IDs still identify the images. A fictional placeholder board demonstrates this layout, while real product approval still requires full-size photographs.
Frequently asked questions
Is a proof sheet the same as a contact sheet?
A contact sheet is the grid of images. A product proof sheet adds stable identifiers, status and a decision record for approval.
How many images should I show?
Include enough options to make the choice, grouped by placement. If several frames look identical at thumbnail size, send a closer comparison for that specific choice.
Set up a product review grid
Bring three labeled shots into Ciyo and give the reviewer one question per image before the first round.