Festival identity · Production guide
Plan temporary event wayfinding signs at the actual decision points
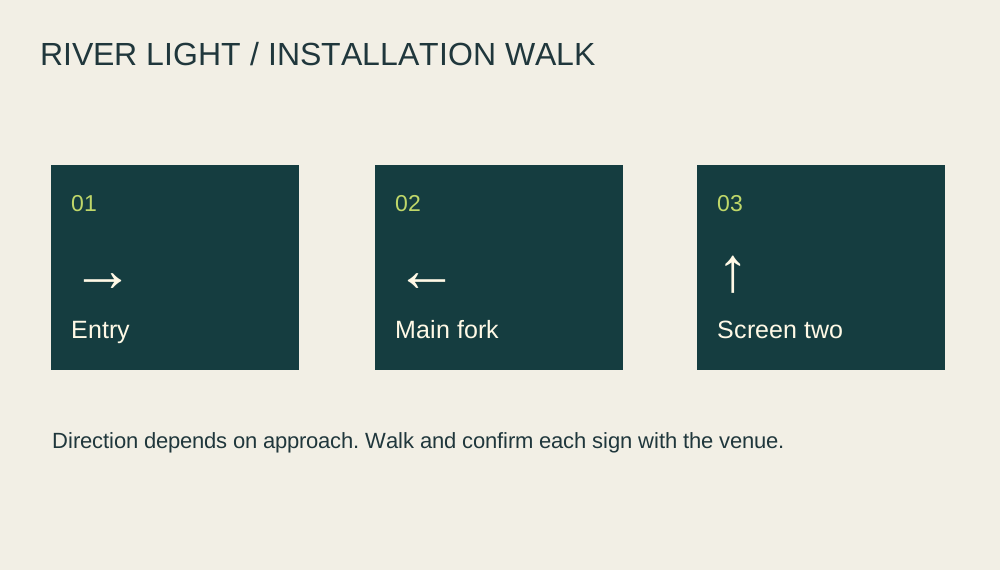
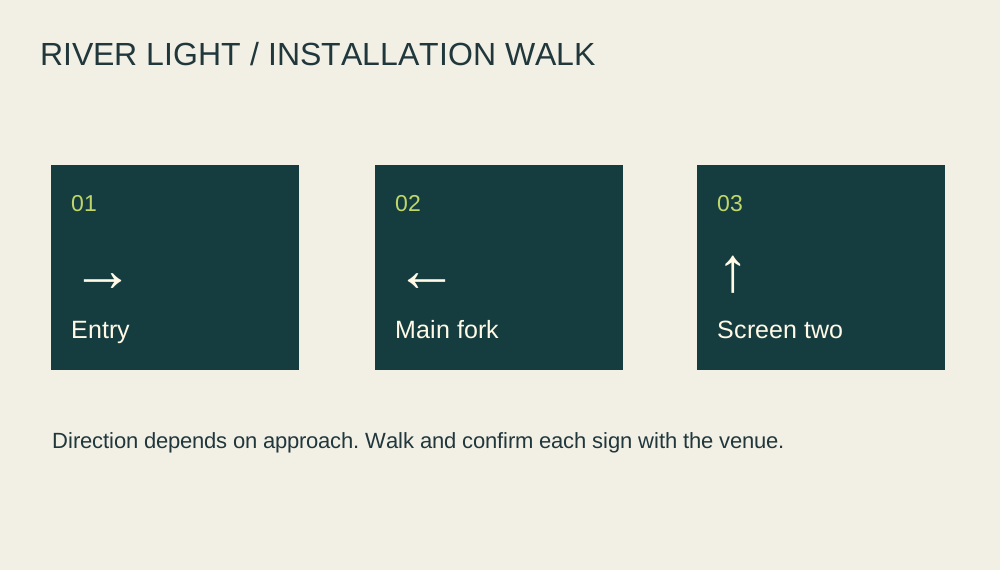
Start with the actual entrances and mark where a visitor can choose two directions. In the example register each sign has a location, destination and a viewer-facing arrow.
Input and decision
Draw the entrance-to-seat route on the approved venue plan. Mark the first fork, next turn and final destination; a sign after the fork is too late.
Set up the comparison
Stand where the viewer will be and check their line of sight. Label the facing direction on the installation diagram to prevent a reversed arrow.
Make the comparison
Walk from the entrance toward the fork with a copy of S02 in hand. Record the last point at which a guest can still choose either corridor.
Worked record
The downloadable worksheet includes the records below and a blank row for your own project.
| Sign ID | Approach | Destination | Arrow | Installer check |
|---|---|---|---|---|
| S01 | Entrance | Ticket desk | Confirm on site | Walk from outer door |
| S02 | Main fork | Screen two | Confirm on site | Check both approaches |
| S03 | Return route | Exit | Venue authority | Verify actual installation |
Check the result
Walk the route in both directions. A drawing may establish sign intent, but the final arrow must be confirmed from the installation position.
Hand off the revision
Send the installer a sign ID and approach photo for each confirmed arrow. Keep the return route open until someone walks it.
Review question
How should a designer and installer agree on an arrow direction?
Log each sign's location, incoming direction, destination and on-site reviewer. Walk both approaches to S02 before confirming its arrow.
Use the task on your own brief
Use a copy of the worksheet to keep the project’s source files, reviewed options and decisions together.