Practical design guides
Belly Band Packaging Design: Measure the Wrap Before the Artwork
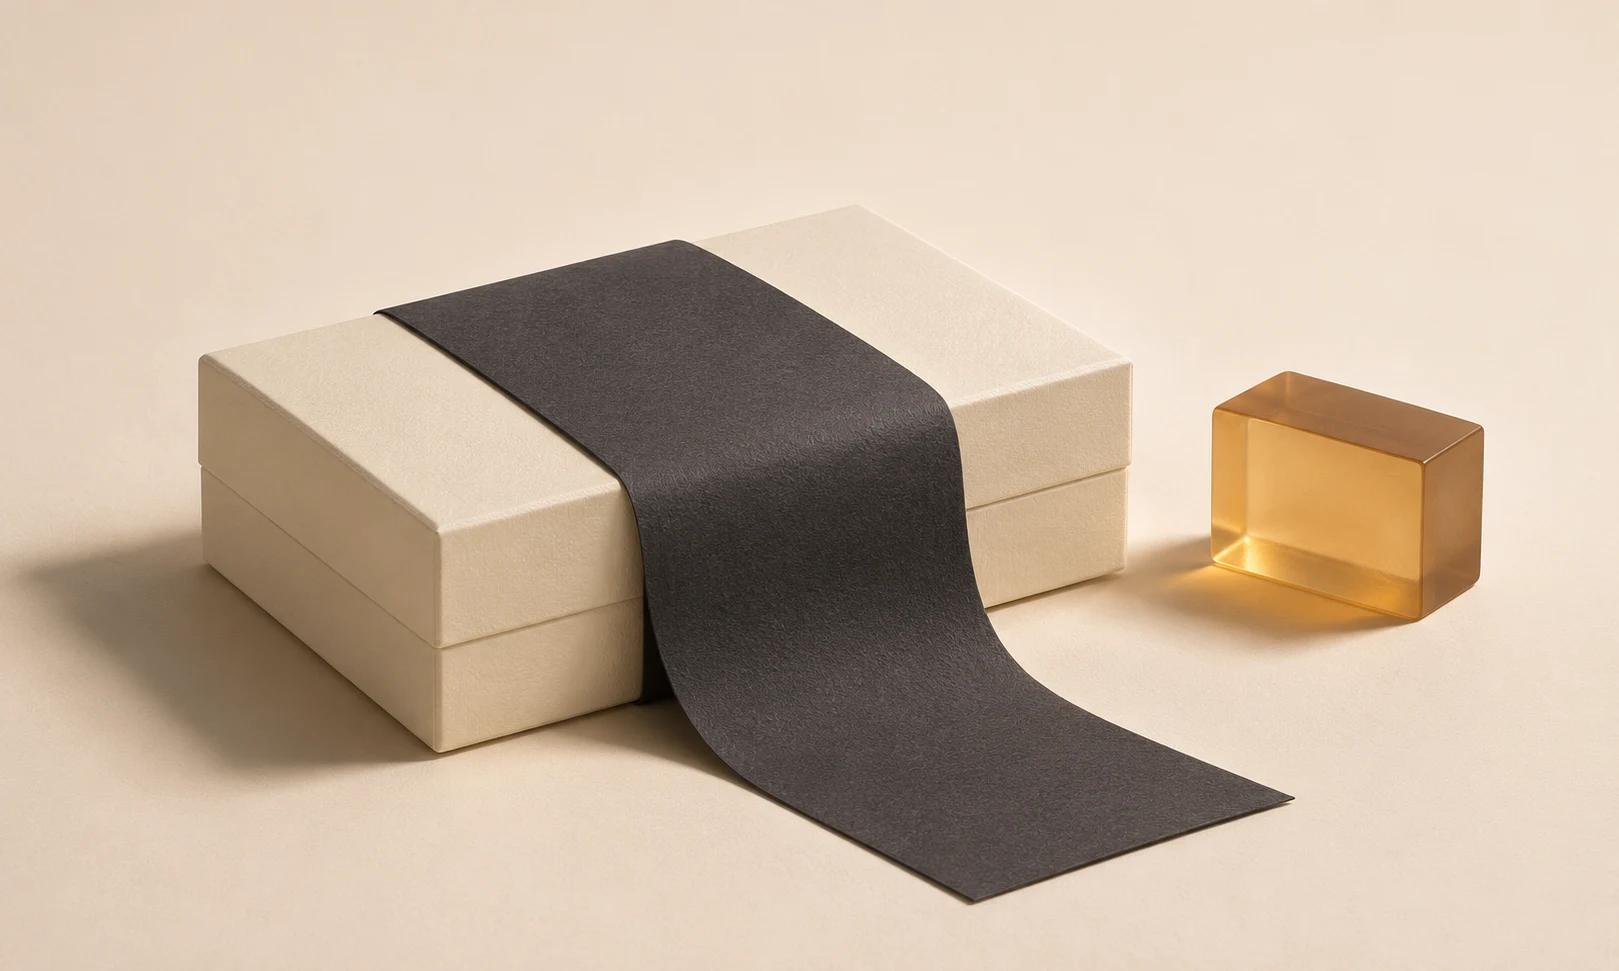
A belly band can look balanced on screen and still hide the product name when it wraps around a box. The seam, corners and front panel determine how much space you actually have.
This guide combines supplier documentation with an original, fictional gift-box example. The measurement recipe is a planning method, not a universal manufacturing specification. Use it to prepare a clear visual brief in Ciyo, then test the fit on your real package.
Quick answer
Measure the closed package along the path the band will follow. Add the overlap agreed with your printer, identify the visible front, and keep important copy away from the seam and bends. Print a plain strip at actual size before designing the full artwork.
1. Measure the filled package, not an empty box
Choose the box with its normal contents, lid and any tissue already inside. Wrap a narrow paper strip around the intended route. Mark where the strip meets itself, then lay it flat and measure between the marks. This captures bulges and the real closure more reliably than a product photograph.
Our fictional stationery shop uses a rigid box whose wrap path measures 260 mm. If its chosen joining method requires 15 mm of overlap, the planning strip is 275 mm long. These are example inputs. Confirm both the overlap and any allowance with the supplier before using them for production.
2. Divide the strip into visible and hidden zones
Mark front, side bends, rear and overlap on the measured strip while it is on the box. Photograph that paper prototype from the front and back. Keep the product name in the front zone and place optional supporting information where a customer can actually see it.
Leave the adhesive zone free of essential copy. An overlap that crosses a word can make a correctly printed band appear defective. If the package opens by sliding the band off, test that motion too: a fit that is neat on one box can be impractical across a batch.
3. Build a flat draft in Ciyo
Create an isolated canvas project and bring in a photo of the package plus a flat reference showing your measured zones. Give the Design agent the exact approved words, the intended band width and the front-panel boundary. Ask for a visual concept before adding a decorative background.
For our example, the front says Field Notes Gift Set, the rear contains the shop address, and the seam contains no copy. Keep exact words separately and add or correct them with editable text when needed. A generated picture of a band is a concept image; it is not a dimensionally validated dieline or a color-managed print file.
Live Ciyo example: a flat planning concept
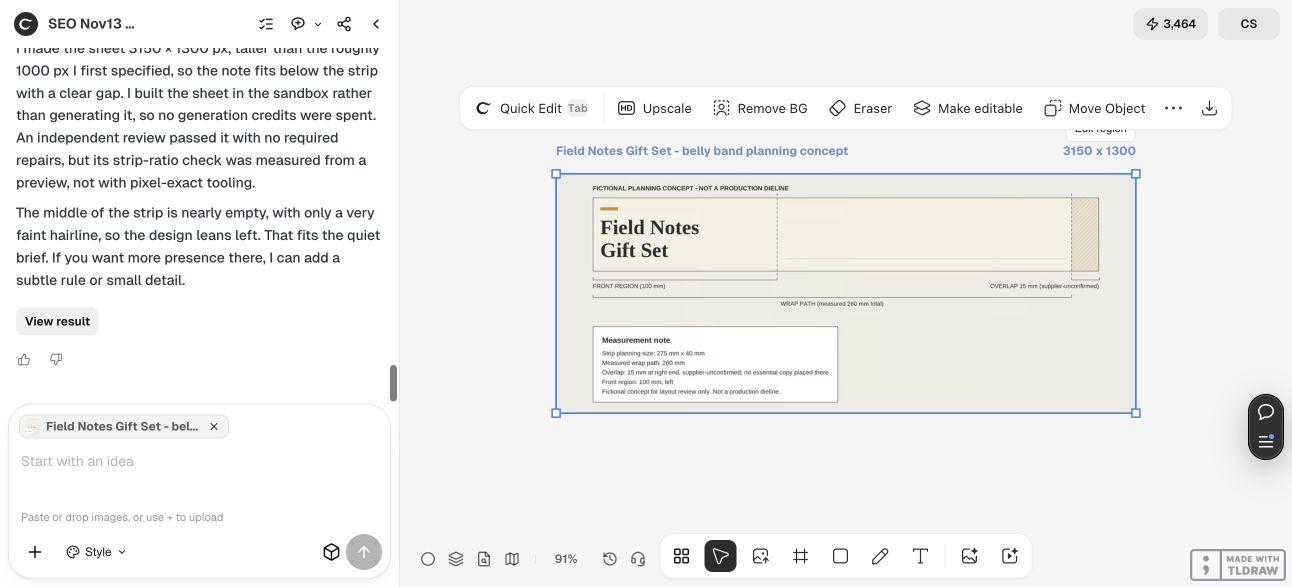
On November 13, 2026, we gave Ciyo the fictional 275 × 40 mm strip, the 100 mm front region, the 15 mm unconfirmed overlap and the exact Field Notes Gift Set name as written inputs. No real package photo or supplier dieline was supplied in this demonstration.
The Design agent returned one flat planning sheet on the canvas, with the name on the left and a separate measurement note. The screenshot shows that live result as one image. It does not establish native editable text, exact physical scale, a fitted paper sample or a printer-approved production file.
Example planning table
Use this example to check the arithmetic, then replace every measurement with your own package and printer requirements.
| Input | Example | Check |
|---|---|---|
| Measured wrap path | 260 mm | Measure around the filled box |
| Joining overlap | 15 mm | Supplier must confirm |
| Flat planning length | 275 mm | Wrap path plus overlap |
| Band width | 40 mm | Check lid clearance and visible copy |
4. Test a physical proof and prepare the printer handoff
Print the flat draft at 100%, verify a known measurement with a ruler and wrap it around the real box. Check front alignment, corner distortion, closure access and whether the band covers useful packaging information. Repeat the test on more than one filled box if dimensions vary.
Then transfer the approved artwork into the supplier’s production template or ask its prepress team to prepare the file. Confirm bleed, safe area, stock and finishing against that supplier’s requirements. SPI Packaging publishes different sleeve sizes for different containers and recommends testing samples; its numbers are not universal belly-band dimensions.
Copyable brief for your visual draft
Replace the bracketed fields. Keep measurement notes distinct from the customer-facing design.
Prepare a flat belly band concept for [PRODUCT] using [APPROVED COPY] and [REFERENCE PHOTO]. My measured wrap path is [MM], planned overlap is [MM], and band width is [MM]. Mark the front zone and leave the joining area free of essential content. Do not invent a dieline, barcode, certification or material claim. Give me a concept and a physical-proof checklist; final production dimensions will be checked with my printer.Choose a simple wrap before a complex finish
For a small run, a plain strip with a tested join gives you fewer variables to solve. For a larger run or a shaped sleeve, involve the printer before polishing the composition. A visual mockup helps you discuss placement; a physical sample answers fit questions.
If the band tears at a corner, jams when removed or needs heavy pressure to close, revisit the structure and stock with the supplier. Enlarging the artwork or changing a shadow will not solve a physical fit problem.
Source
Supplier guidance checked November 13, 2026. The worked dimensions and acceptance checklist are original illustrative examples.
Frequently asked questions
How long should a belly band be?
Start with the actual wrap path and add the supplier-approved overlap or closure allowance. Package dimensions alone may miss bulges or construction details.
Can Ciyo produce the final print specification?
Use Ciyo to develop and review the visual concept. Check the final dimensions, cut lines, color setup and required file format with the printer before ordering.
Should every product use the same band?
Only when the measured structure and visible zones match. Test the smallest and largest filled packages before approving a shared layout.
Plan a belly band around your real package
Bring your approved copy and reference files, make one draft, and compare the result with your checklist before creating more versions.