Creative workflows
Packaging Dieline Artwork: Keep Structural Lines Separate from Design
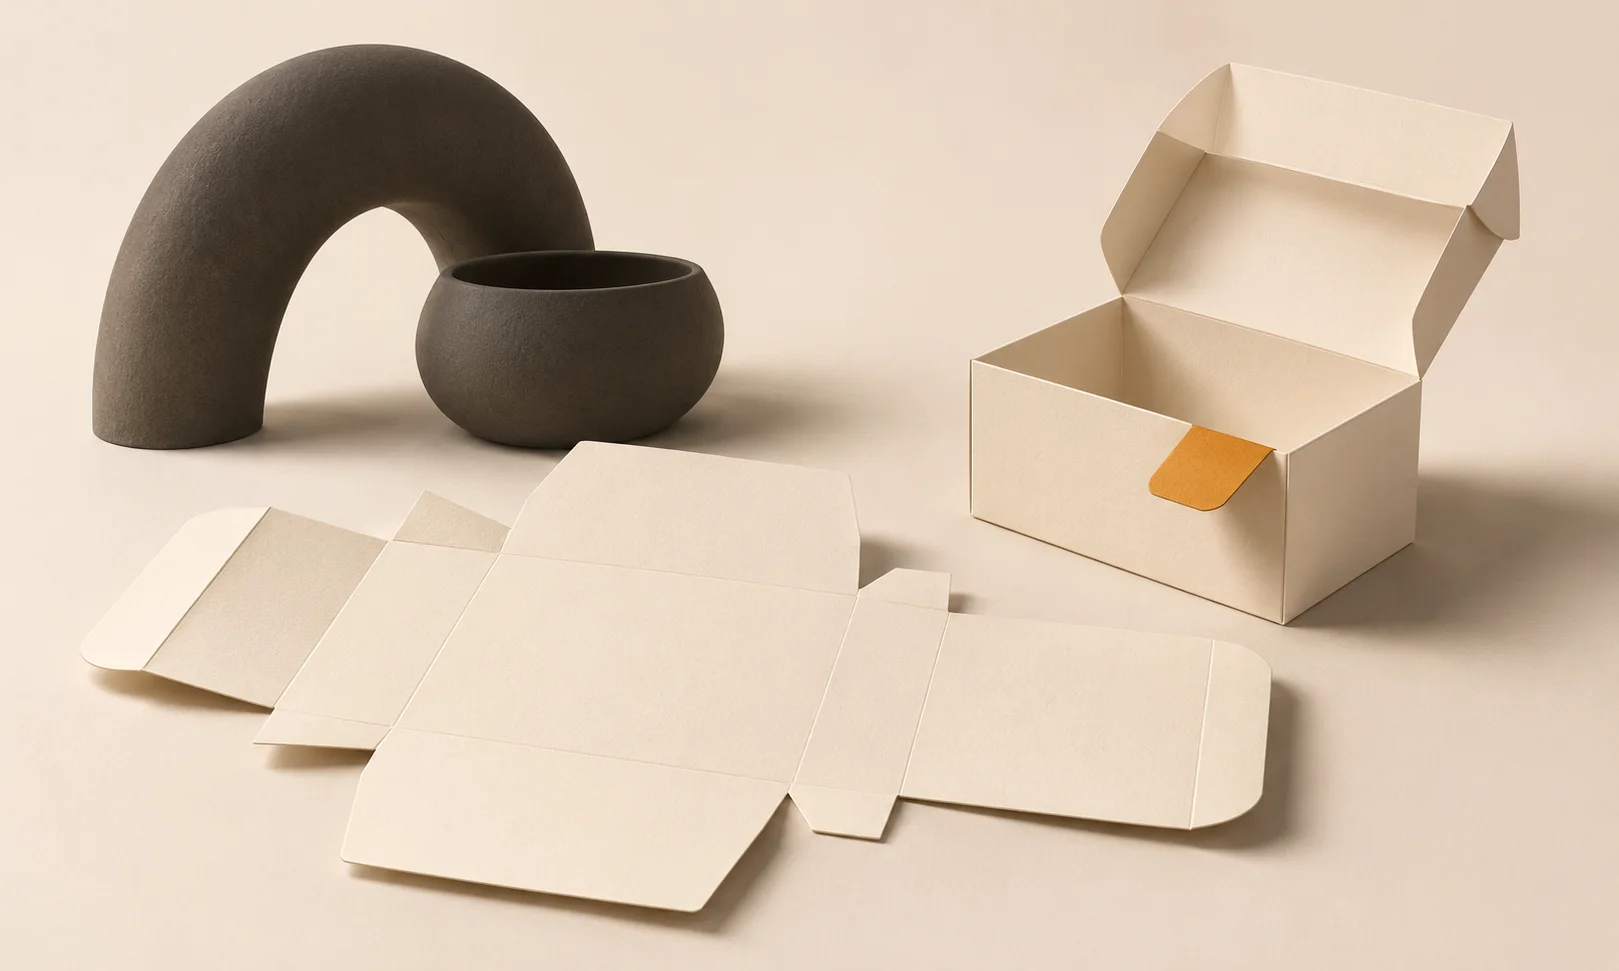
A convincing box mockup does not tell a printer where to cut, fold or leave a glue area. Artwork needs an approved structural template and a review of what each panel becomes after folding.
The example below is fictional and describes a manual design process. It is a preparation and review exercise, not a measured customer result or a completed production order.
Quick answer
Obtain the vendor’s dieline, identify the panels and restricted areas, then place artwork without changing the structure. Review a folded proof and hand the editable production file to the vendor for confirmation.
1. Request the approved structural template
For a fictional soap carton, ask the packaging vendor for the exact dieline revision, finished dimensions, substrate and artwork instructions. Do not trace a perspective mockup to invent the structure. Keep the original template untouched.
Label cut lines, folds, glue areas and any vendor-specific restrictions according to the supplied instructions. Colors or line styles are not universal standards; the vendor’s legend governs this particular file.
2. Map the flat panels to the folded object
Write front, back, sides and closing panels on a duplicate proof. Check the direction of the top and bottom flaps after folding. Place the main product name where it will face correctly on the finished carton.
Ciyo can help explore the visual direction with a flat reference and a concept mockup. Keep exact structural editing in a suitable packaging or vector-authoring tool unless the actual workflow has been verified. Do not call a generated mockup an editable production dieline.
3. Review the handoff with the vendor
Check that essential text stays outside the vendor’s restricted areas and that artwork follows its bleed instructions. If physical dimensions or structural lines changed during import, return to the untouched source template.
Prepare a flat proof, a folded-view proof and the editable source in the requested format. Ask the vendor to confirm the revision and production requirements. A screenshot of a box on a canvas is useful for discussion but does not replace a production file or physical sample.
Copy and adapt this request
Replace the bracketed fields with your own approved information. The requested output is a draft for review; the example has not been run as a model benchmark.
Using [VENDOR DIELINE REVISION] only as the structural authority, plan artwork for [PRODUCT]. Map panels, orientation and restricted areas from the supplied legend. Do not redraw, resize or infer cut/fold/glue geometry. Separate concept mockup requests from production-file tasks and list questions for the packaging vendor.Dieline handoff inventory
These example checks describe acceptance criteria, not observed model results.
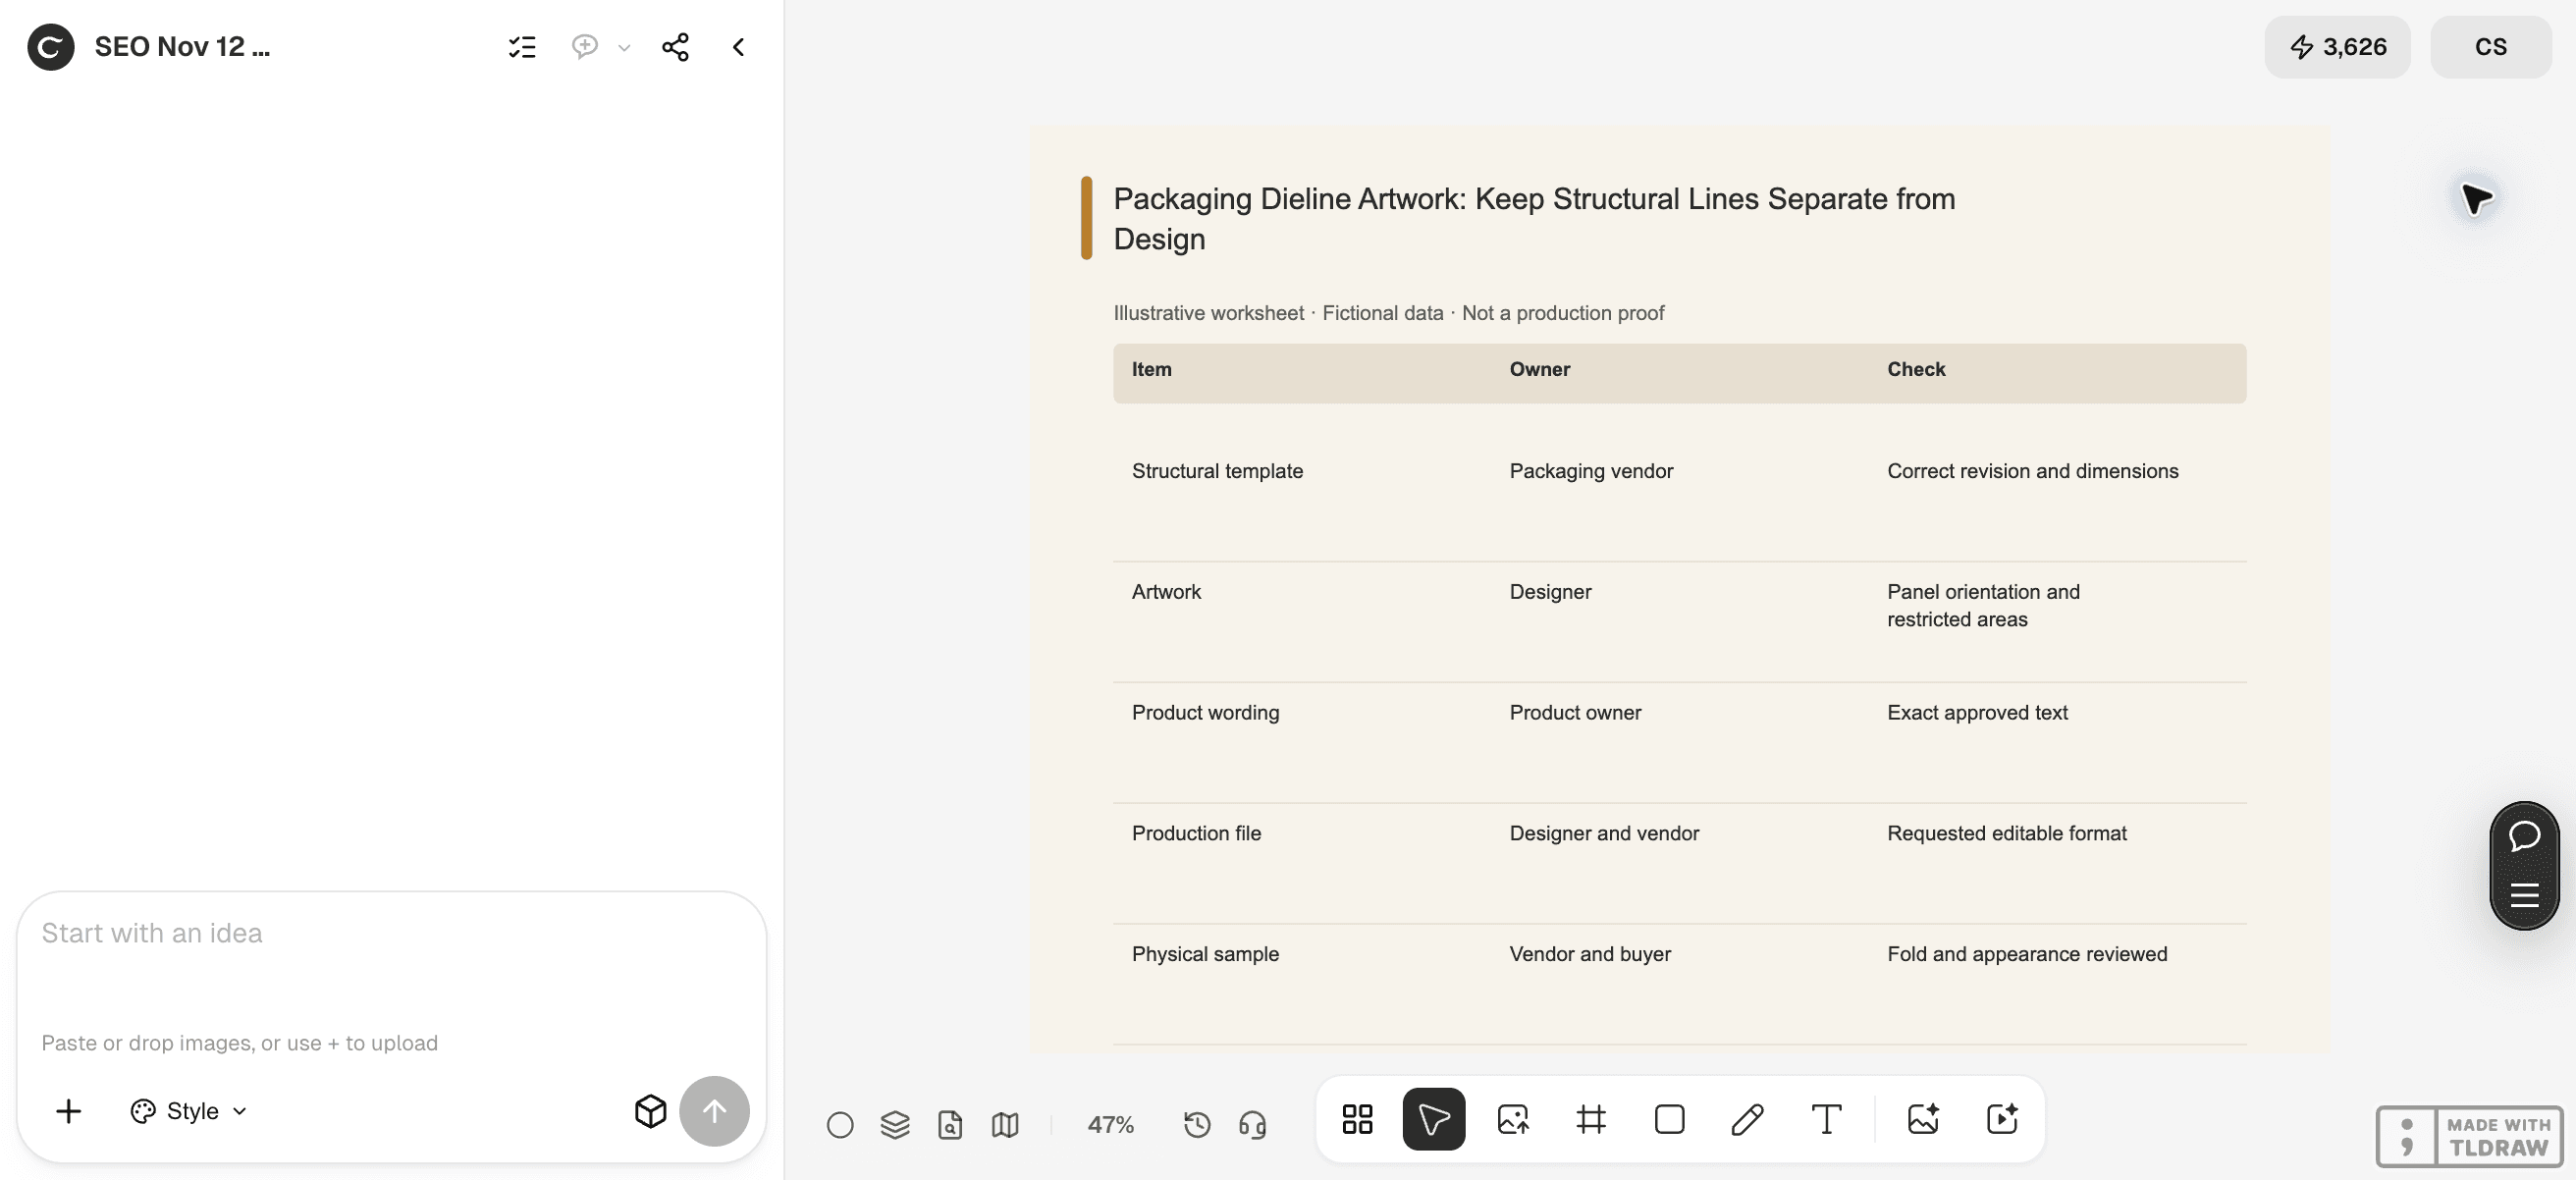
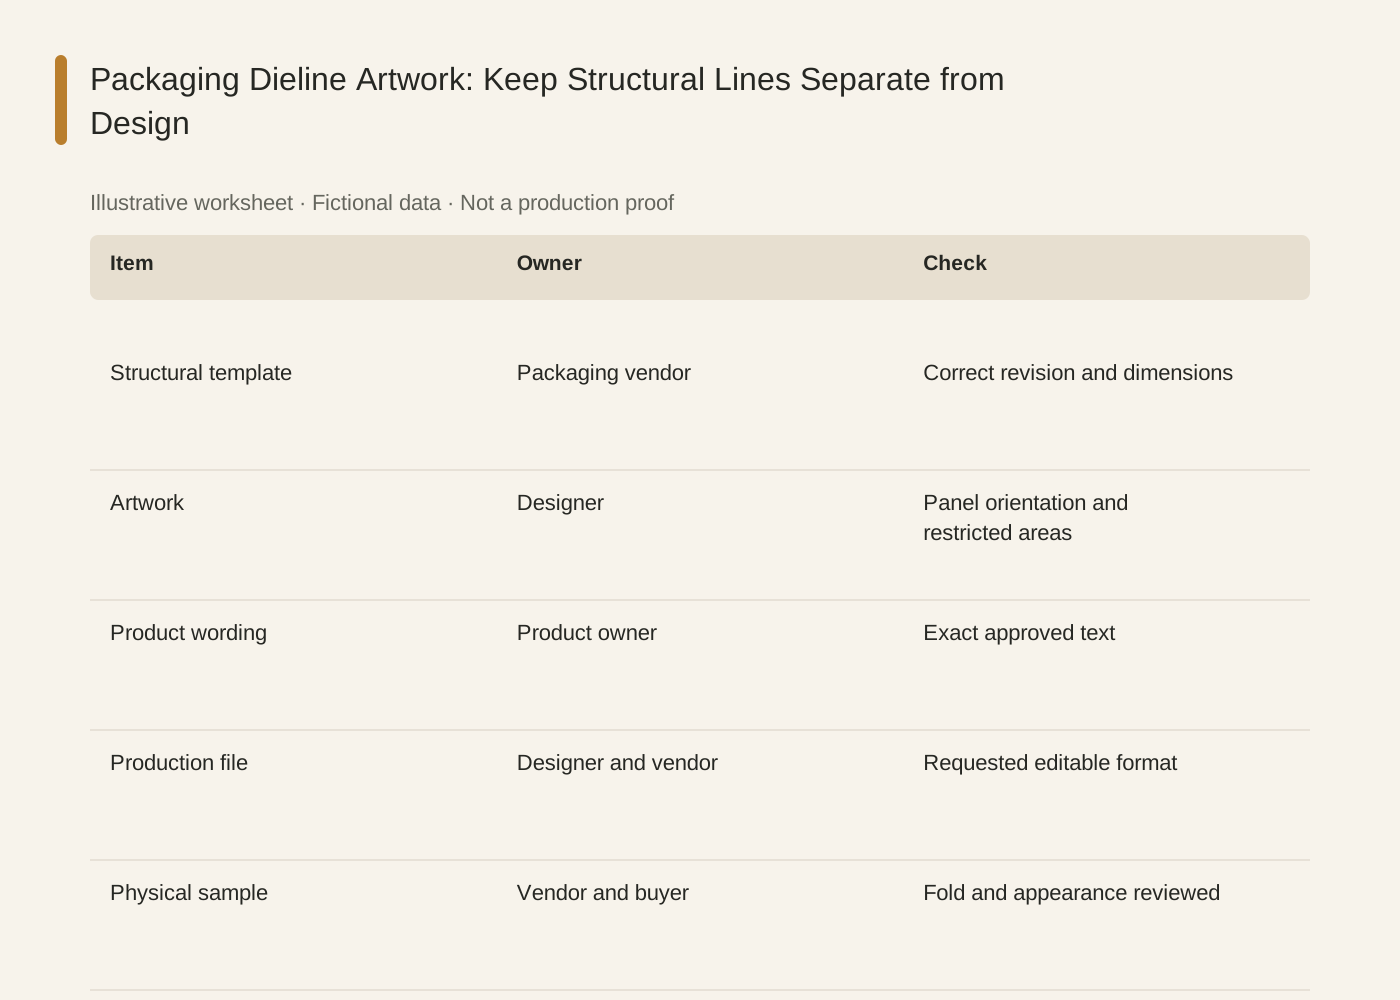
The linked SVG is an illustrative worksheet containing the same fictional review fields. It is separate from native editable canvas text and from a finished production design.
| Item | Owner | Check |
|---|---|---|
| Structural template | Packaging vendor | Correct revision and dimensions |
| Artwork | Designer | Panel orientation and restricted areas |
| Product wording | Product owner | Exact approved text |
| Production file | Designer and vendor | Requested editable format |
| Physical sample | Vendor and buyer | Fold and appearance reviewed |
Common mistakes and how to recover
Do not flatten technical cut lines into a photograph and describe it as an editable template. Keep the real structural source.
If a mockup shows a flap working differently from the supplied dieline, resolve the discrepancy with the vendor before approving the artwork.
Choose a working method and make the handoff
For a solo shop, start with one item and keep the source facts beside the draft. A team should name one approver and keep a dated version so an old comment cannot silently override the current decision. If the input is incomplete, return to the owner of that fact before polishing the artwork.
Use Ciyo for the visual work described here with the controls and models currently offered in your account. Keep the approved copy separately and add exact wording with editable canvas text where needed. A generated picture is a visual draft; inspect its exported file before using it.
Sources and further reading
Primary documentation and related guides used for this article. Availability and controls can vary by account; verify them before beginning your own run.
Frequently asked questions
Can an AI box image replace a dieline?
No. A perspective concept image does not define manufacturing geometry.
Are cut-line colors universal?
No. Use the vendor’s legend and instructions rather than assuming a particular color always means the same thing.
What can a small business do first?
Request the correct template and annotate the panels. That resolves more production uncertainty than polishing a speculative mockup.
Prepare one visual draft in Ciyo
Bring the approved inputs and review one version against the checks in this guide before making more variants.