Practical design guides
Earring Card Template: Plan the Holes Around the Jewelry
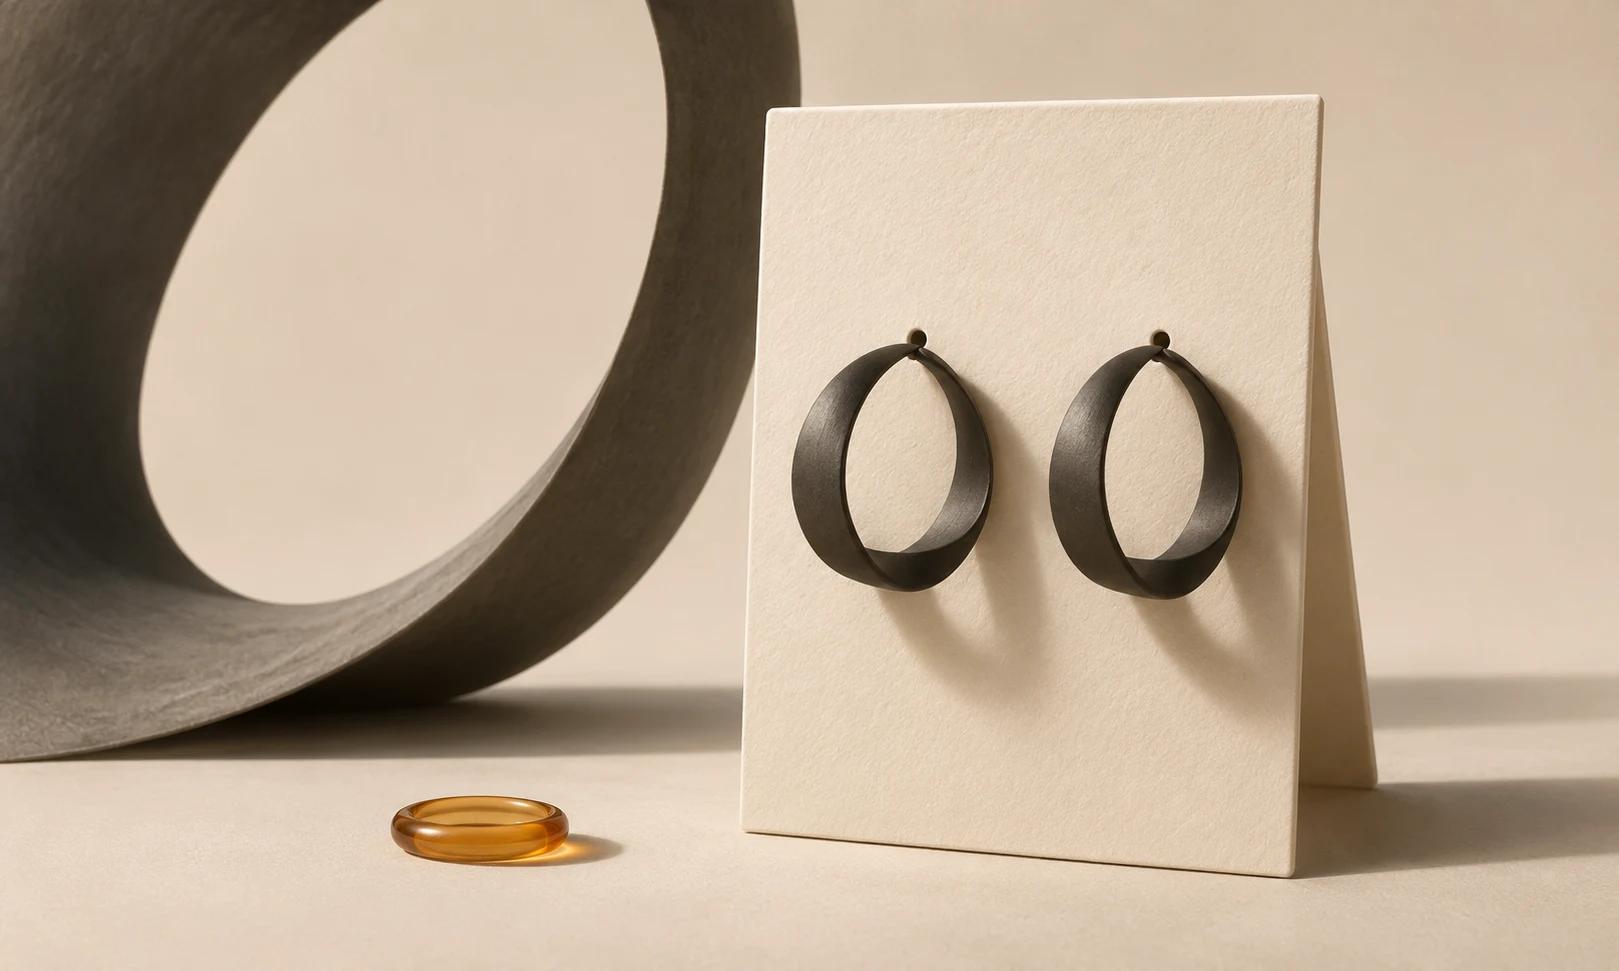
The first test of an earring card is what happens when the earrings are attached. A logo can disappear behind a hoop, a long drop can extend beyond the card, and the wrong hole can make packing awkward.
This tutorial uses printer guidance and an original fictional jewelry-shop layout. It explains how to brief and review the artwork in Ciyo, while leaving punching, stock and production tolerances to a physical sample and your supplier.
Quick answer
Lay the actual pair on a blank card, mark its attachment points, and reserve space for its full silhouette. Design the brand and supporting copy around that occupied area. Test a printed and punched prototype before making a sheet of duplicates.
1. Choose one earring construction for the first template
Start with a stud, hook, hoop or clip-on pair that represents the range you want to package. Do not assume one hole pattern suits all four. Measure the occupied width and drop with the jewelry attached as it will be displayed, including closures behind the card.
Our fictional Alder Studio pair occupies 36 mm across and hangs 42 mm below its attachment points. We begin with a 60 × 85 mm blank card as an example, not a recommended universal size. Put the real jewelry on paper and adjust the blank before adding artwork.
2. Locate holes before centering the logo
Mark attachment points on the blank with a pencil. Leave enough material between a hole and an edge for the chosen card stock and the supplier’s drilling process. Ask the printer which hole or slot shape is suitable for your construction; tiny stud holes and slots for other findings solve different problems.
Avery’s jewelry-card guide recommends marking positions before punching and warns against using the jewelry itself to make the holes. For commercially drilled cards, use the supplier’s specified hole size and minimum clearances. A hole symbol in a design file does not physically perforate the card.
3. Brief the artwork in Ciyo with an occupied-area reference
Open a separate project and import a photograph of the blank card with the jewelry in place. Add a simple marked reference showing the card boundary, attachment points and the region covered by the earrings. Give the Design agent the approved shop name and the minimum copy you need.
For Alder Studio, keep the name above the pair and place the product identifier on the back. Avoid a central logo that the jewelry hides. Ask for a restrained layout with enough contrast to read in a product photo. Keep editable wording separate from any generated decorative picture.
Live Ciyo check: a reviewed worksheet, not a finished card
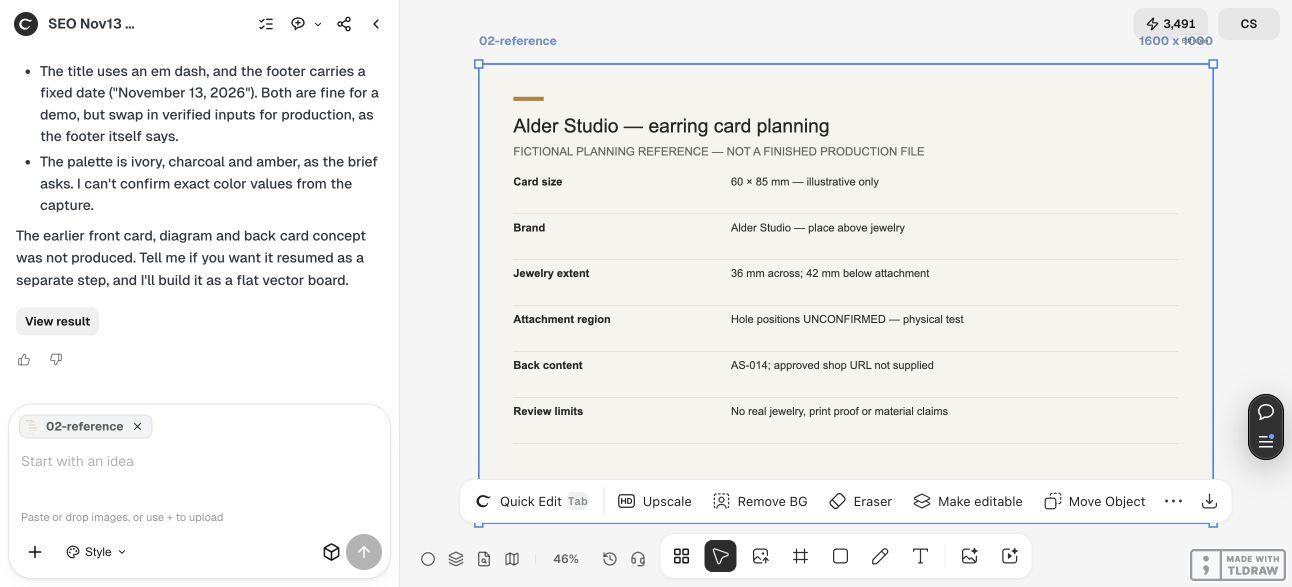
Our first fictional card-concept request stalled and was stopped without a finished asset. We then uploaded our own Alder Studio planning sheet for a separate text review. Ciyo checked the brand, jewelry extent, unconfirmed attachment region and AS-014 back content, and flagged missing real jewelry, supplier hole geometry and a physical proof. The review used a viewport capture because its image inspector did not accept SVG.
A practical front-and-back content plan
The locations below are planning choices for the fictional example; adapt them to the actual jewelry and card.
| Region | Content | Acceptance check |
|---|---|---|
| Top of front | Alder Studio | Visible with earrings attached |
| Attachment area | Confirmed hole guides | Matches actual findings |
| Lower front | Open space for drops | Jewelry stays within the display area |
| Back | Product code and approved shop URL | Closure does not cover essential text |
4. Print, punch and photograph one assembled sample
Print at actual size and measure the card rather than trusting the print-dialog preview. Punch the prototype with the intended tool, attach the pair and check that it sits level. Try removing and reattaching it: presentation should not depend on a difficult assembly maneuver.
Photograph the assembled card from the front and back. Check whether the earrings hide the brand, the closures rub against printed text or the card bends noticeably. A paper prototype establishes placement; the final stock and manufacturing method still need their own proof.
Copyable layout request
Replace the dimensions and words with your own verified inputs.
Help me plan an earring display card for [STUD / HOOK / HOOP / CLIP-ON]. Card size is [WIDTH × HEIGHT MM]. The attached jewelry occupies [BOUNDING AREA] from the confirmed attachment points in [REFERENCE]. Use only [APPROVED BRAND AND COPY]. Keep the product and hole-clearance areas free of important text. Show front and back concepts separately. Do not invent material, allergy, safety or manufacturing claims. List the checks for an actual-size punched prototype.When to split the template
A maker selling a few similar studs can begin with one physical pattern. A range with heavy hoops, long drops and different closures is a better candidate for separate card formats. Keep the visual family consistent without forcing identical hole geometry.
Save the approved pattern with a product identifier and date. If a new design hangs lower, test it against the original before printing more cards. Scale the jewelry’s occupied area, not merely the card’s artwork.
Source
Primary guidance checked November 13, 2026. The shop, dimensions and layout plan are fictional.
Frequently asked questions
What size should an earring card be?
Choose the size after measuring the attached jewelry, its closures and the information the card must show. Test a blank before treating any example dimensions as suitable.
Can I use a printed dot as the hole?
A dot is a placement guide. Punching or drilling is a separate physical operation that must suit the finding and stock.
Can I claim the earrings are hypoallergenic on the card?
Only use product claims supplied and approved by the responsible business. Artwork preparation does not verify the materials or the claim.
Prepare one card around the real pair
Bring your approved copy and reference files, make one draft, and compare the result with your checklist before creating more versions.