Ciyo · Practical design
Hang Tag Design: Keep Both Sides Clear of the String Hole

A hang tag can look balanced on screen and lose part of its logo when a hole is punched. The reverse adds another trap: a hole at the front’s left edge appears on the back’s right edge when the physical tag is turned over.
Our November 5 development request used a fictional Alder Studio notebook tag and explicit example geometry. It was a digital proof request, not a printer-approved template or physical attachment test. The method below makes the geometry and factual copy reviewable.
Quick answer: locate the hole before laying out the copy
Start from the selected printer’s template, mark trim and attachment clearance, and assign separate front and back files. Keep the technical guides outside the clean artwork. Review the reverse as the back of a physical object, not as an unrelated picture.
Use only approved item facts. A tag is too small to rescue a missing product specification with fine print, and a polished design does not verify a certification or material claim. Leave unknown details out until the owner supplies them.
1. Establish the template and the attachment
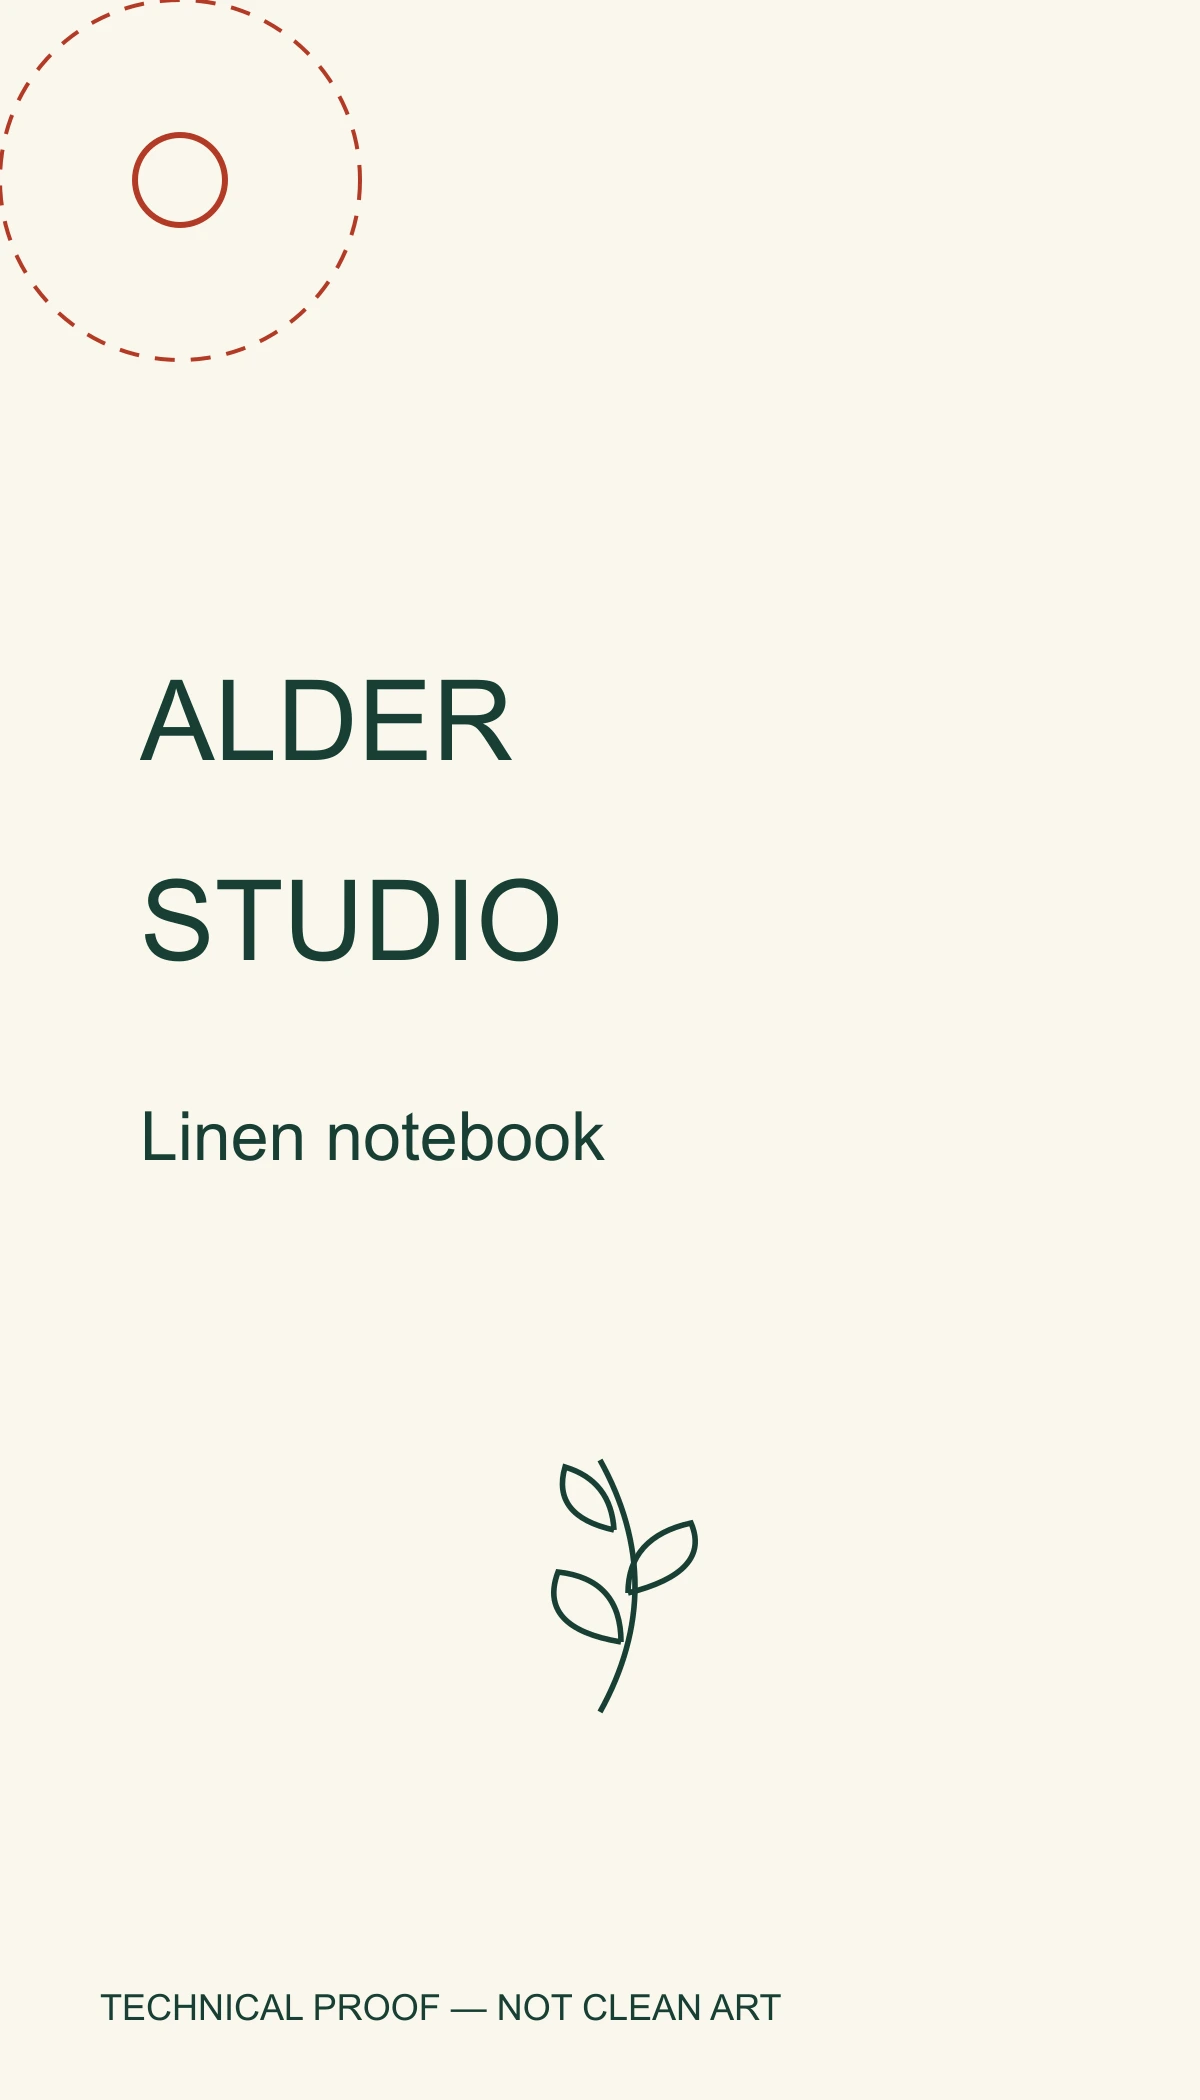
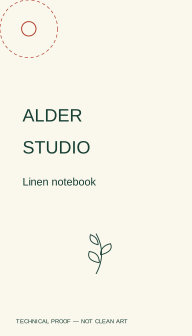
The fictional example has a 2 × 3.5 inch trim and a 0.15 inch hole whose center is 0.3 inch from the top and left on the front. These dimensions explain the proof; they are not a universal print standard or endorsement by a supplier.
For a real job, confirm the cut shape, hole diameter, placement, cord and corner treatment with the printer. Account for what the knot or fastener hides. A line that clears the hole may still sit behind the attached string.
| Item | Front | Back viewed upright |
|---|---|---|
| Trim width | 2 inches | 2 inches |
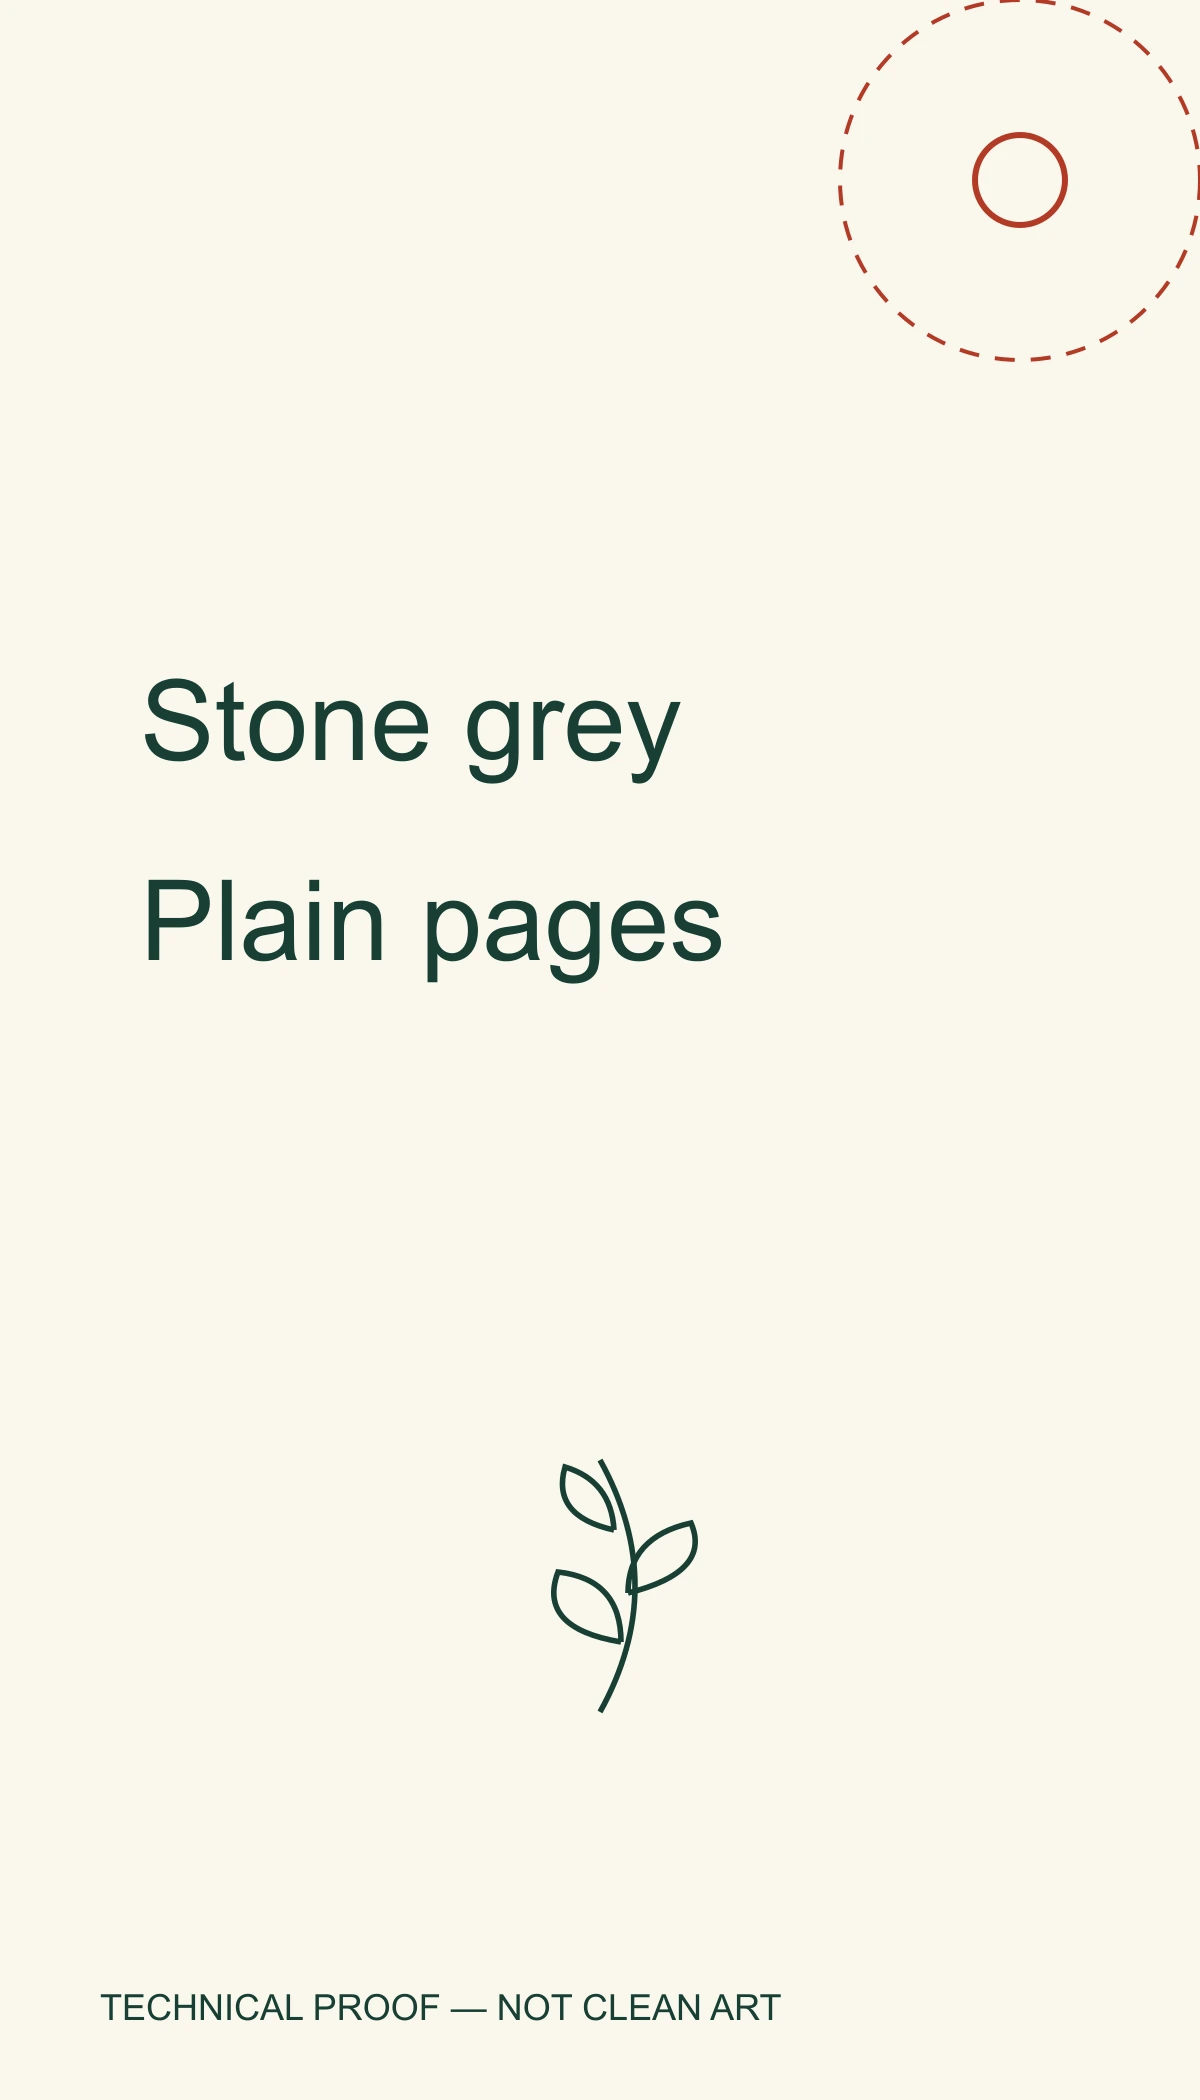
| Hole center from left | 0.3 inch | 1.7 inches |
| Hole center from top | 0.3 inch | 0.3 inch |
| Lettering | Reads normally | Reads normally |
2. Give Ciyo geometry and copy separately
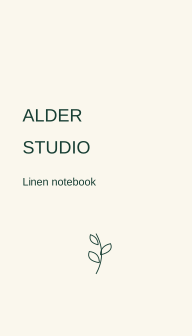
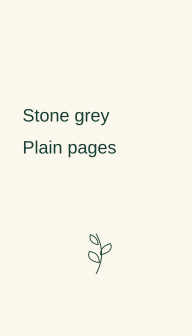
Provide the template and exact front/back wording. Our front says ALDER STUDIO and Linen notebook; the back says Stone grey and Plain pages. There is no price, certification or care claim. Ask for two flat sides and a separate guide proof.
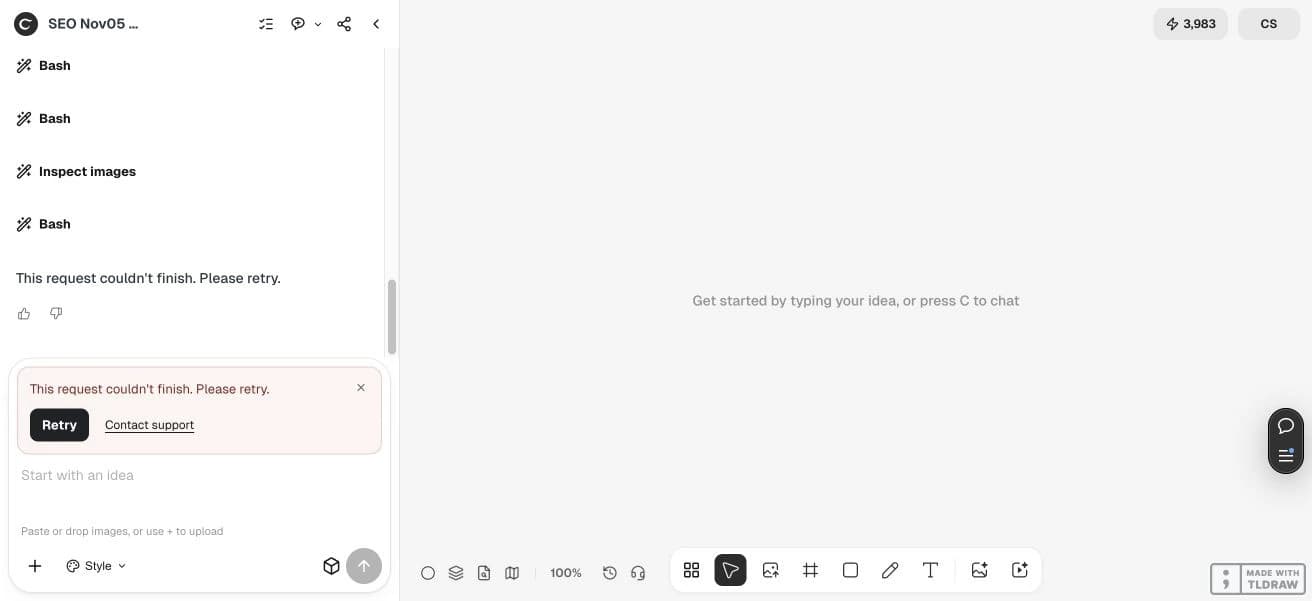
Request an editable source and a raster preview, then check which handoffs are actually available. The development agent request did not establish a complete usable source delivery. A rendered tag image must not be described as an editable or printer-approved file simply because it looks finished.
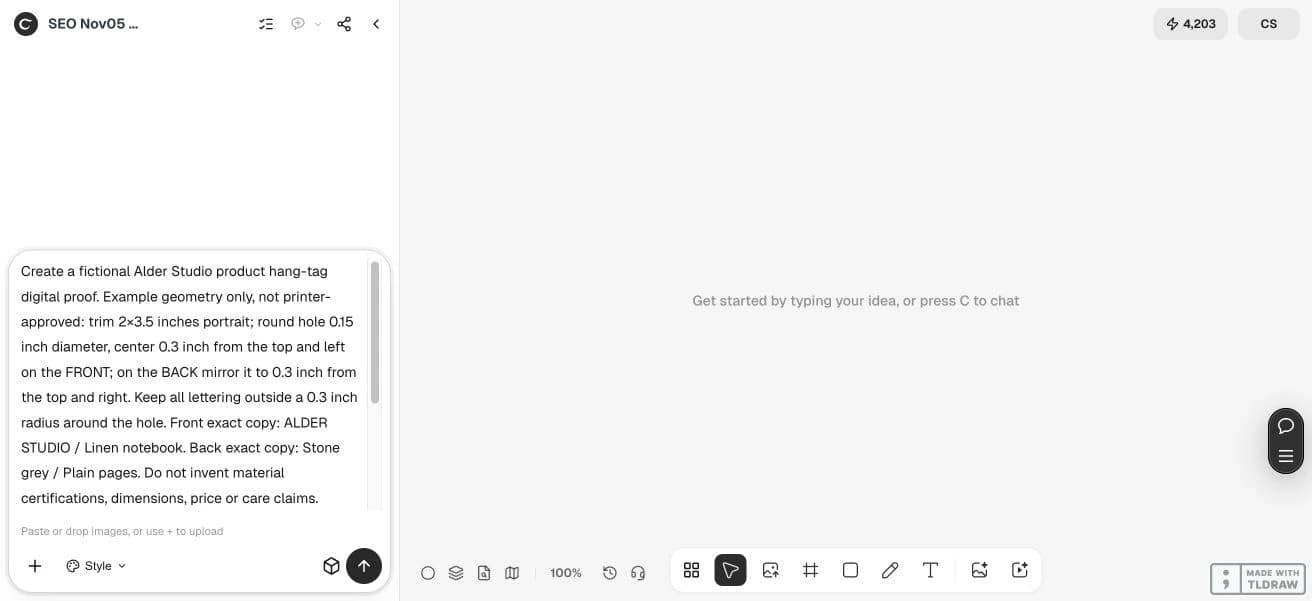
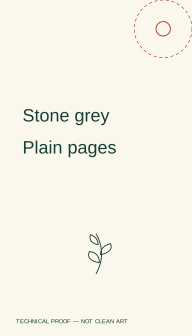
Create a fictional Alder Studio product hang-tag digital proof. Example geometry only, not printer-approved: trim 2×3.5 inches portrait; round hole 0.15 inch diameter, center 0.3 inch from the top and left on the FRONT; on the BACK mirror it to 0.3 inch from the top and right. Keep all lettering outside a 0.3 inch radius around the hole. Front exact copy: ALDER STUDIO / Linen notebook. Back exact copy: Stone grey / Plain pages. Do not invent material certifications, dimensions, price or care claims. Ivory/dark green, original small leaf mark. Return separate front/back editable SVG files if supported and PNG previews on canvas. Include a separate technical proof with hole/trim guides that are absent from the clean artwork. Inspect back orientation and record dimensions. No physical printing or publication.3. Mirror the hole, not the lettering
On a two-inch-wide tag, the front hole center at x = 0.3 inches corresponds to x = 1.7 inches when the back is viewed upright. The text on the back still reads normally; only the physical reference location changes.
Put front and back next to a simple turning diagram and compare their top edges. If the hole is centered, it will remain centered and hide this error, so an off-center example is useful for checking the setup. Confirm the printer’s own orientation convention before production.
4. Inspect clearance and small type
Our example reserves a 0.3 inch radius around the hole center. Treat that as an illustrative exclusion zone, not a supplier tolerance. Keep important lettering outside both this zone and the printer’s safe margin. Check a long product name before committing to the typography.
Look at the clean export and the technical proof separately. Guides that explain hole position to a reviewer should not accidentally print on the customer-facing tag. Distinguish a hole marker from an instruction for the printer to drill it.
5. Make a full-size attached dummy
Print one actual-size paper version, cut it, mark the hole and attach it with the intended string. Check the front, turn it over, and inspect what is obscured. A digital mockup cannot establish paper strength, drilling accuracy or how the tag hangs.
An individual maker can use this dummy to settle placement before ordering. A team should retain one approved template and version number so the artwork and supplier specification stay paired. Recheck the guide when changing printers, paper or attachment hardware.
The linked hang-tag worksheet files are original editorial examples authored outside Ciyo, not product exports. Their sample copy is English. Open the SVG in a compatible editor to revise the text; fonts may substitute. These are digital reading proofs without a physical print test or printer approval.
Questions before you start
Do I mirror the entire back design?
No. Keep text readable. Mirror the physical hole location according to how the tag turns and the printer’s orientation convention.
Can I use these exact margins for any printer?
No. The numbers are illustrative. Use the selected supplier’s current template and tolerances.
Is an attractive mockup ready to print?
A mockup does not establish dimensions, bleed, fonts, drilling instructions or material performance. Inspect the flat source and a physical dummy.
Can I add certification badges?
Only when the product owner supplies verified authorization and approved wording. This example contains no certification claims.
Start with one clear brief
Bring your approved facts and references to Ciyo. Inspect the saved result before using it in print or a campaign.