Event graphics
Design an event ticket with a tear-off admission stub
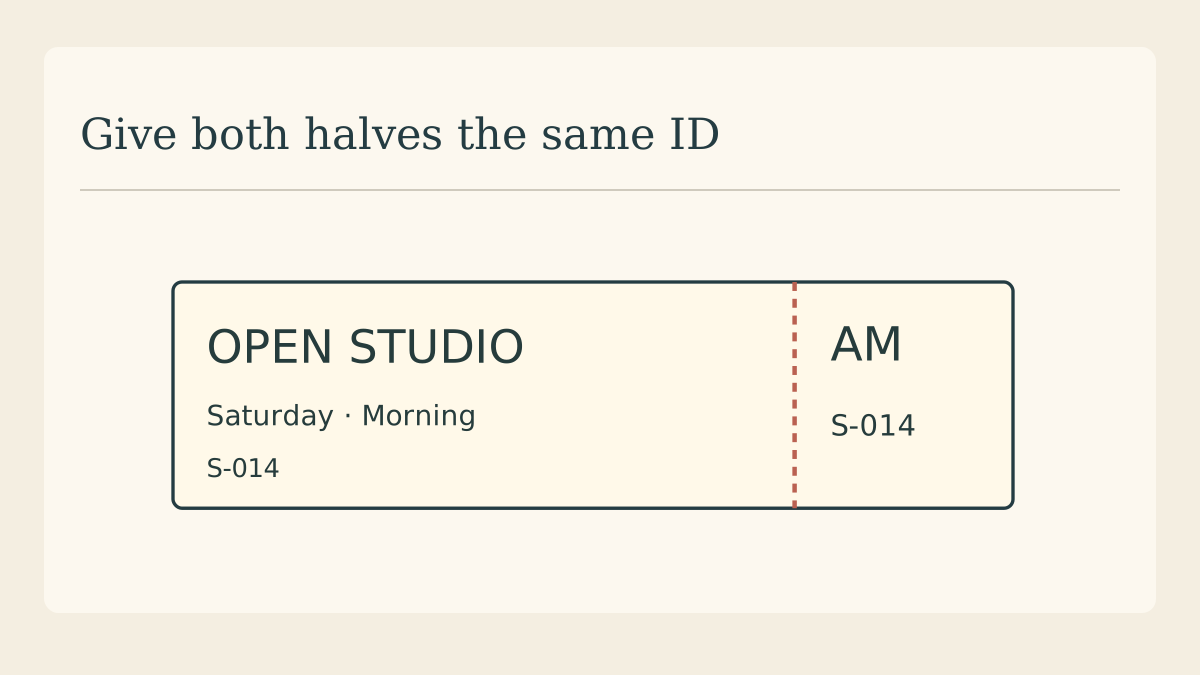
At a small studio open day, the guest keeps the event details while the door team keeps a numbered stub. The ticket needs to work after it has been torn in two. Draw the tear line before you design either half.
Decide what stays with the guest
Put the event name, date, start time and venue on the larger panel. If there are multiple sessions, give the session its own visible line. The person holding this half should still be able to find the right room.
Decide what the door team collects
On the stub, repeat the session and a short ticket identifier. For a design proof use something obviously fictional like S-014. Assigning and validating unique identifiers for a live event belongs to the organizer’s admission process.
Protect the tear line
Keep an empty strip along both sides of the cut or perforation. Do not let a digit sit on that line. Print a sample and tear it by hand to see where the paper wanders, especially when the stock is thin.
Check both halves apart
Place the two pieces on different sides of a table. Read the session and ID aloud from each. If the name of the venue vanished with the stub, move it back to the guest panel. If the door team cannot match the ID, repeat it more clearly.
Make a monochrome proof
Print one sample without colour and check the date, session and number in ordinary indoor light. Coloured backgrounds may turn the same shade of grey. A large letter or written session name gives the door staff another way to distinguish groups.
Give the printer a marked proof
Hand over the clean artwork and a separate diagram identifying trim and tear lines. Mark the direction the stub should pull. Keep the sample clearly labelled as a proof so staff can test the design without counting it as an admission.
Continue with the workshop artwork
Keep the same time, venue and session names on the matching workshop announcement.