Product photography
Keep two garments at the same scale in a flat-lay comparison
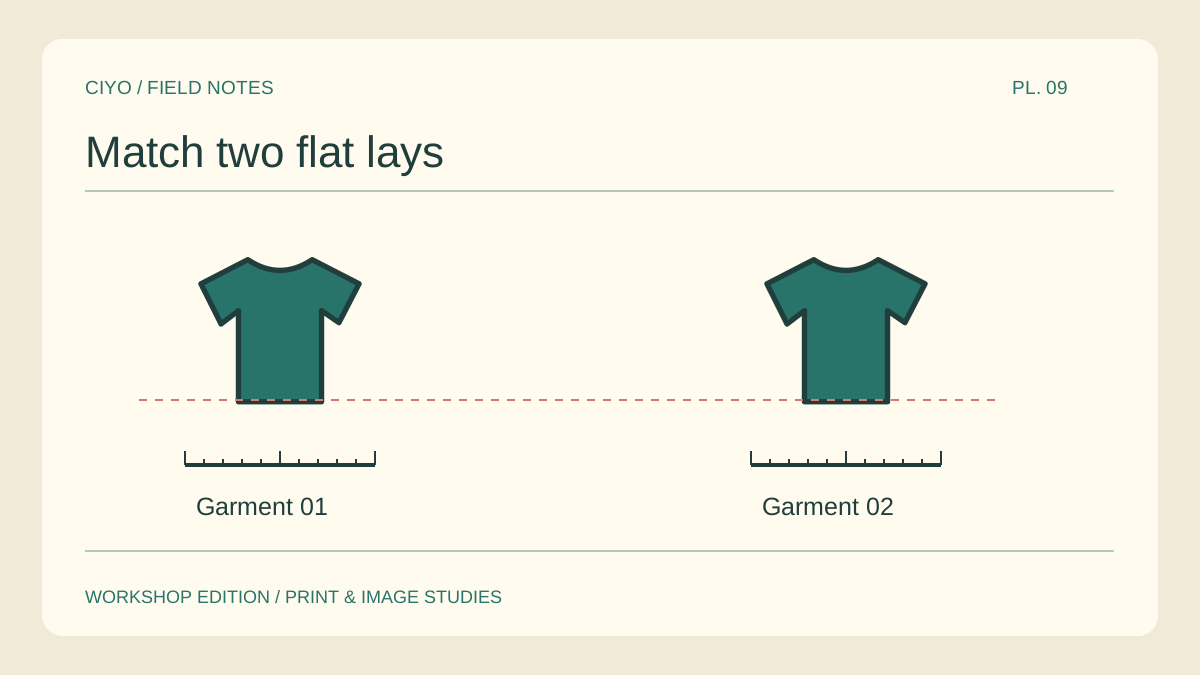
Two shirts photographed at different heights can look like different sizes on a product page. For a colour comparison, hold the scale constant and let the fabric reveal the difference. A reference ruler outside the delivery crop makes the change measurable.
Draw the working rectangle
Tape four removable corner marks around the area that will appear in the photograph. Include both sleeves in the first setup. Fix the camera height and make sure the sensor is parallel to the work surface.
Add a temporary reference
Lay a short ruler at one edge and capture a reference frame. Note how many pixels span a known distance. Remove the ruler without moving the camera and save the reference separately from the listing images.
Anchor the garment
Choose a repeatable point such as the centre of the back collar. Align the second garment to that point and arrange the sleeves with the same amount of bend. Keep genuine differences in the garment dimensions visible.
Match the fabric treatment
If one shirt is pressed and the other is creased, shadows can make the material look different. Prepare both in the same way. Use a single side light and avoid moving it while swapping garments.
Overlay the reference frames
Place the two images at partial opacity and align the corner marks. If the marks coincide but a hem differs, inspect the real garments. If the marks drift, correct the camera or crop before interpreting the difference.
Export at a shared scale
Apply one crop rectangle to both images and export at matching dimensions. Retain the ruler reference and the unedited pair. These files give another photographer a way to match a new colour next month.
Present the garment pair
Arrange the two approved colourways together without resizing one independently.