Blender workflow
GPT-6 Astra + Blender: script a simple product scene
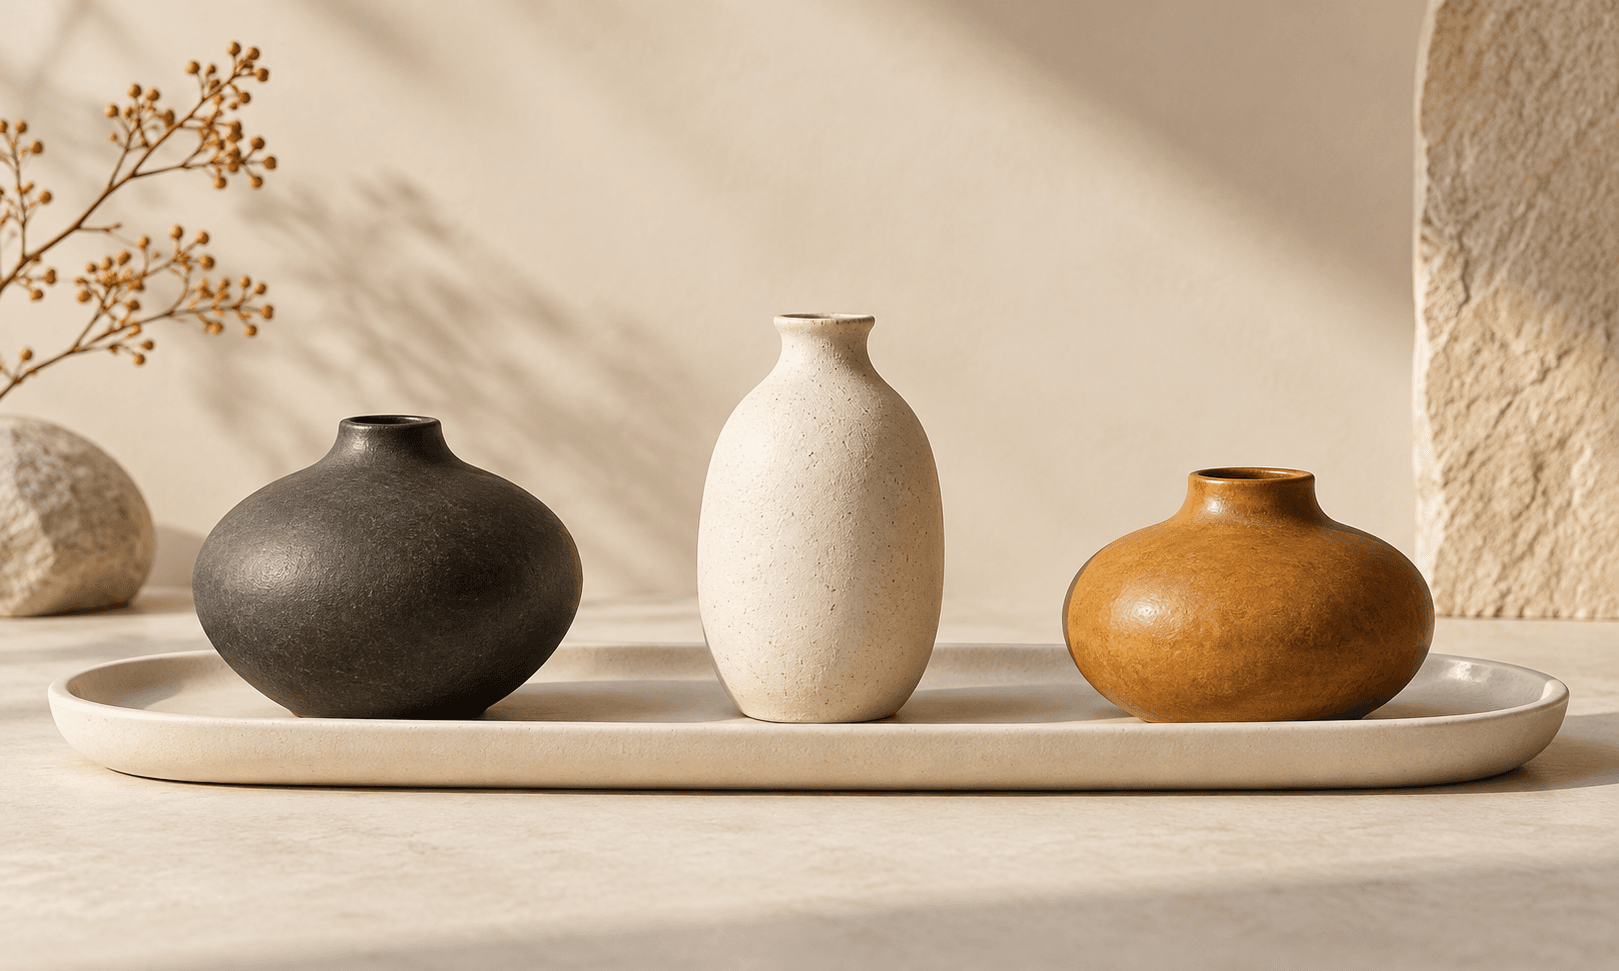
A useful GPT-6 Astra Blender project starts with a small deliverable: one recognizable object, one camera, and one render you can inspect. For a first product scene, that is more useful than asking for an entire polished campaign at once.
Our example is a fictional Juniper Pottery vase concept. The companion script creates the geometry, materials, lights, and camera in Blender 5.2.1, saves an editable scene, and renders comparison images. It is a reproducible tutorial asset, not an accurate model of a manufactured vase.
1. Give Astra a scene contract
Astra can help write and revise code; Blender executes the geometry and rendering operations. OpenAI documents Astra as a model with text output and tool support. Your working environment still needs Blender and an execution path. Selecting Astra in Ciyo does not turn the canvas into a Blender runtime.
For this task, specify a smooth vase with a visible opening, a neutral ground plane, and an orthographic product camera. Exclude external textures and add-ons so the first run does not depend on missing downloads.
Create a Blender 5.2 Python script for a fictional pottery vase concept. Use a revolved profile with an inner wall and visible opening, named materials and lights, one orthographic camera, and no external assets. Render a gray clay preview before applying color. Save a new .blend and PNG files in an explicit output directory. Preserve the input script and report errors. Do not claim manufacturing accuracy.2. Run the starter in an isolated output directory
Download the companion script and read it before running it. It clears the scene in its fresh Blender process, so use a separate process and a dedicated output folder. The command below uses Blender’s own Python environment rather than a system Python interpreter.
Run: blender --background --factory-startup --python product_scene.py -- ./demo-output. Replace blender with the full executable path if needed. On our Mac, that executable was /Applications/Blender.app/Contents/MacOS/Blender. The script produces seven PNGs, juniper-vase.blend, and a run-manifest.json recording the engine, size, and controlled failure test.
3. Inspect the gray form before judging the finish
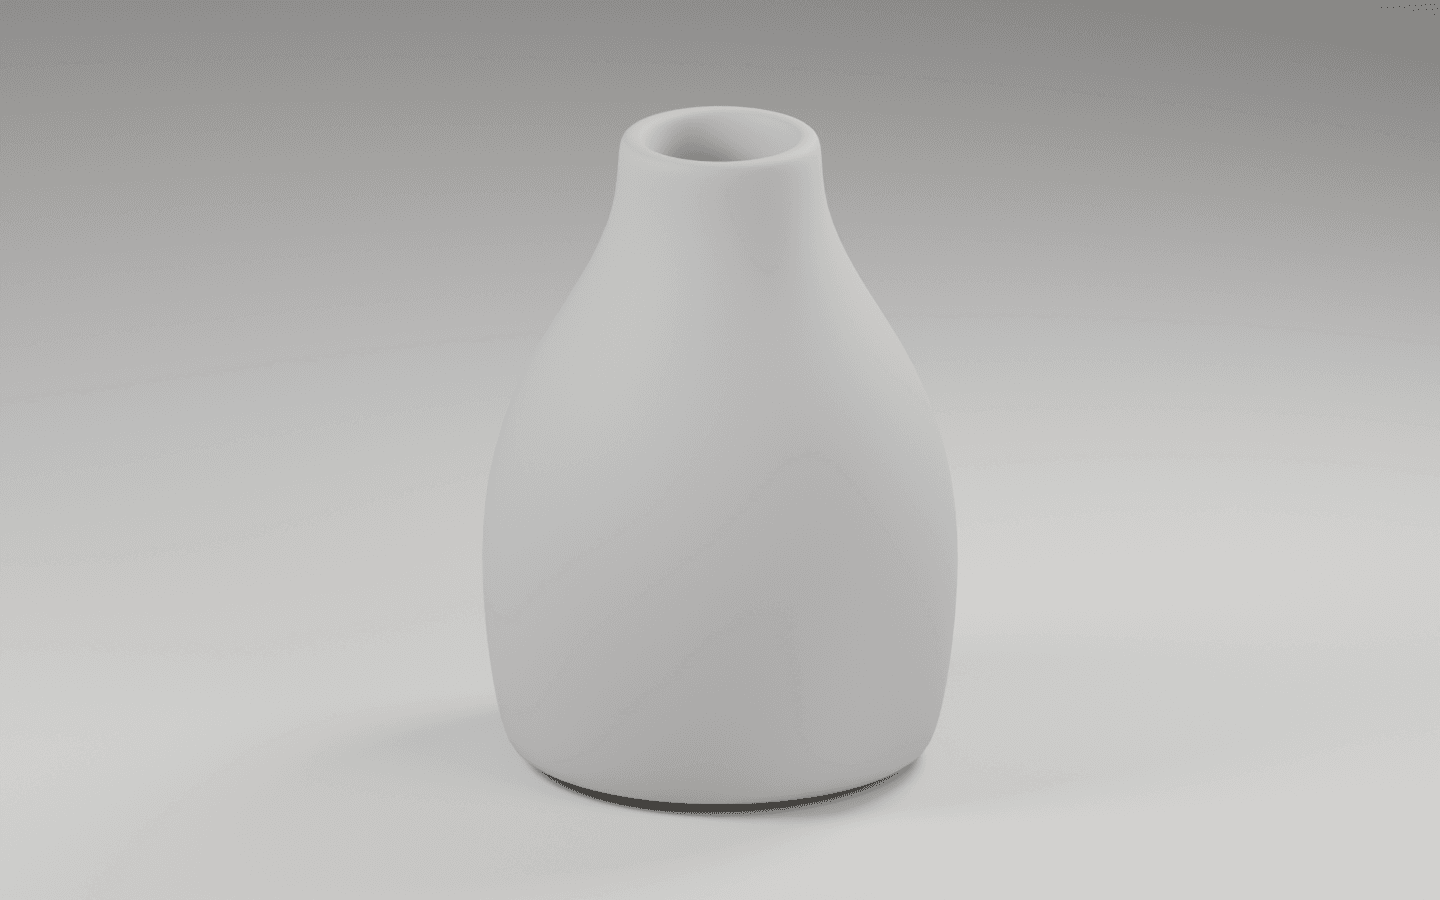
Open blockout.png first. Check the opening, shoulder transition, base contact, and overall silhouette. A smooth color render can make a structural problem less obvious; the neutral material keeps this review focused.
The demo revolves 21 profile points around 96 segments and uses a subdivision modifier to smooth the result. Those are implementation choices you can inspect in the script, not a topology recommendation for every asset. A vase intended for fabrication needs a separate dimensional and mesh-quality review.
4. Render the product direction and preserve the inputs
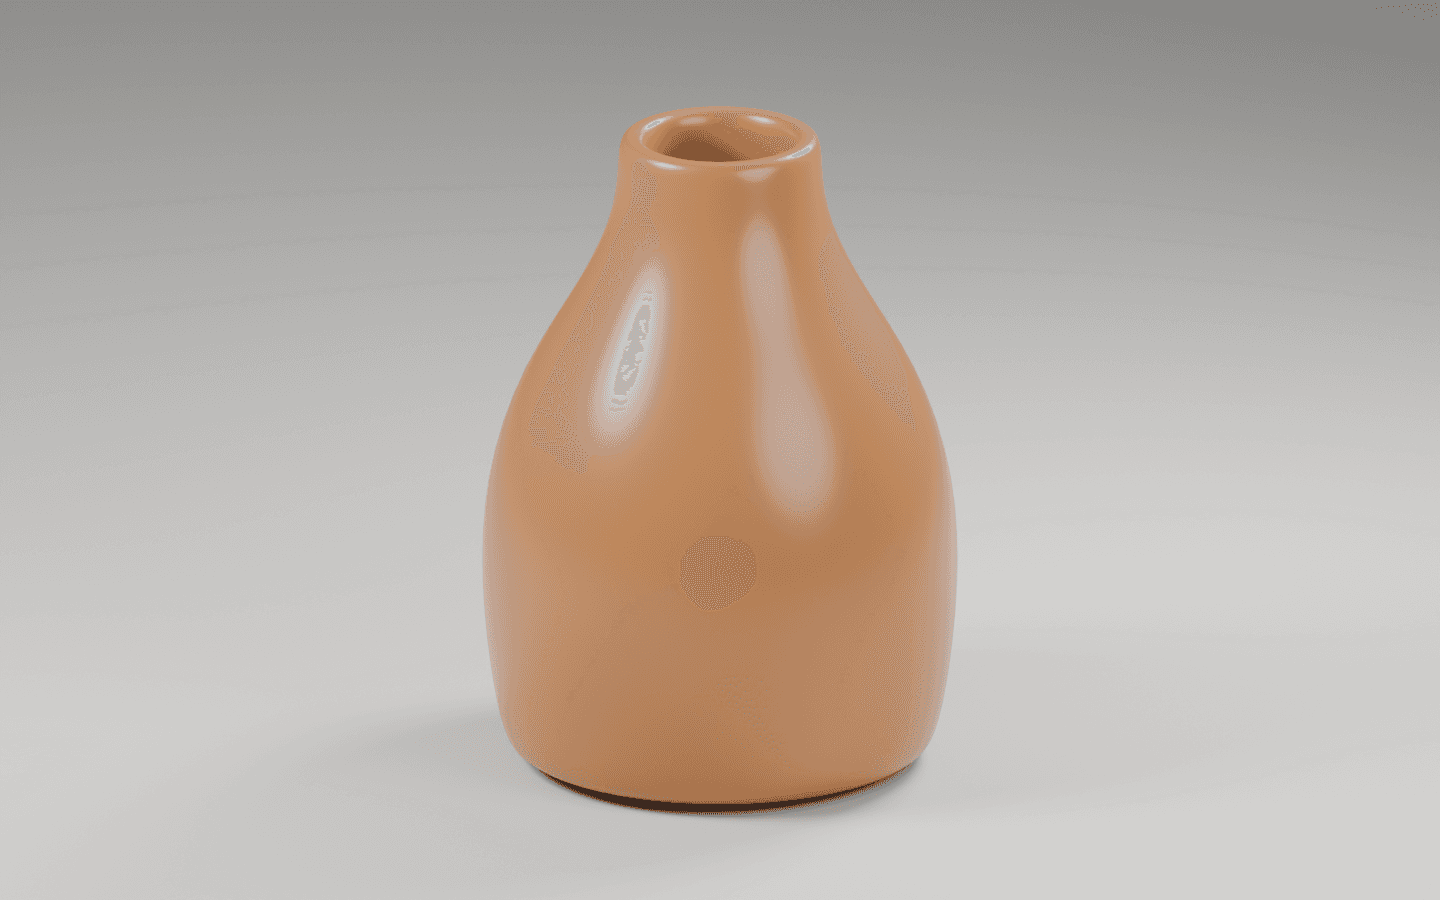
The studio result applies the amber material while keeping the geometry and camera fixed. We rendered it at 1440 × 900 with Cycles and 32 samples. Keep that file beside the gray preview rather than overwriting the only comparison.
Download the .blend if you want to inspect the actual scene. For a real catalog, replace the illustrative geometry with an approved product model and verify dimensions, finish, and color against the real object.
| Check | What to do | Decision |
|---|---|---|
| Geometry | Inspect the clay preview and scene | Approve the silhouette before styling |
| Rendering | Keep camera, engine, and size recorded | Make later comparisons reproducible |
| Handoff | Save script, .blend, and PNG | Retain editable source and visible output |
5. Bring the rendered images into Ciyo
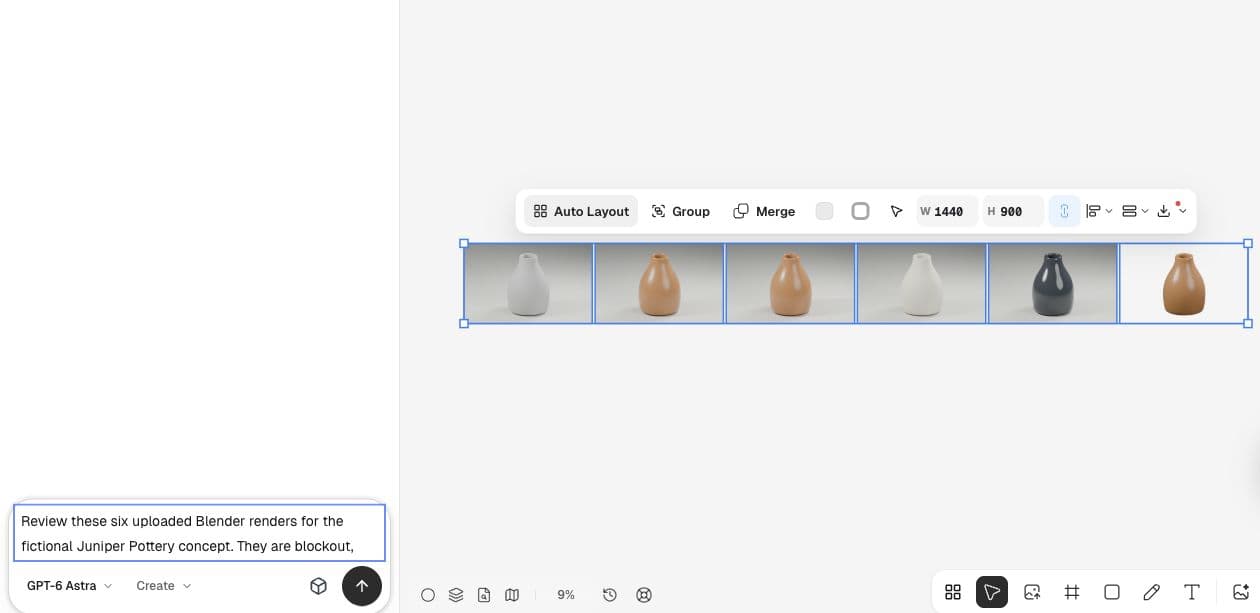
Upload the finished PNGs into a Ciyo project for layout and review. The screenshot shows the actual imported stages with Astra selected. Ask a narrow question about the visible result, and check whether the agent can access the image pixels before accepting a visual conclusion.
Our initial canvas review could read filenames and dimensions but reported unavailable previews. It supplied a checklist rather than pretending to inspect the images. That distinction matters: upload success and metadata access are not evidence of a completed visual critique.
Why the first version should have few moving parts
A recent Blender beginner described seams after applying a downloaded chocolate material to a tutorial object, and asked whether the cause was geometry, UVs, or shader mapping. That is a concrete example of why a first scene should isolate form before adding a complex finish.
Published September 16, 2026. The original work uses Blender Guru’s tutorial and a BlendKit material. Our vase starter is independent; the post provides no evidence of Astra or Ciyo use.
Practical questions
Does Ciyo execute this Blender script?
No. The demonstrated script runs in local Blender. We upload its PNG outputs into Ciyo for the subsequent visual workflow.
Is the vase ready for manufacturing?
No. It is an illustrative scene for learning a repeatable rendering workflow. Manufacturing requires separate dimensional, topology, thickness, and production checks.
Can I reproduce the result without asking Astra again?
Yes. The downloadable script contains the demonstrated scene and settings. Run it with Blender 5.2.1 and inspect your outputs; hardware and later software versions may affect rendering.
Bring your next product image into Ciyo
Open a canvas, upload the image you want to review, and make one clear decision before preparing the final asset.