Blender workflow
GPT-6 Astra + Blender: compare soft and hard product lighting
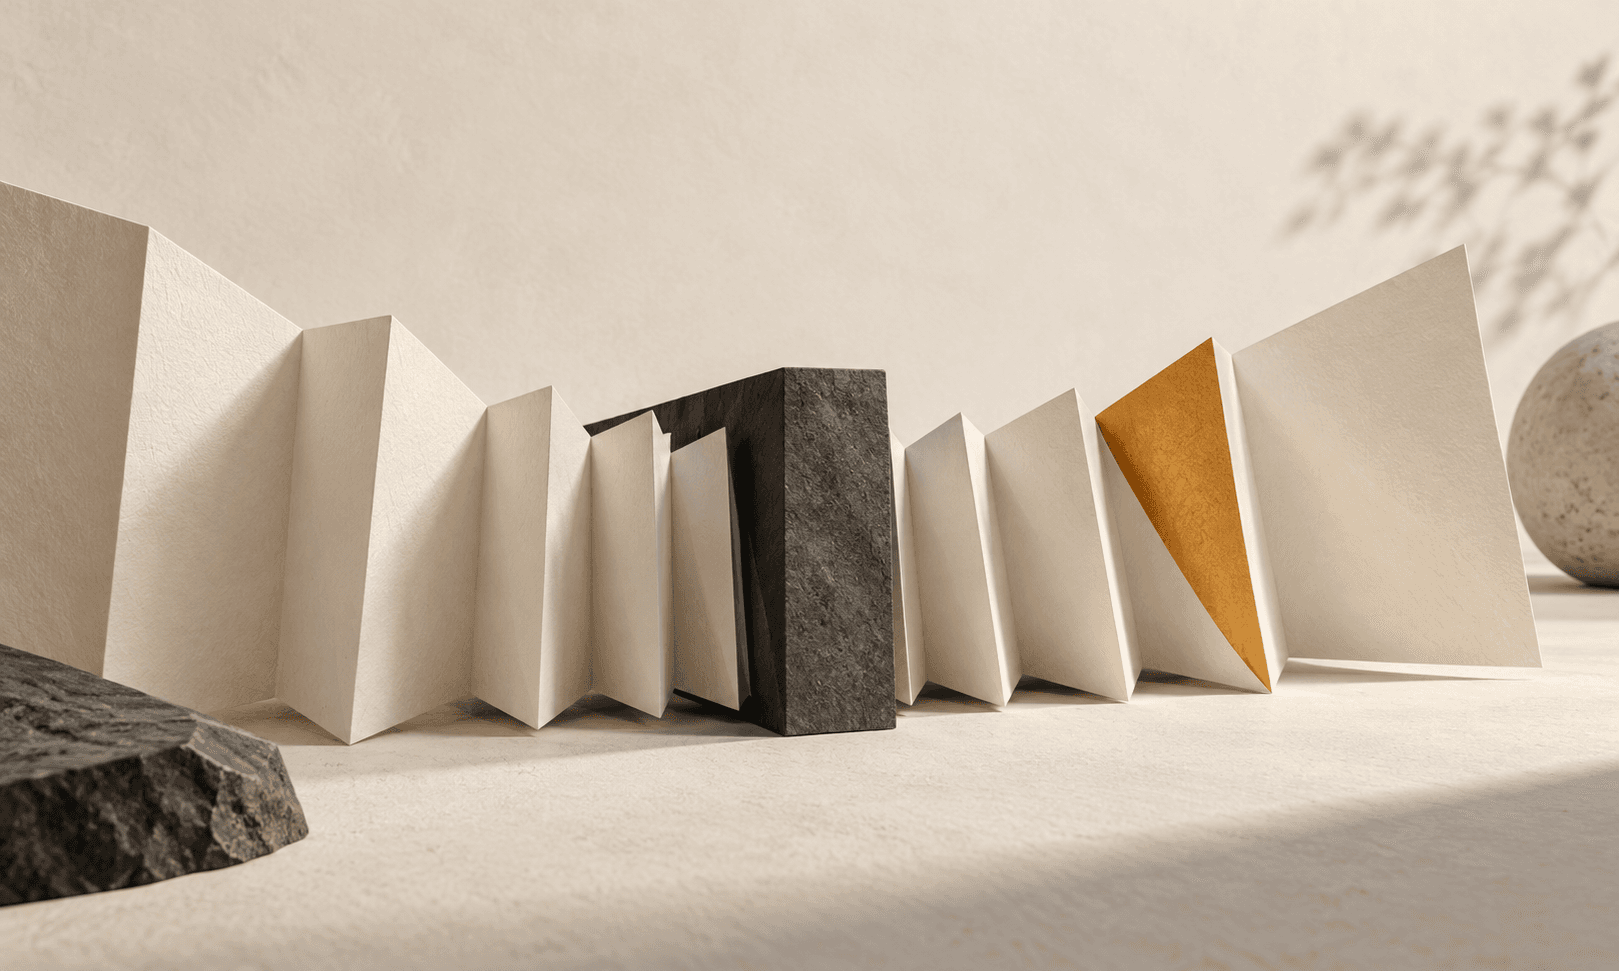
For a GPT-6 Astra Blender lighting task, make the comparison small enough to explain. Keep the product, camera, and material fixed, then change one light property. Otherwise you may prefer an image without knowing which change helped.
The Juniper vase example compares a broad key light with a much smaller one. Both images come from the same tested Blender script. The question is practical: which shadow treatment suits a calm product presentation?
1. Freeze the scene before changing the light
Use the companion scene from the product-scene guide. It has an amber vase, an orthographic camera, a gray floor, and key, fill, and rim area lights. Keep these objects and the output size unchanged for the comparison.
Ask Astra to change the named Key light only. Explicit names matter: a request to “make it softer” can otherwise invite new lights, material changes, or a camera move, making the two results difficult to compare.
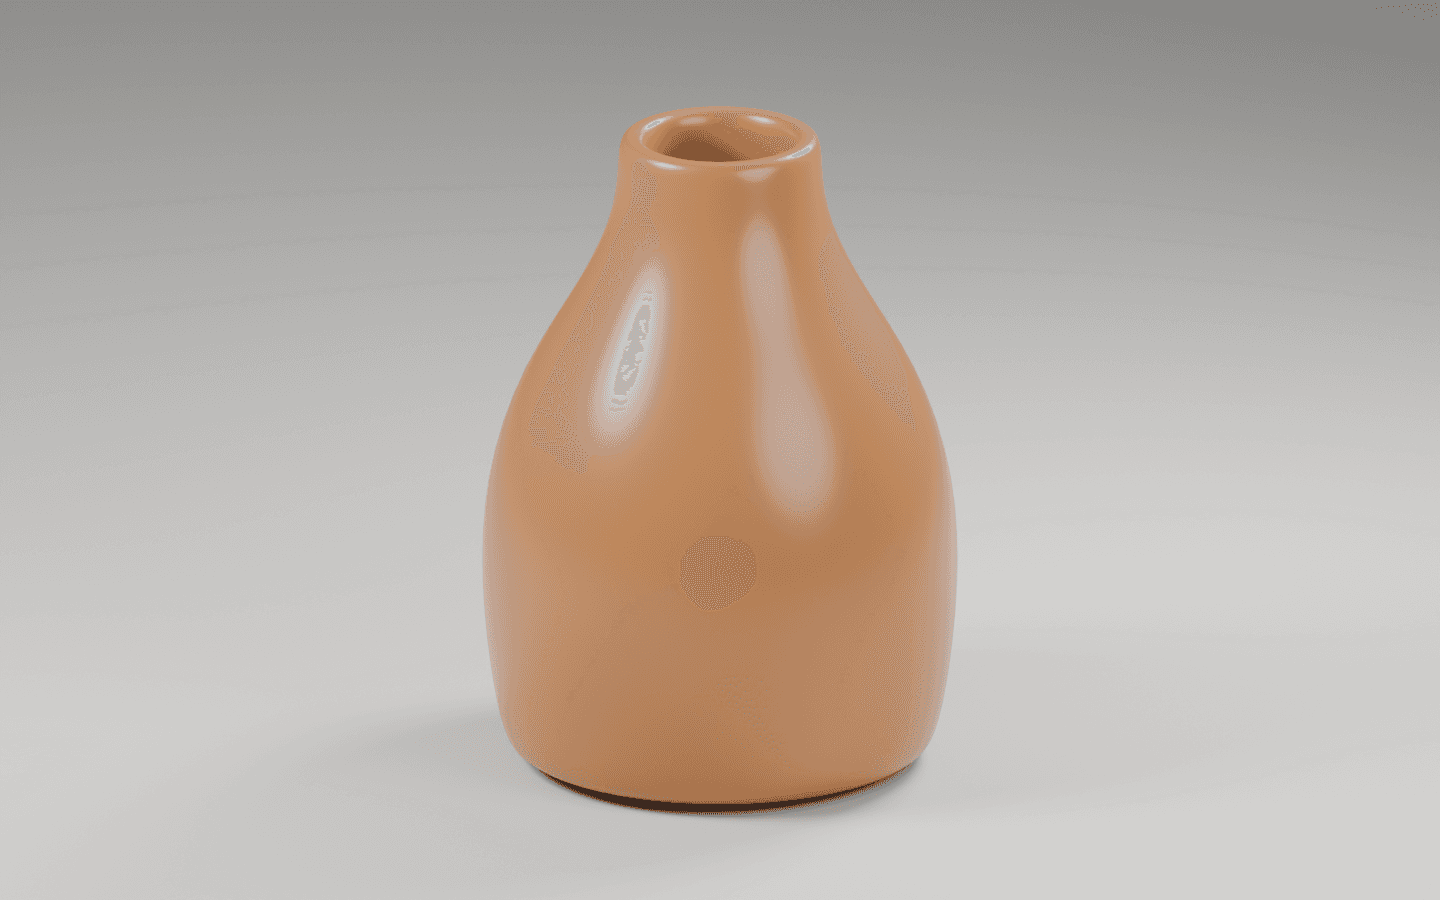
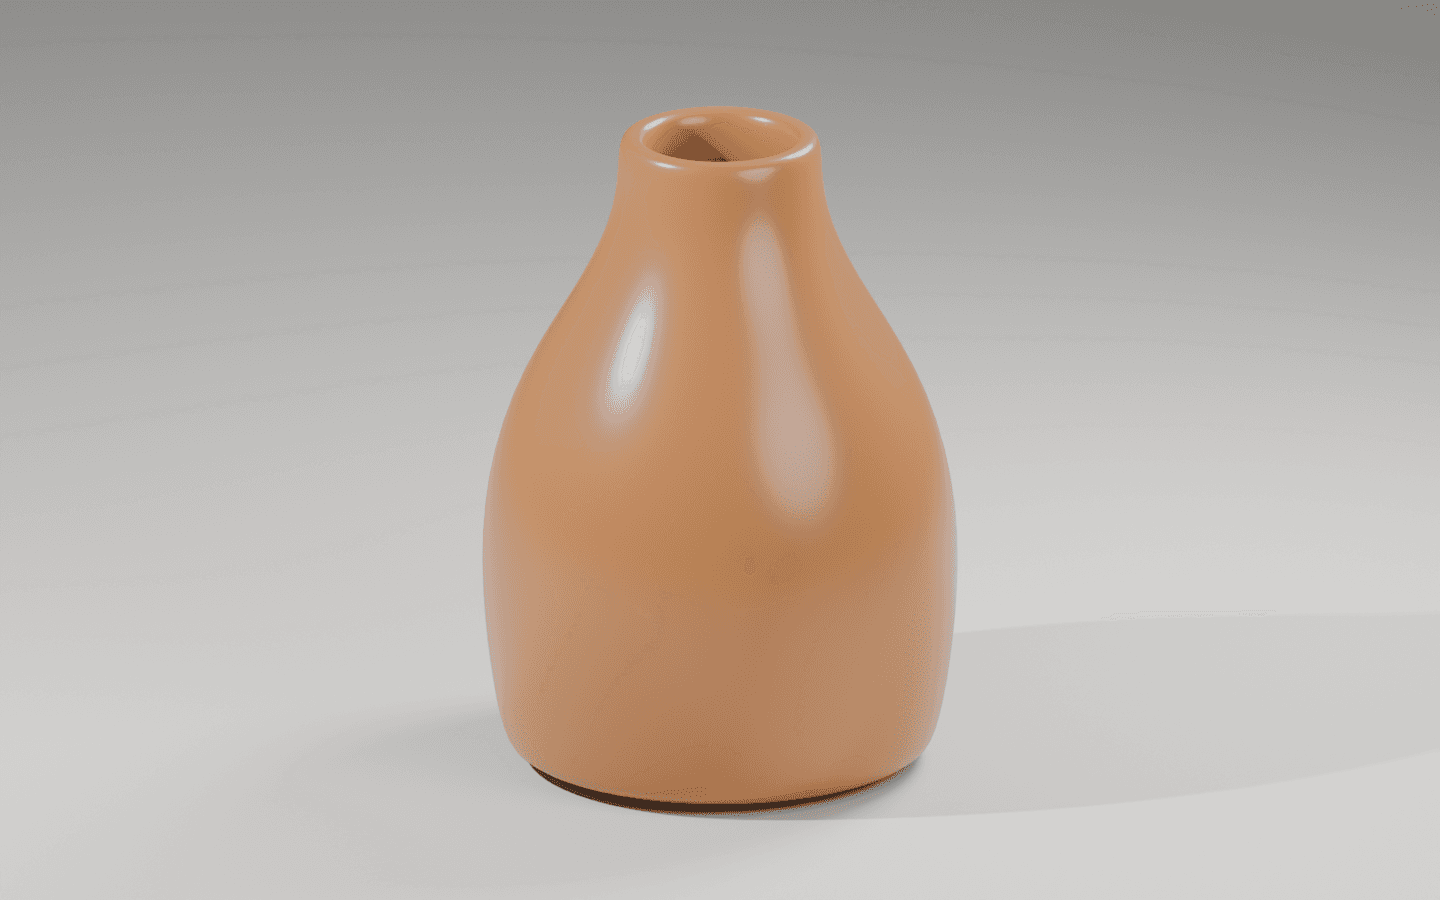
In the Juniper Blender scene, compare key area-light sizes 3.0 and 0.15. Keep its power at 650 and keep the light location, fill, rim, material, camera, exposure, and render settings unchanged. Save both PNGs with distinct names. Describe the change you made; do not claim which is better before inspecting the renders.2. Read the soft-light baseline
The studio render uses a disk-shaped Key area light with size 3.0. Its shadow spreads softly across the floor and the curved body has broad reflections. Look at the base contact as well as the outer edge of the cast shadow.
The baseline is not shadow-free. A small contact shadow still helps explain that the vase rests on the floor. Removing every shadow is a different goal and may make the product look detached from its setting.
3. Compare the smaller light at the same view
The hard-light render changes Key size to 0.15 while retaining the same power and other scene settings. The floor shadow has a much more defined edge. That visible difference is the result we can attribute to this controlled change.
Blender documents area-light size and shape as controls over a surface emitter. Its default normalization keeps total power constant when size changes. These scene values are not instructions for buying or placing a physical 650-watt lamp.
4. Choose using the destination, then ask for a focused review
For Juniper’s calm product page, the soft version is our editorial choice because its floor shadow competes less with the vase. A more graphic campaign could deliberately use the sharper shadow. Neither choice establishes a conversion advantage.
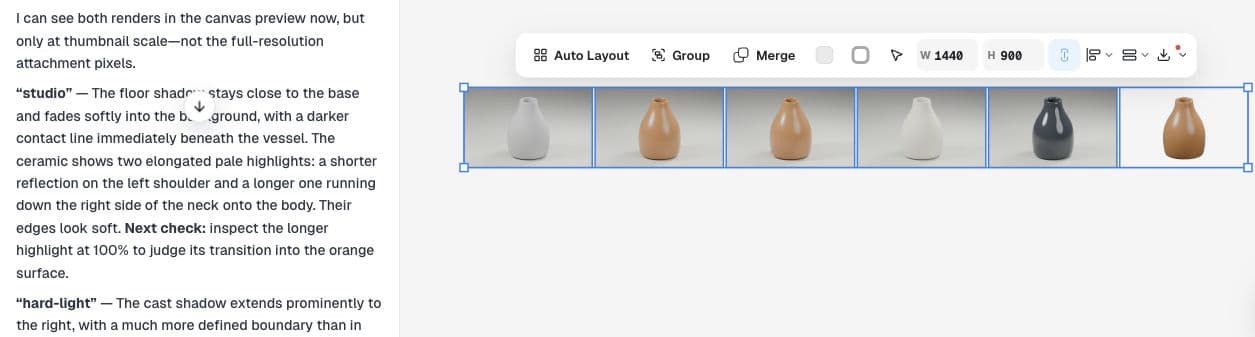
Upload the two renders to Ciyo and compare them at the same display size. Ask Astra about the shadow edge and highlights, then verify that it can see the images. Our initial canvas-only request reported missing previews, so we treated its response as proposed checks rather than visual findings.
After we attached the two files directly, Astra reported that it could see the canvas thumbnails, though not the full-resolution attachment pixels. Its response identified the stronger cast-shadow edge and recommended a 100% inspection. We verified the full-size rendered files separately; thumbnail feedback does not replace that check.
| Check | What to do | Decision |
|---|---|---|
| Floor shadow | Compare the outer edge and base contact | Choose a deliberate level of definition |
| Finish | Inspect the highlights on the curved body | Keep useful surface information |
| Placement | Preview at the product-page size | Judge whether the shadow distracts |
A real lighting question behind the experiment
A seller building a lightbox for laserdisc photos recently asked how to reduce reflections, overexposure, and shadows. Replies discussed the apparent size of the light source. Our Blender test translates that general lighting question into a controlled virtual experiment.
Published September 14, 2026. This is a physical photography discussion, not a Blender or Astra tutorial. The area-light comparison and Juniper scene are our original examples.
Practical questions
Does increasing light size always improve a product render?
No. It changes the shadow and reflection treatment. Choose based on the product, the desired finish, and the destination layout.
Why keep power and camera unchanged?
It makes the cause of the difference easier to identify. If you change several variables, save intermediate comparisons before deciding what worked.
Are these physical studio lighting measurements?
No. They are settings in the downloadable Blender scene. We did not measure a real studio or claim a match to a commercial lamp.
Bring your next product image into Ciyo
Open a canvas, upload the image you want to review, and make one clear decision before preparing the final asset.