Product photography
Plan three distinct product photos for one listing
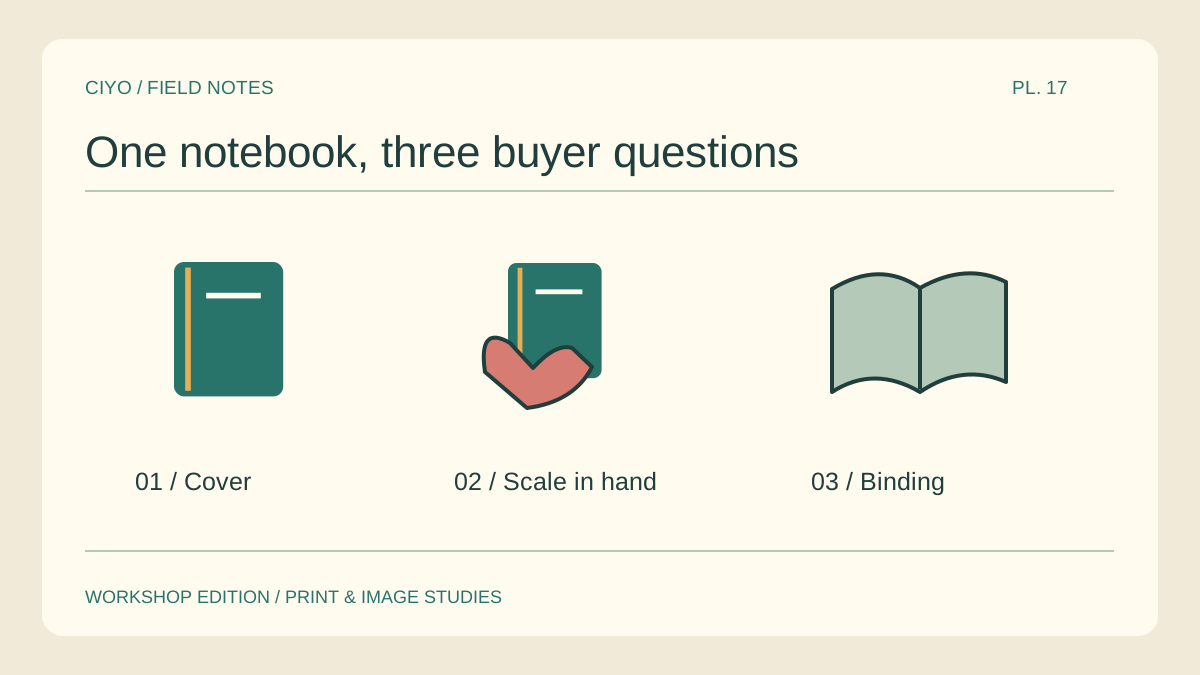
Three photographs of the same angle rarely answer three different questions. Before picking props, write down what the buyer needs to learn. For a handmade notebook, the set can show the cover, the size in a hand and how the binding opens.
Name the first question
Use the opening view to answer “What exactly is included?” Place the notebook by itself and make its outline obvious. Add accessories only if the photograph clearly shows which ones come with the product.
Choose a scale cue
For the second frame, pick a familiar and honest cue. A hand can show how the notebook is held. Keep perspective moderate and use the actual product size in the written listing for readers who need a measurement.
Show the working detail
Open the binding for the third view and show the first usable page. Capture a real detail that a buyer could miss in the cover shot. A second styled cover image would leave the opening behaviour unexplained.
Sketch all three crops
Draw three small rectangles before shooting. Put a single verb under each, such as identify, hold and open. If two sketches show the same silhouette and answer the same question, revise one now.
Keep visual continuity
Choose a related surface and consistent light direction across the three views. Let the camera angle change when the question changes. Match colour against the real notebook rather than trying to make unrelated shots look identical.
Read the strip as a buyer
Show the images in order to someone who has not seen the item. Ask what is included, how large it seems and how it opens. Their answers tell you which frame needs another shoot.
Make the three-shot plan
Choose a frame for each buyer question and share the order with whoever is photographing the listing.