Paper patterns
Transfer a rangoli outline to dark paper without losing the fine gaps
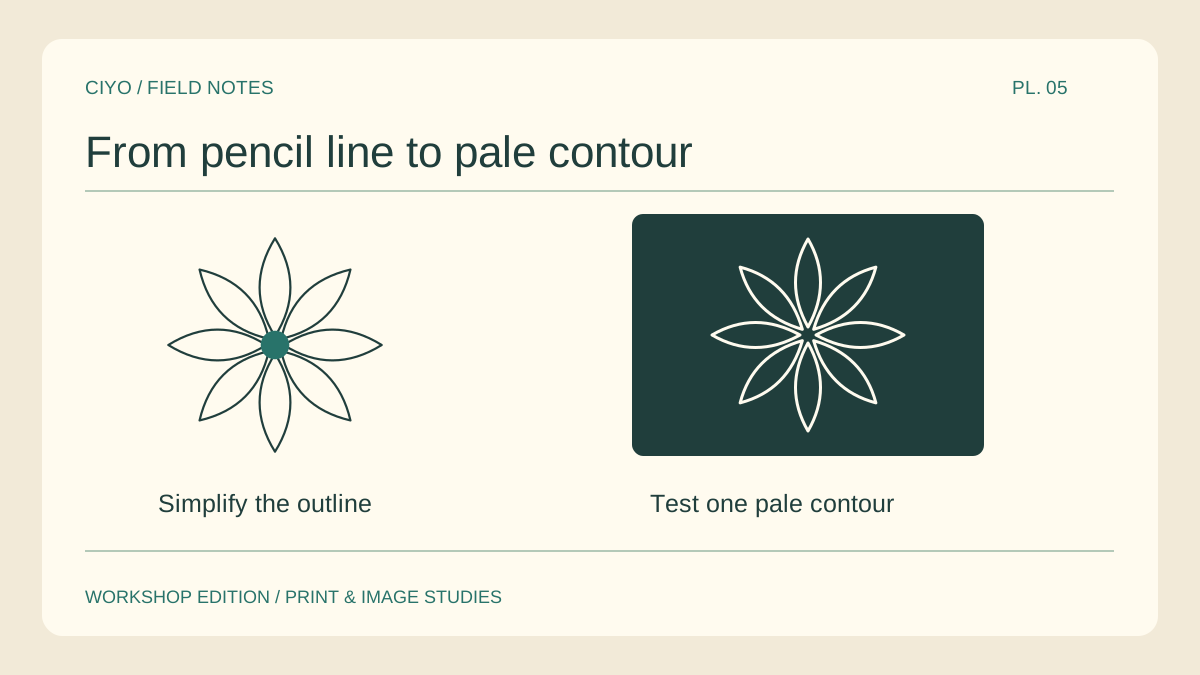
Dark paper makes a pale floral motif glow, but pencil construction lines can disappear while you work. A separate outline lets you check the spacing on white paper and move just the essential contours onto the dark sheet.
Separate contour from colour
Export an outline version of the design. Reduce it to the intended diameter on a test print and locate the narrowest gap. If that space is thinner than your drawing tip, open it up or omit the smallest detail.
Mark two anchors
Mark the centre and the top of the outer ring lightly on the receiving sheet. Align those two positions with the paper guide. The second mark prevents a small rotation when you lift a corner to check your work.
Test the transfer material
On an offcut, test a light-coloured transfer sheet or a little chalk rubbed on the back of the guide. Draw one short curve and lift it. Choose the least pressure that still leaves a line you can follow.
Work in opposite pairs
Trace one outer petal, then the petal directly opposite it. If either tip lands beyond the planned circle you can adjust alignment while only two marks exist. Continue through opposite pairs until the outside ring is closed.
Preserve negative space
Fill inward from the line instead of drawing a heavy stroke centred on it. A thick outline painted on both sides can swallow the small gap between petals. Check the thinnest gap again before working on the inner ring.
Lift the clean reference
Keep the printed outline beside the finished piece. Brush away a loose chalk mark on the trial offcut before touching the final surface. Photograph the result straight on so the circular design stays circular in the image.
Export a tracing outline
Select outline mode for a dark contour on white, then print a scrap before transferring the final design.