Print workshop
Print an SVG outline at a measured size using a scale bar
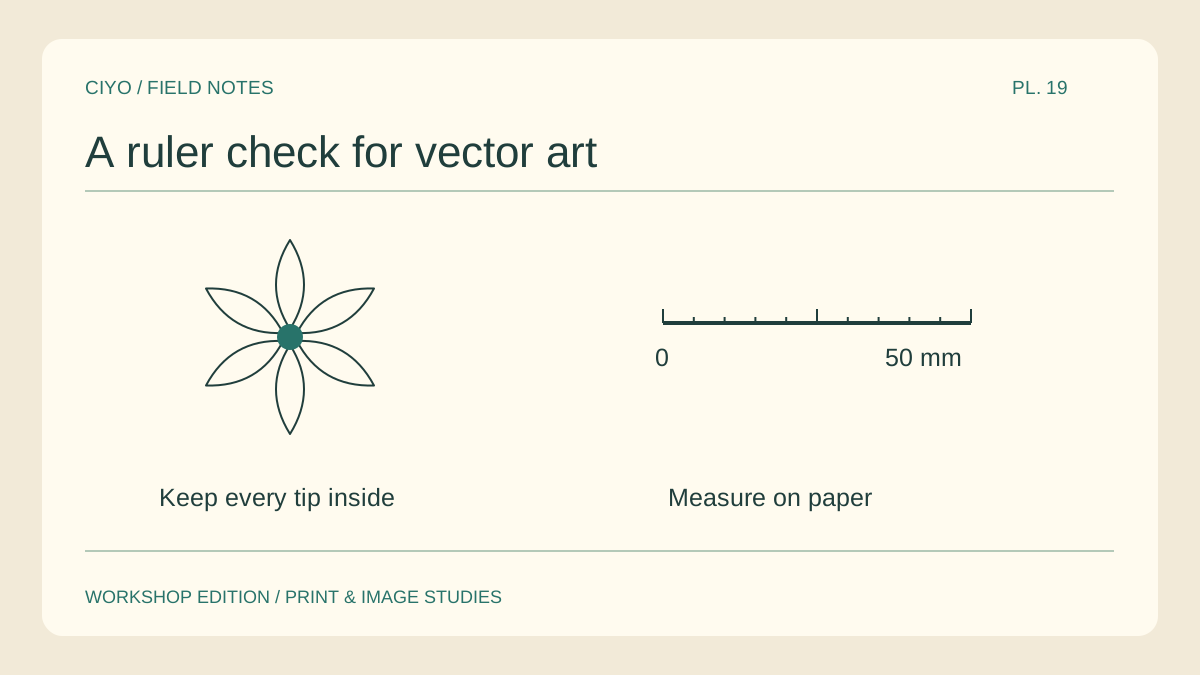
A vector drawing can stay sharp at almost any scale and still print at the wrong physical size. For a tracing guide, the width matters as much as the edges. Add a known reference before handing the file to someone using another print dialog.
Set the target width
Measure the object or area that the outline must fit. For a small flower, choose a finished width such as 120 mm. Record whether that number refers to the drawn petals or the full page including its margin.
Place a scale bar
Add a straight 50 mm line within the same scaled layout and label both ends. Give the bar a little space so it is easy to measure. Keep it outside the motif but inside the printer’s usable page area.
Open a clean print preview
Choose the paper size loaded into the printer. Check for an automatic fit option that could rescale the drawing. When your layout already matches the intended page, print at actual size and inspect the result.
Measure the trial sheet
If a 50 mm bar prints at 45 mm, the trial is at 90 percent of its intended size. Work from the original layout and correct the print settings. Avoid modifying the source path to compensate for an unknown printer setting.
Inspect the outermost line
Check that the printer did not cut off a petal tip or stroke beyond the view box. A scale bar can be correct while artwork near a nonprinting margin is clipped. Move the artwork inward without changing its scale.
Record the final setting
Write the actual printed motif width and printer scale on the trial sheet. Keep it with the SVG. The next person can compare their first print against two measurements instead of guessing from a screenshot.
Try the check with a fresh outline
Download a simple vector motif, place it at a measured width in your print layout and add the reference bar alongside.