Print preparation
Round Coaster Design: Check the Artwork Against the Die

A round preview can hide missing bleed. If the background stops at the visible circle, the printer may have no extra artwork beyond the cut. Separate the finished shape from the artwork area before judging the design.
We built a fictional PAPER LANTERN coaster in a live Ciyo project using a proposed 95 mm circular die and 3 mm bleed, following a named printer’s example guidance. The article shows the actual artwork and review images. No coaster was printed, cut or tested with a drink.
Quick answer: keep the cut shape and the bleed area separate
Obtain the selected printer’s current die template and artwork instructions. Build the finished design within that shape, extend edge artwork into the required bleed, and keep the guide separate from the printable art.
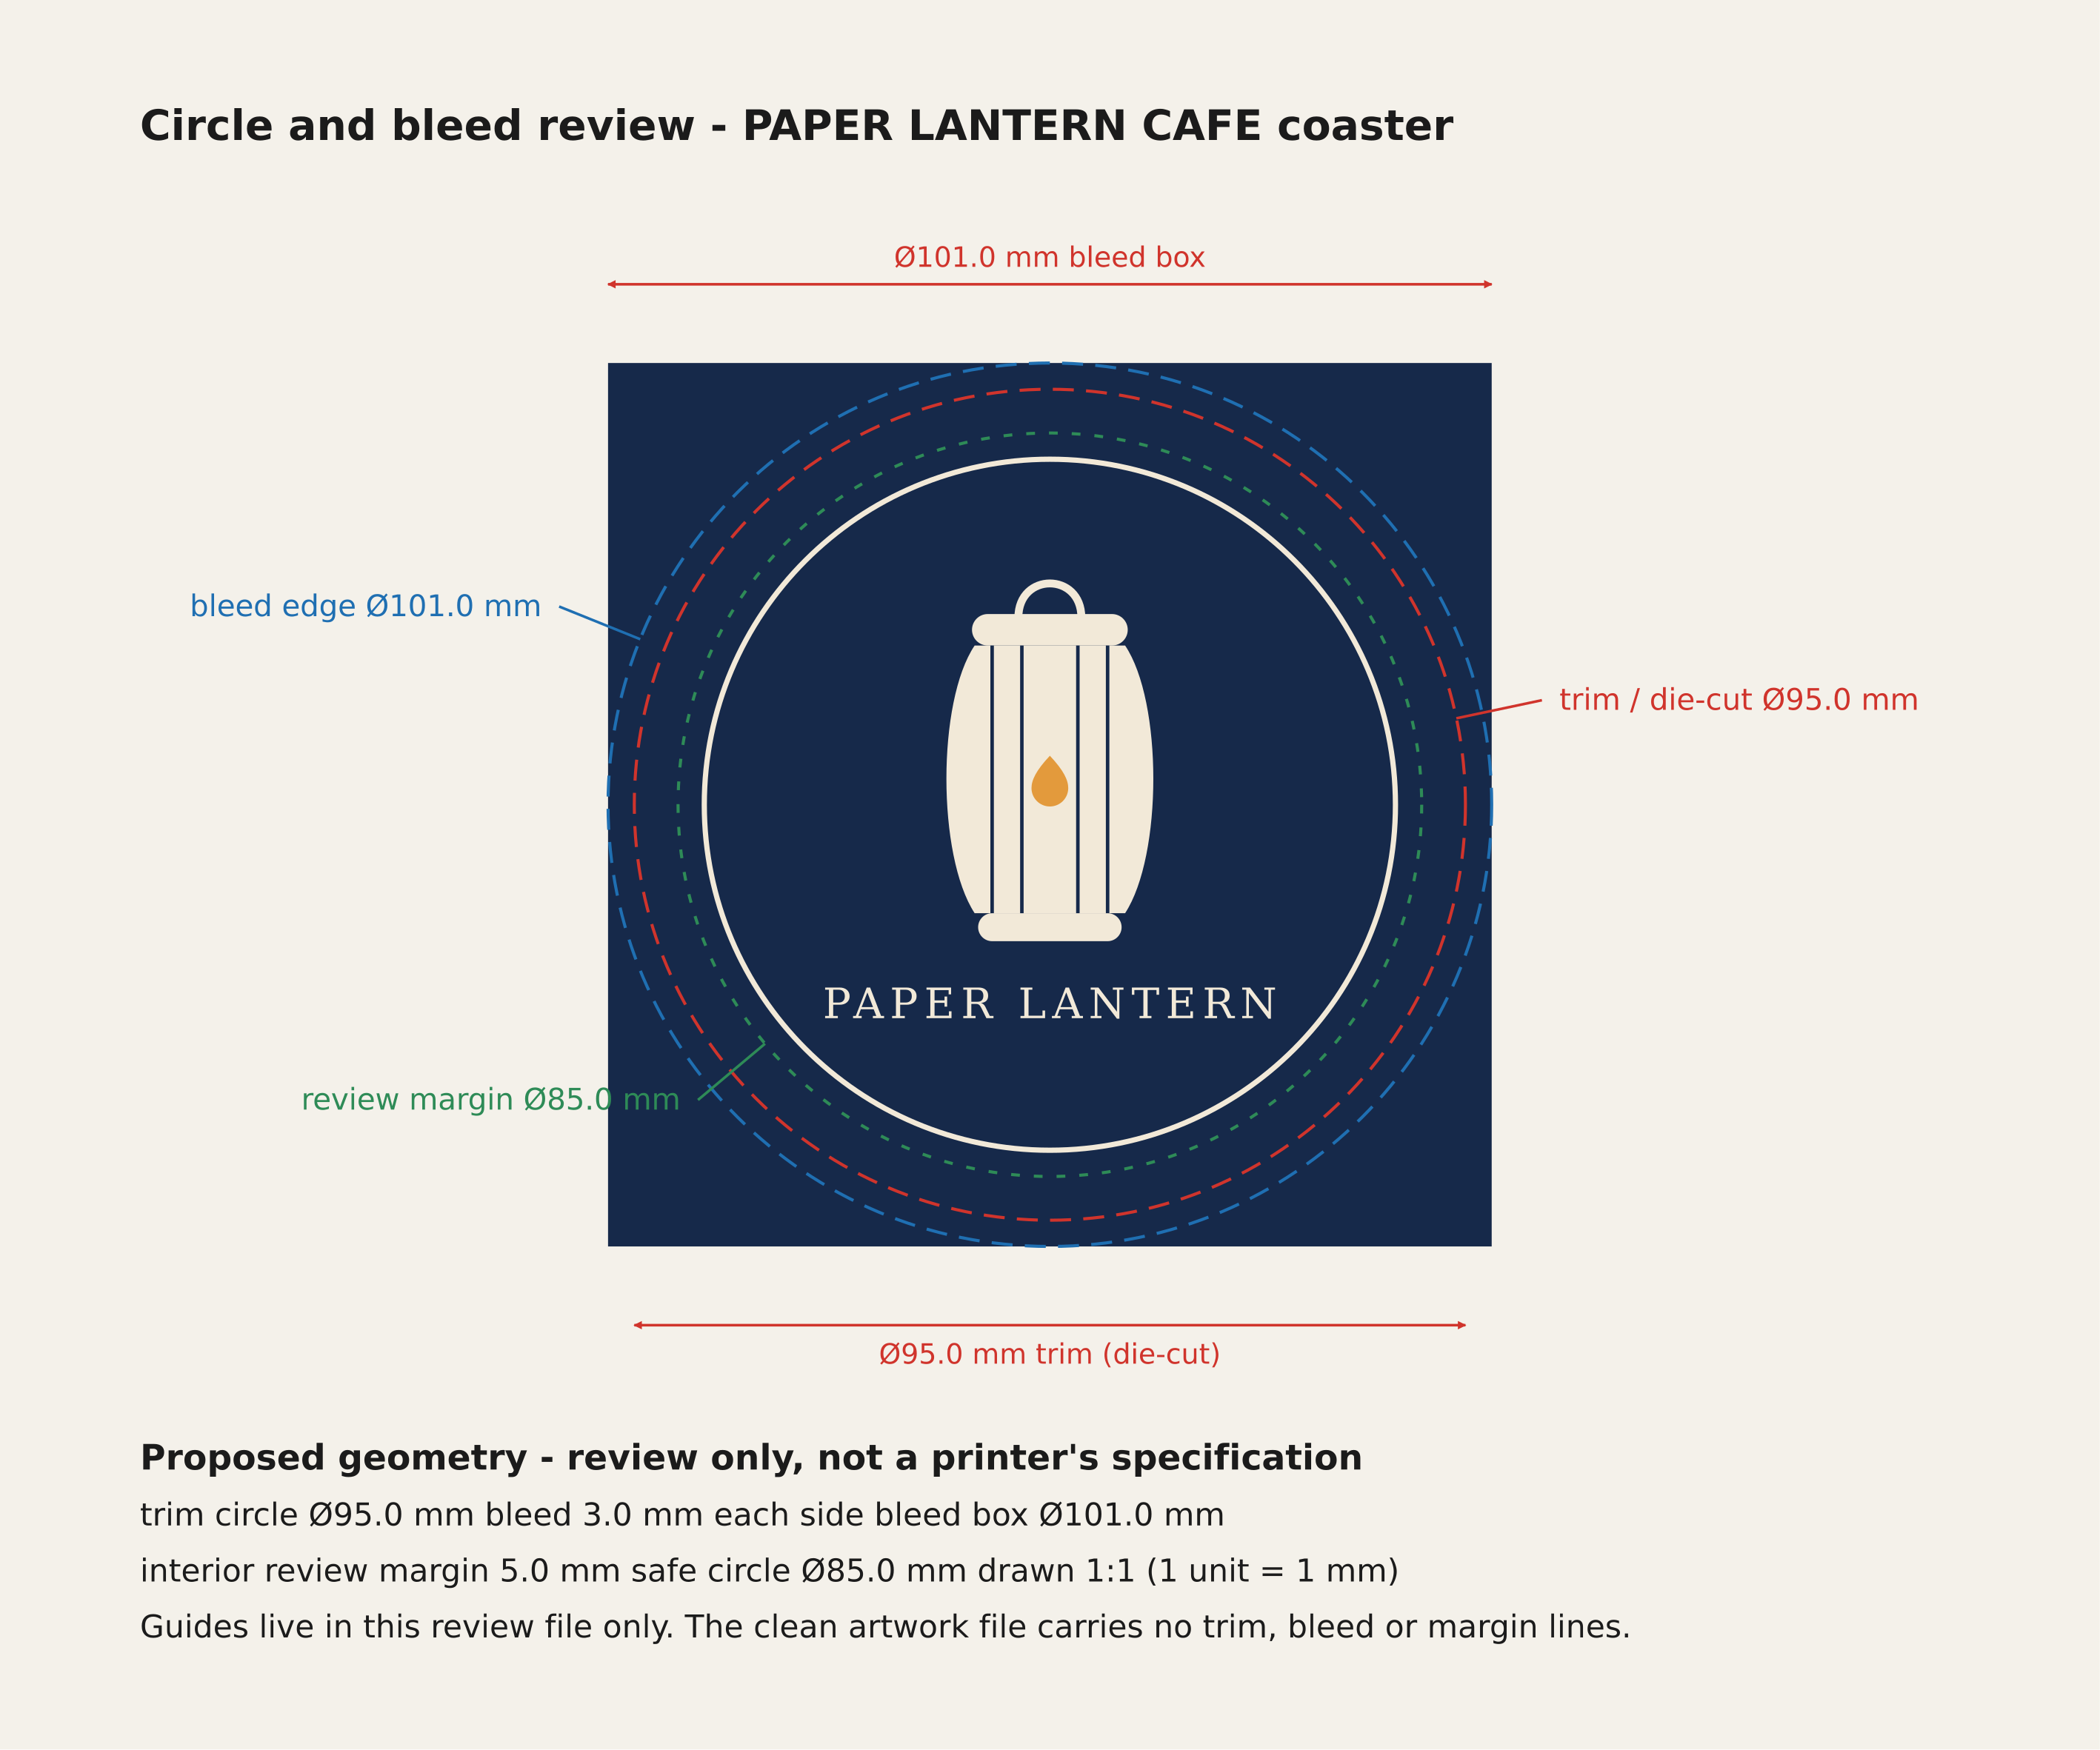
In this example, 95 mm plus 3 mm on each side produces a 101 mm artwork box. That arithmetic describes the illustrative source; it does not replace the printer’s template or prescribe a universal coaster size.
| Step | Check | Expected output |
|---|---|---|
| 1 | Die, stock and print process | The printer’s current template |
| 2 | Finished composition | Readable name and a clear central mark |
| 3 | Bleed and guide separation | Artwork extending beyond the proposed cut |
| 4 | Scale and source | A review proof and editable artwork |
| 5 | Printer approval | Confirmed format, color and finishing instructions |
1. Start with the printer’s die and print process
Peterkin’s coaster guide describes a 95 × 95 mm artboard matching the die and asks for 3 mm bleed when artwork reaches the edge. Its examples include several circle shapes and print finishes. Those instructions belong to that printer’s products.
Choose the exact die before arranging the name. A standard circle and a wavy circle can leave different useful space near the edge. Ask the printer which template, stock and finish apply to your order.
The demonstration assumes a simple navy-and-cream printed design. It does not establish suitability for foil, embossing, letterpress or a particular absorbent stock. Set those requirements with the printer before treating a color preview as a production specification.
2. Give the artwork a clear center of attention
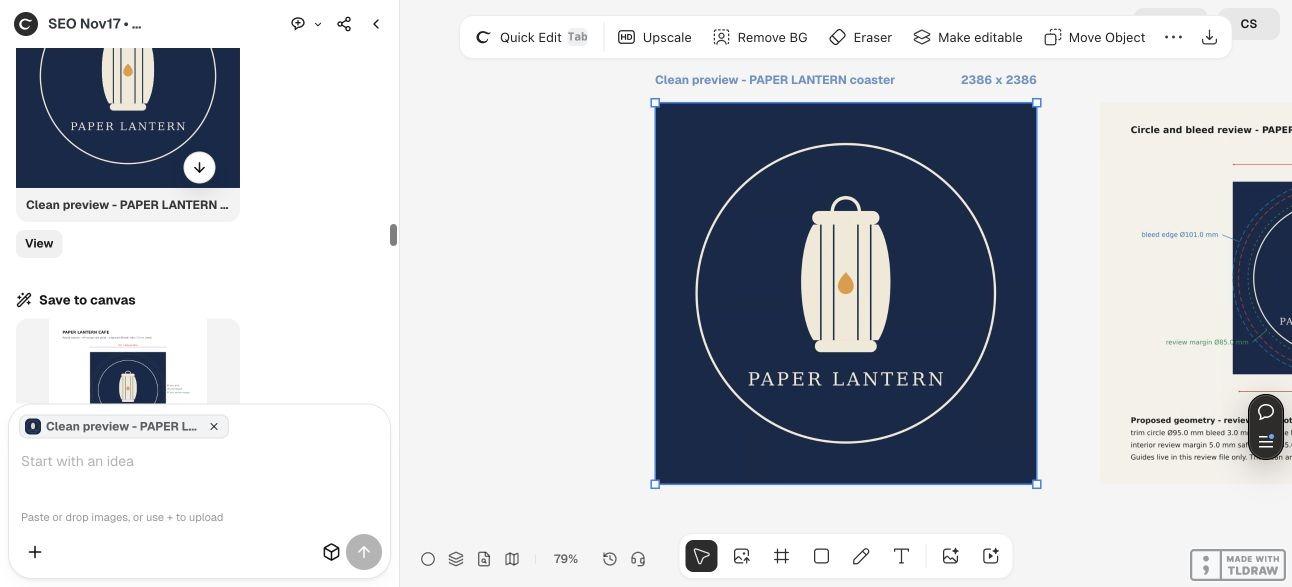
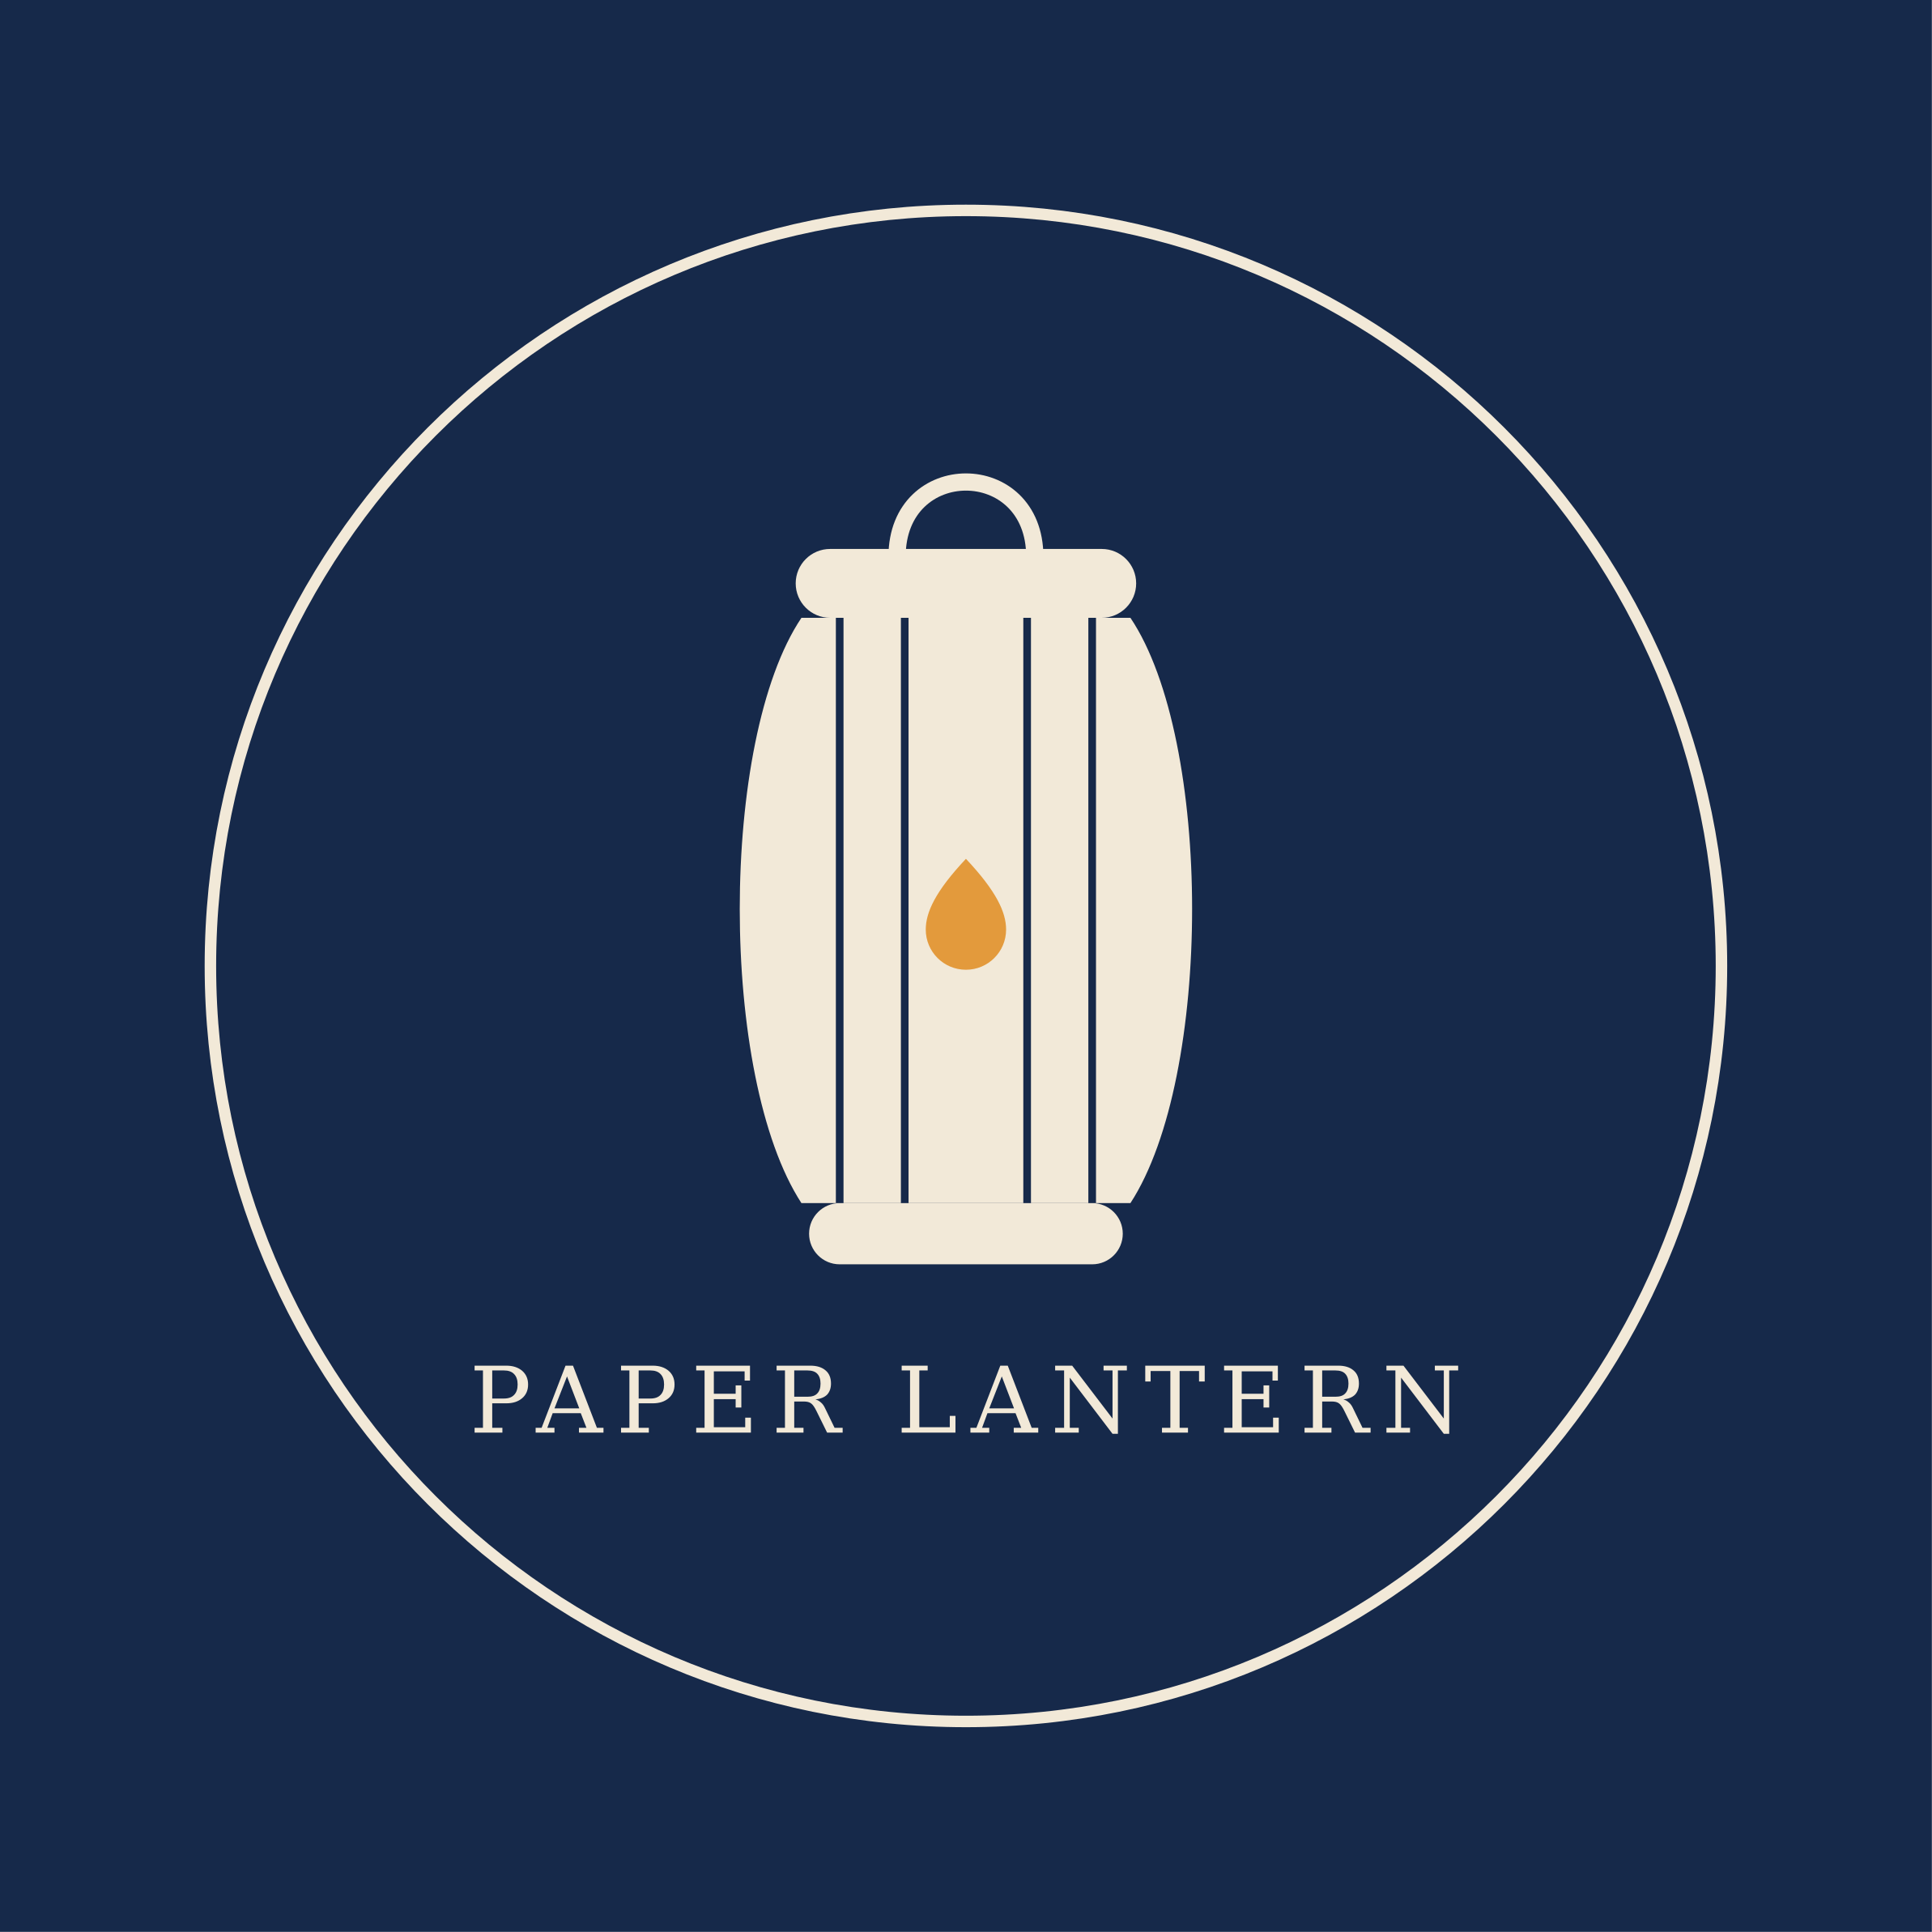
The fictional PAPER LANTERN brief uses a large lantern symbol, a short name and a dark background. Its purpose is to make the design inspectable at the proposed size, without relying on tiny rim text or decorative detail to carry the identity.
Ask Ciyo for clean artwork plus a separate review with the die and bleed shown. A single mockup can make the coaster feel finished while hiding which lines belong in the supplied file.
This run used vector geometry and live lettering rather than an image model. The product output is an artwork demonstration; design agent reasoning remains billable usage.
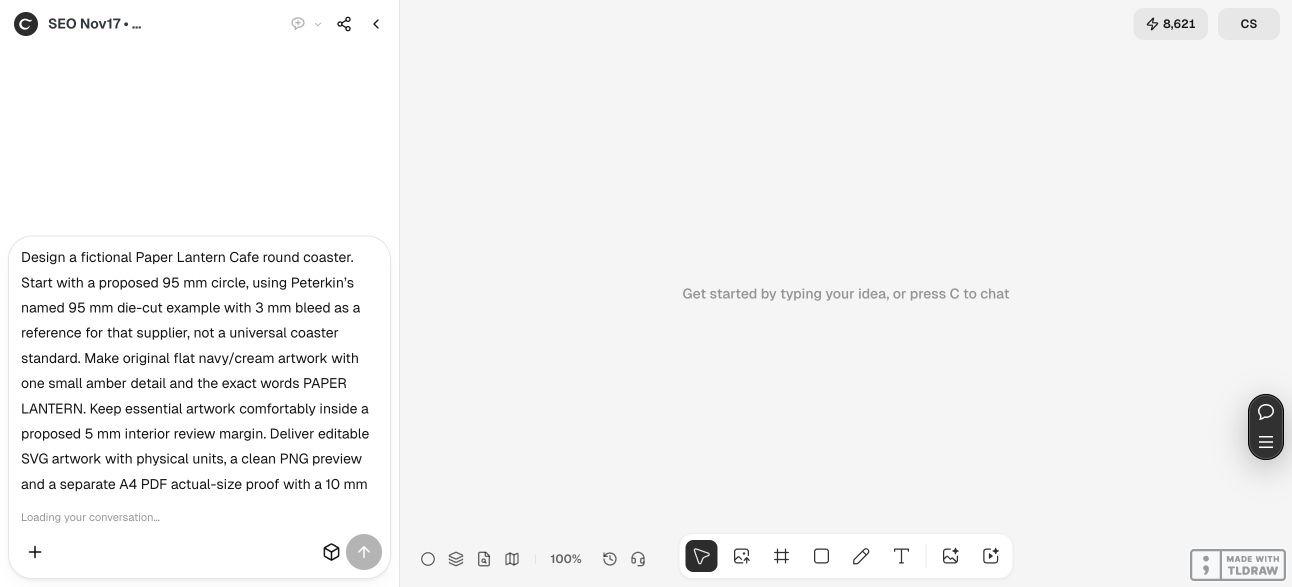
Create original coaster artwork for fictional [name], using [exact printer die and finished dimensions] and [required bleed]. Include [exact wording] and [main symbol]. Extend artwork that reaches the edge across the bleed area. Keep cut and safety guides separate from printable artwork. Deliver editable source, a clean preview, an annotated die/bleed review and an actual-size proof with a measurable scale bar. State font dependencies and unresolved print requirements. Do not place an order or claim printer approval.3. Review the edge beyond the round preview
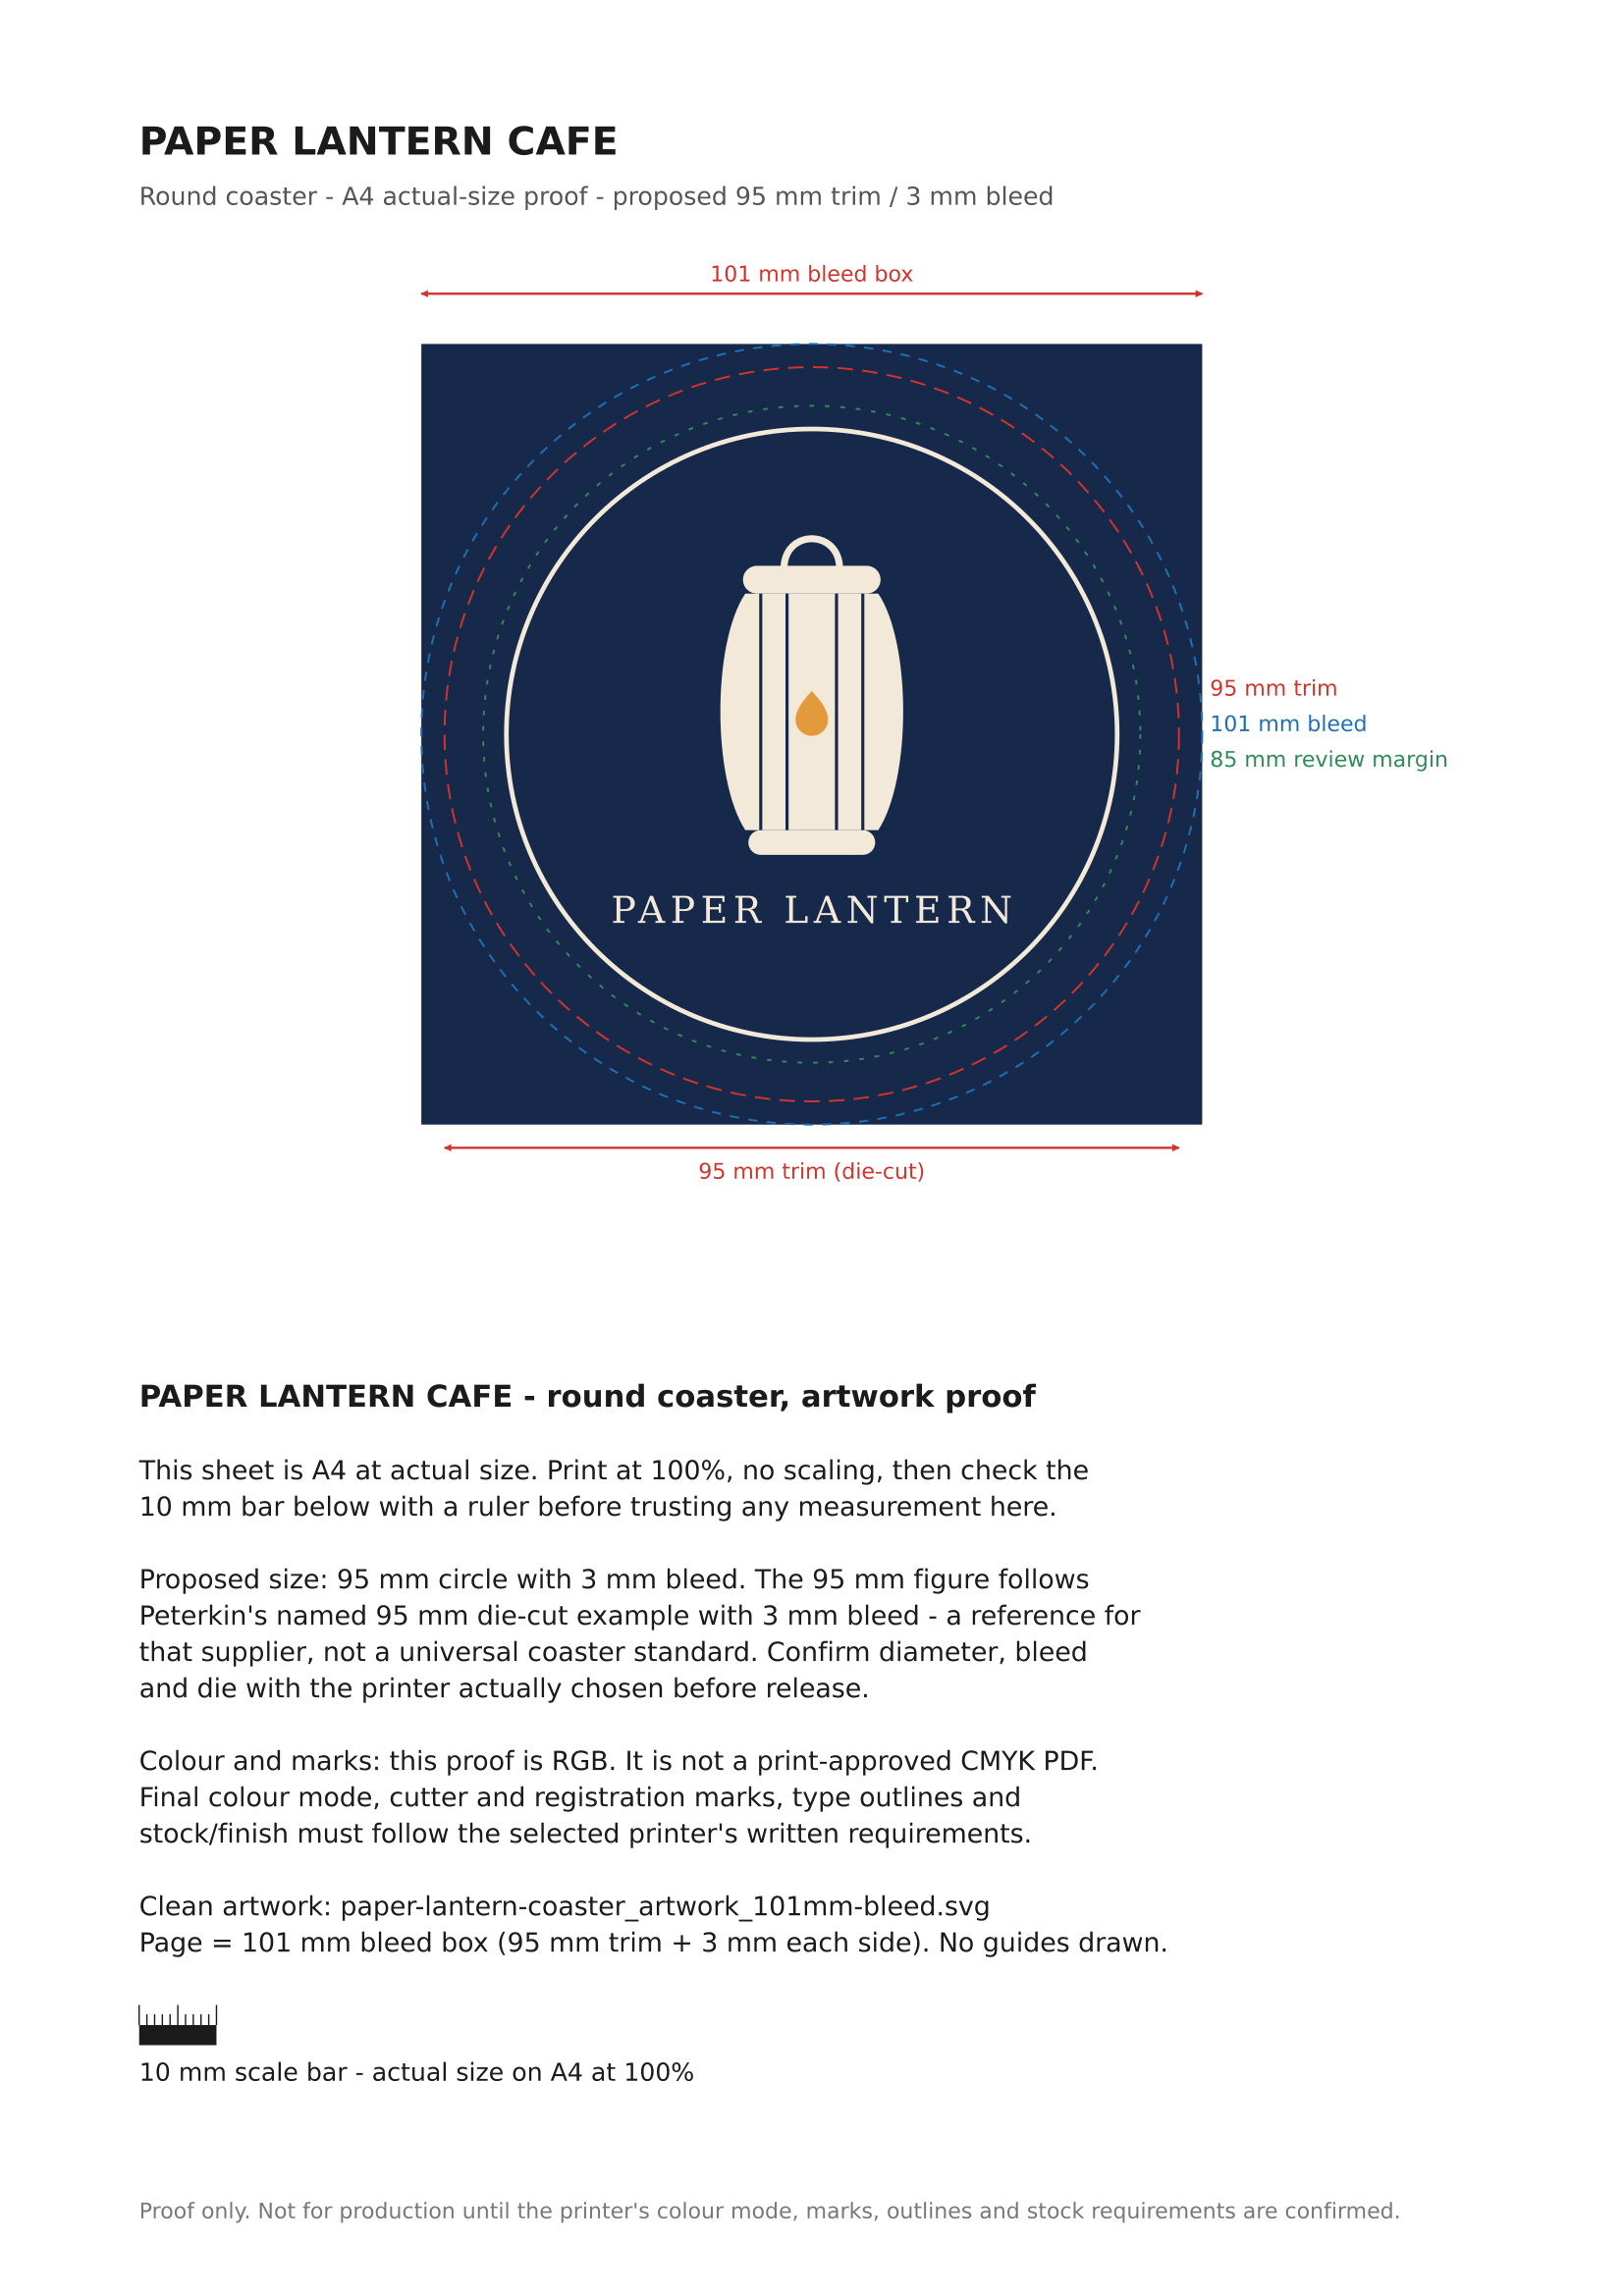
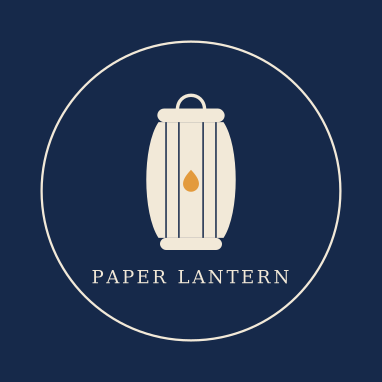
The supplied SVG has a 101 × 101 mm physical canvas. Its navy background extends across the full square bleed box rather than ending at a 95 mm circle. The proposed circular cut belongs in the review, not as an extra printed outline.
Check every object that approaches the edge. Backgrounds should continue as required by the printer; essential letters and symbols need deliberate clearance inside the finished shape. Ask for the actual safe-area requirement instead of inventing one from the bleed dimension.
Inspect the whole composition and the source separately. The clean canvas preview explains the artwork, while the annotated board explains the relationship between artwork, trim and bleed.
4. Check scale and preserve the font dependency
The live run supplied an A4 proof image as well as the artwork source. Use the proof as a review aid and measure its scale bar if you print it. The example was checked on screen; no physical proof was printed.
The linked source was supplied by Ciyo as copyable SVG text and saved separately because this run’s canvas handoff did not attach the SVG. It retains live serif lettering with a DejaVu Serif/Georgia font stack. A recipient with different fonts may see a different wordmark.
Confirm the font or ask for outlined lettering before final handoff. The supplied SVG is RGB artwork, and the proof is a PNG image; neither is a printer-approved CMYK production PDF. Obtain the accepted production format and any color conversion instructions from the printer.
5. Resolve the physical choices before approving production
Send the printer the intended die, stock, process and source, and ask them to identify any preparation changes. Check whether guide layers must be removed or supplied separately and whether their workflow requires outlined type.
Review the printer’s proof for the correct shape, legible wording and artwork extending beyond the cut. If the material’s color or texture affects the result, request the relevant sample rather than assuming the screen’s navy and cream will match it.
A coaster also has a physical job. Absorbency, durability, surface behavior and finish depend on the selected product. This tutorial demonstrates artwork preparation; it makes no performance claim about an unmade coaster.
Round coaster design questions
Is 95 mm the standard size for every coaster?
No. It is the illustrative size taken from the named printer’s guide for this example. Obtain the actual die and dimensions for the product you select.
Why is the supplied artwork 101 mm square?
The example adds 3 mm bleed to both sides of a proposed 95 mm finished size: 95 + 3 + 3 = 101 mm. The printer’s current template determines the real setup.
Should the cut line appear in the printed design?
Keep production guides separate and follow the printer’s handoff instructions. A guide accidentally included in printable artwork can become an unwanted visible mark.
Is the source ready for foil or embossing?
That has not been verified. Those processes can require different artwork preparation and stock choices. Ask the selected printer to review the design for the exact finish.
Was a physical coaster tested?
No. The article demonstrates a real Ciyo artwork run, source and review images. It does not claim a printed sample, printer approval or material performance.
Brief the coaster around the real die
Give Ciyo the printer’s dimensions, required bleed and exact wording. Review the artwork and guides separately, then confirm the physical production details with the printer.