Print workshop
How large can a photo print as a tiled wall poster?
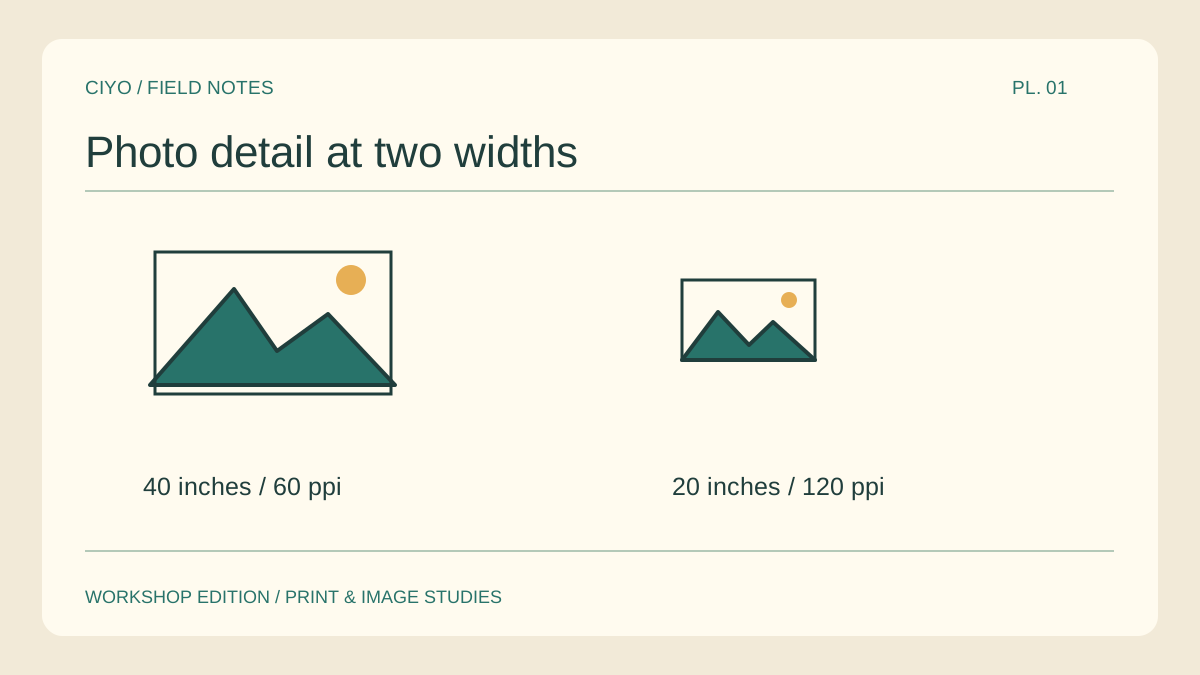
A 2400-pixel photo looks crisp on a laptop. On a one-metre poster those pixels occupy quite a different area. Work backwards from the wall size before buying paper. The calculation below tells you which part of the image is worth printing as a test.
Use the original pixel count
Open the source file’s information panel and record its actual width. A screenshot of the same image may contain far fewer pixels. For this example, take a landscape photograph exactly 2400 pixels wide and keep that file as the master.
Measure the picture, edge to edge
Measure the width occupied by the finished image. Paper borders and duplicated overlap at the seams do not add visible picture area. Use the assembled width reported by the tile planner or measure the intended wall space directly.
Divide by inches of print
At 40 inches wide the example has 60 source pixels per inch. At 20 inches wide it has 120. This describes available image detail. Changing a file’s resolution tag without adding new picture information cannot restore a small sign in the distance.
Pick a demanding patch
Take a patch with something people care about, such as the small print on a festival banner. Print just that area at the intended enlargement. A large patch of sky tells you little about whether the lettering will remain readable.
Stand at two distances
Hang the proof at the expected viewing height. Read it from the doorway, then inspect it from one arm’s length. Write down the nearer distance at which rough edges become distracting. Choose the size for the way the display will actually be viewed.
Change the limiting factor
If the headline fails, typeset it separately. If a face fails, choose a closer original or reduce the finished width. Generate the tile set once the critical patch looks acceptable, and keep the scale unchanged in the print dialog.
Tile the tested photograph
Use the final width and paper size to split your approved image into printable sheets.