Classroom craft
Space detachable feathers on a paper turkey body template
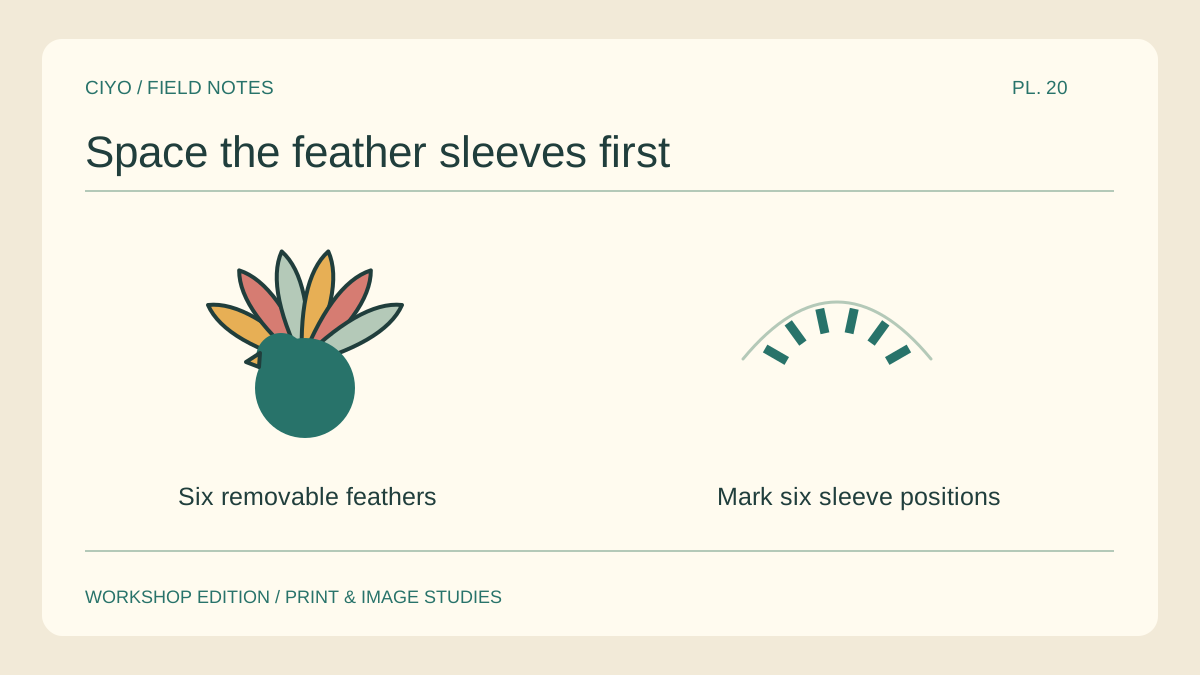
A classroom turkey can become a group project if each child adds one paper feather. The body needs enough room for the attachment points. Sketch the fan and place the slots before decorating the bird.
Count the contributions
Decide how many feathers the display will hold. If six children each supply one, draw six positions on the master. Leave one spare blank feather for a late addition or a name that needs rewriting.
Draw a fan guide
Mark a shallow arc behind the body. Place the two outer positions first and space the remaining four between them. Use small dots on a separate backing sheet so the finished bird can hide your construction marks.
Test the attachment tabs
Make one feather with a plain tab at its base. Try placing it behind the body or into a prepared paper sleeve. Keep the tab wide enough to hold the feather upright after repeated handling.
Check the writing direction
Place a blank feather in each outer slot and write a short name lightly. If the words become sideways at the ends, move the writing onto a horizontal label or soften the angle of the fan.
Assemble a small rehearsal
Use three scrap feathers to test the centre and both ends. Look at the body from the actual display position. A large central feather may hide two smaller names, so stagger their heights before filling the rest.
Keep the back accessible
Mount the bird on a backing that leaves the sleeve openings reachable. Label the spare parts and keep the master outline flat. Replacing a single feather then takes a minute and leaves the group artwork intact.
Arrange the feather master
Lay out the blank body and spare feather as separate objects before printing the class set.