Paper patterns
Cut a mirrored pair from a Christmas stocking pattern
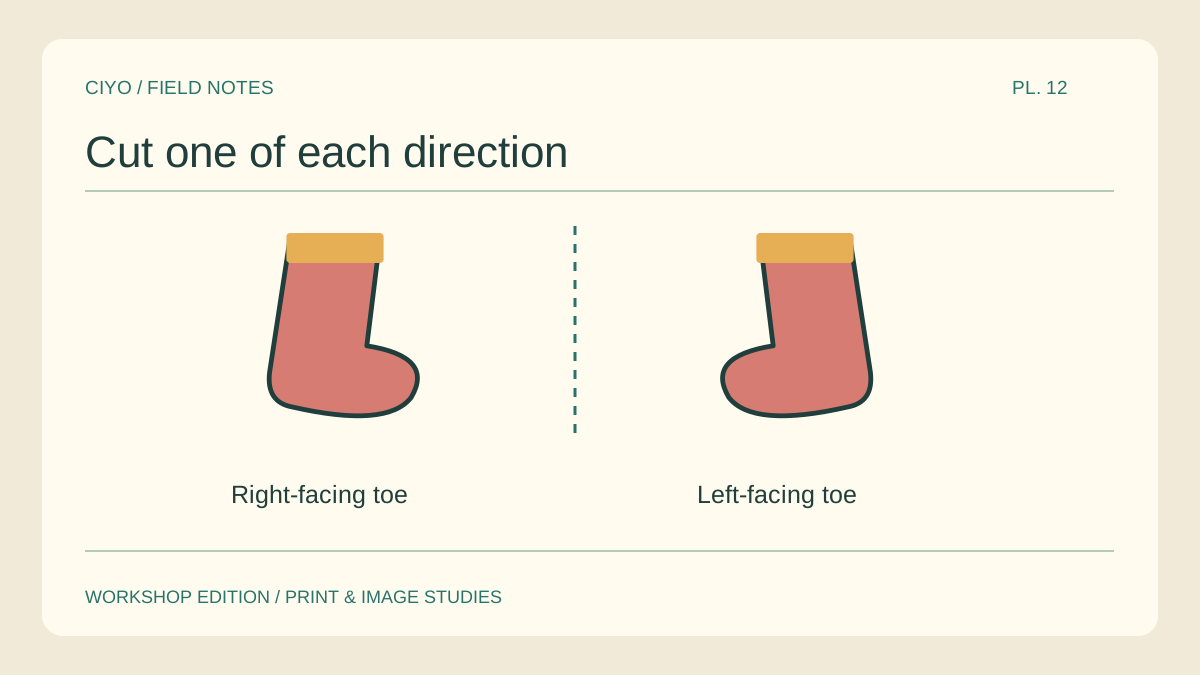
Two matching stocking fronts can leave both toes pointing the same way when the fabric is laid right sides together. A paper rehearsal catches the orientation error before the fabric is cut. Start with a clearly marked front and back.
Choose the finished direction
Sketch how the stocking should hang from its loop. Draw an arrow toward the toe and another toward the top of a directional print. The arrows answer different questions and both need to survive when the pattern is flipped.
Mark the working faces
Write FRONT on one paper piece, turn it over and trace a second piece marked BACK. Place them with the labels facing each other. The toe outlines should coincide along the full curve.
Separate seam from cut edge
Mark the finished seam line and the cutting line in different pencil styles. Follow the allowance in the pattern you are using. Adding an allowance twice changes the toe shape and may leave a cuff that no longer fits.
Check directional fabric
Lay both paper pieces on the fabric with its visible side up. If the printed trees point upright on the front but downward on the back, rotate the layout or reconsider the fabric before cutting.
Mark the loop location
Put a short tick at the back seam where the hanging loop will sit. Fold the paper cuff down and see whether the tick is covered. Adjust the position on the paper version until the hanging direction makes sense.
Bundle the matched pieces
Pin a removable label to each piece outside the visible finished area. Keep the cuff and loop pieces with the pair. A small photo of the correct arrangement saves guesswork when several stockings share the same worktable.
Save the paper master
Place the left and right templates side by side and mark the grain direction on both.