Stencil design
Keep the centre of a pumpkin stencil attached with paper bridges
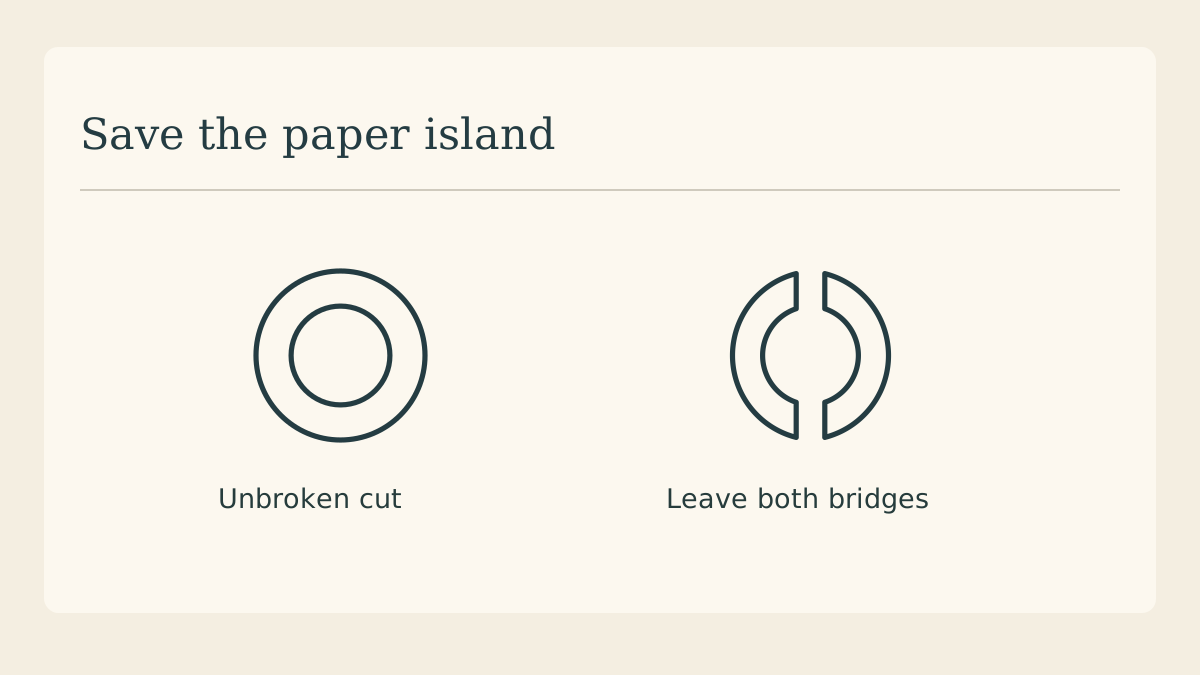
Cut a crescent window inside a paper pumpkin and the middle can drop out as soon as you lift the sheet. A bridge is a narrow piece of paper connecting an interior island to the outer stencil. Here is how to find the islands before tracing.
Shade the parts that will be removed
Use a pencil to darken every opening. Leave the paper you intend to keep white. Follow the path around each light shape with your finger. A white island surrounded completely by pencil needs a connection to the remaining sheet.
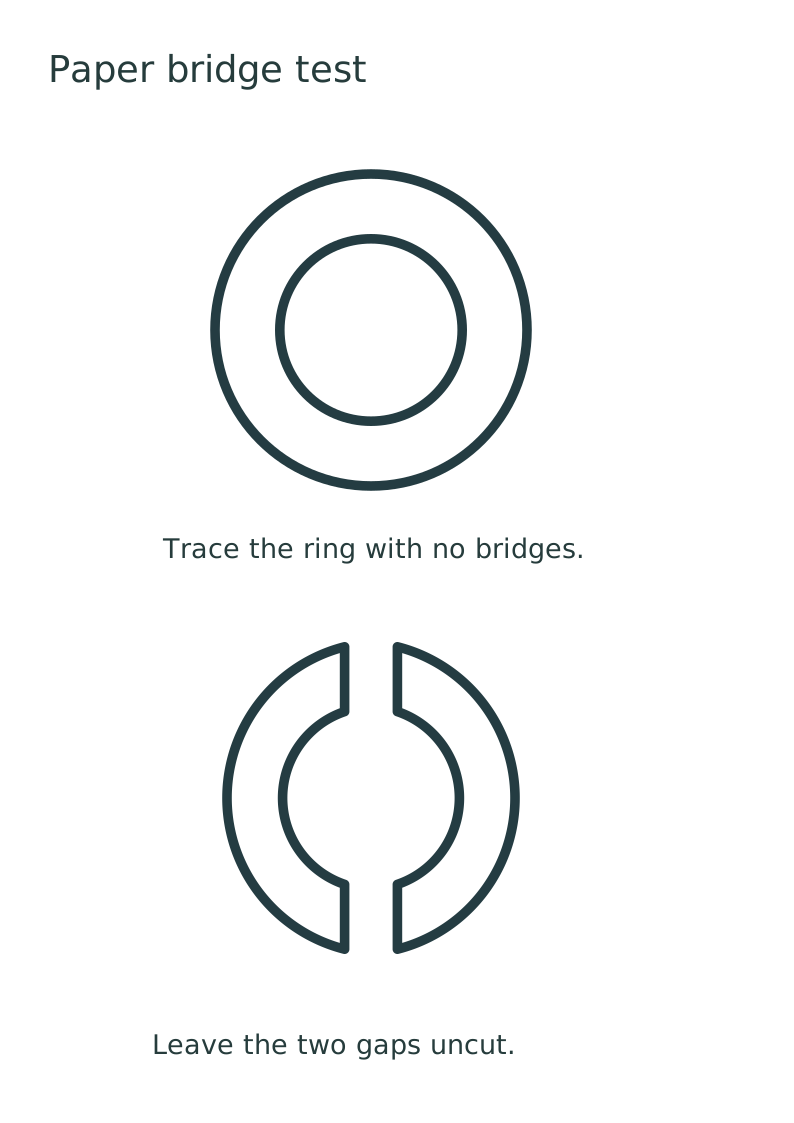
Place two bridges on a ring
Try a round eye drawn as two concentric circles. Interrupt the shaded ring at the top and bottom. The centre now touches the rest of the sheet twice. A pair of bridges also keeps the small disc from twisting out of alignment.
Use the printable test shapes
The accompanying sheet contains an unbroken ring and a bridged ring. Copy the two onto scrap paper. Shade the openings and compare which circle remains attached after an adult cuts the test pieces. Keep the better sample by your drawing.
Check the narrowest connection
Lay the paper on a surface similar to the final craft. If it buckles, make the bridge wider on the next tracing or simplify the island. The useful width depends on paper weight, opening size and how often the stencil will be handled.
Transfer one section at a time
Tape a flexible copy to the curved surface and smooth a small area before tracing. A wrinkle can shift the ends of two bridges in opposite directions. Lift the stencil occasionally to confirm the marks are meeting.
Save a clean master
Mark the kept areas and removed areas on a spare copy. Store that flat version for the next print. A used stencil with a torn bridge is a poor master because the accidental tear looks exactly like another intended cut.
Continue with a seasonal display
Turn the finished stencil artwork into a simple notice for the autumn craft table.