Clothing listing photography
Photograph the shoulder-to-hem measurement on a dress
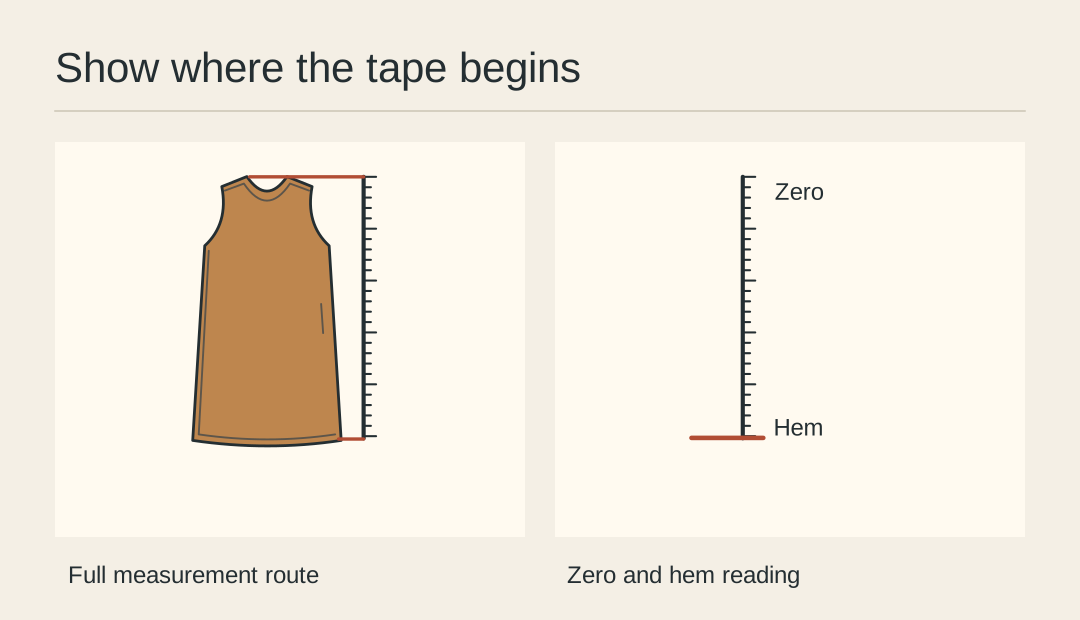
If the written listing gives a dress length, the picture should let another person repeat that exact measurement. A straight-on overhead frame and two clearly visible endpoints are more useful than a tilted photograph of an unreadable tape.
Name the route
For this example, measure from the high shoulder point beside the neckline to the hem. Other sellers may use a different route. State yours beside the number so the reader knows what was measured.
Settle the garment
Lay the dress flat with the front facing up. Smooth large folds without pulling the cloth longer. For an uneven hem, decide which point is being measured before placing the tape.
Show the zero
Place the zero mark at the named starting point, keeping the tape face readable. Some tapes have material before their first mark. Check the numeral rather than assuming the physical end means zero.
Keep the camera parallel
Frame both endpoints from overhead. Look at the side edges of the tape for obvious convergence. Take a close photograph of the hem reading as well if the numerals are too small in the full view.
Check the units
Read the physical tape and write the number and unit beside the image. If you add a converted measurement, keep the observed value as the reference and use one rounding convention throughout the listing.
Pair evidence with size
Record the size label of the measured sample. A picture of a medium dress cannot establish the length of every offered size. Keep the example image attached to that sample in the final listing.
Publish the measured size
Enter the observed garment measurements and label the units on the size chart.