Clothing listing photography
Plan a shift dress listing photo sequence
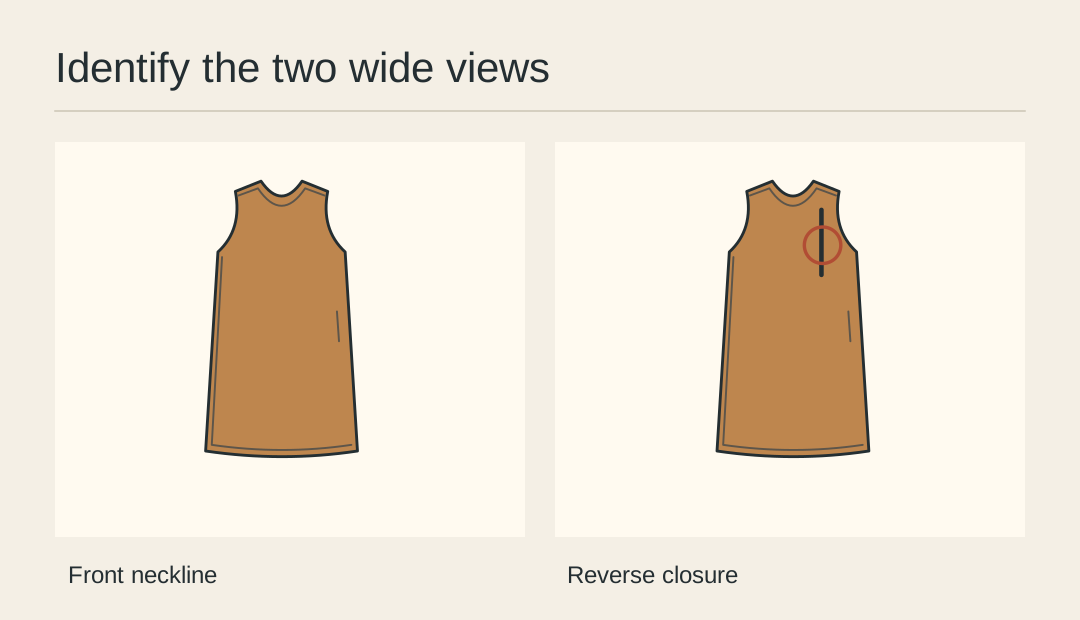
A straight-cut dress can look fitted if it is pinned at the waist for every picture. Use a five-view sequence to show the cut and construction of the garment being sold. Each image earns its place by answering a different buying question.
Open with the shape
Lay or hang the dress so its side seams fall naturally. Keep both shoulders and the full hem inside the image. Leave the waist unpinned so the opening frame describes the actual cut.
Turn it over
Make a reverse view at the same camera height. Check the closure and back neckline. Where the front and back look nearly identical, a clearly visible closure gives the second frame a purpose.
Find the pocket
Open the pocket just enough to show the seam entrance and where a hand would enter. Retain enough surrounding cloth to locate it. A tight dark slit by itself says very little about the garment.
Show the finish
Choose the binding, facing or hem that is easiest to misunderstand in the wide photograph. Include one recognisable edge as context. Keep this detail separate from a texture close-up if they answer different questions.
Check a measurement
Lay the garment flat before recording its length. Indicate the exact endpoints used in the image and in the listing text. Small differences in where a ruler begins can change how two sizes compare.
Read the sequence cold
Show the five thumbnails to someone who has not handled the dress. Ask them to point to the reverse, pocket and length reference. Replace the least informative view if one answer is still missing.
Lay out the five views
Arrange the approved reference and detail frames in the order a buyer will see them.