Clothing listing photography
Show the overlap of a dress side vent in two photos
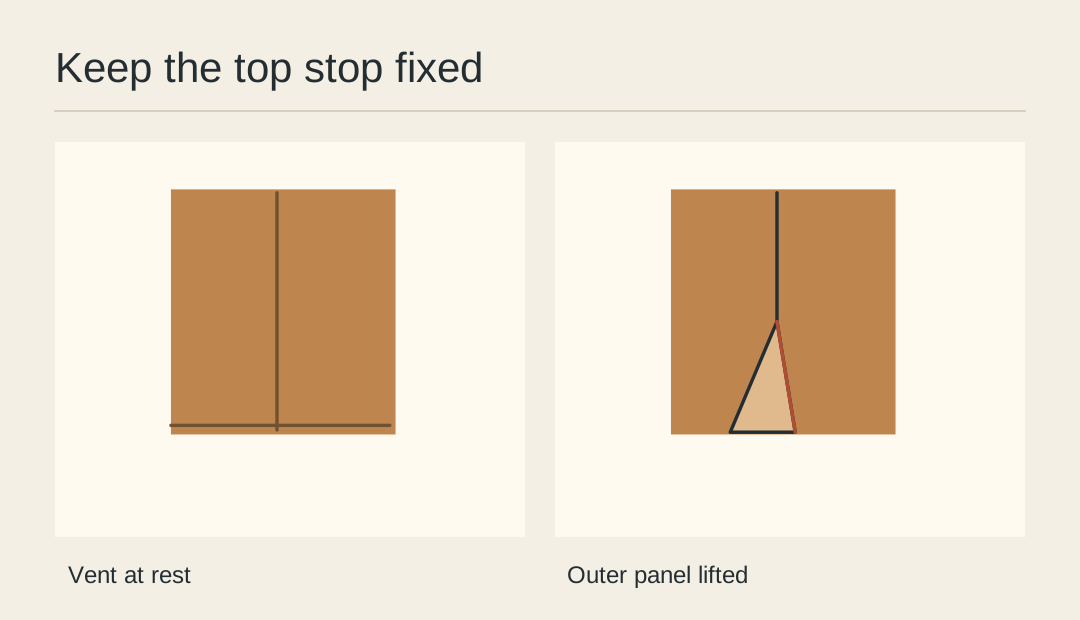
A flat side vent can resemble an unfinished seam. A closed view shows how the hem hangs, and a second view reveals the overlap. Use the same section of the dress and the same framing for both.
Identify the construction
Look at the physical hem first. If the sides simply split without overlapping, describe it as a slit. This exercise uses a vent with one panel covering another.
Mark the top stop
Find where the stitched seam ends above the vent. Include that point and the hem in the frame. Keeping both landmarks visible makes it possible to judge the opening’s position.
Make the resting view
Let the garment settle naturally and photograph the closed vent. If one panel flips outward, smooth the fold with your hand and release it before exposing the frame.
Reveal the underlap
Lift just the outer edge and lay it slightly aside. Show enough of the second panel to explain how the vent is assembled. Do not pull the top stop out of its resting position.
Check the bottom line
Compare the two frames against the same baseline. A changed camera angle can make the second view suggest a shorter hem. Use the original resting frame as the listing image for length.
Keep the labels literal
Caption the pair “At rest” and “Outer panel lifted.” Let the measurement photograph answer questions about length and leave this pair to explain the overlap.
Check the two vent crops
Review the hem and top stop together in a small-format proof.