Illustration
Lay out a One Piece–inspired bounty poster for an original character
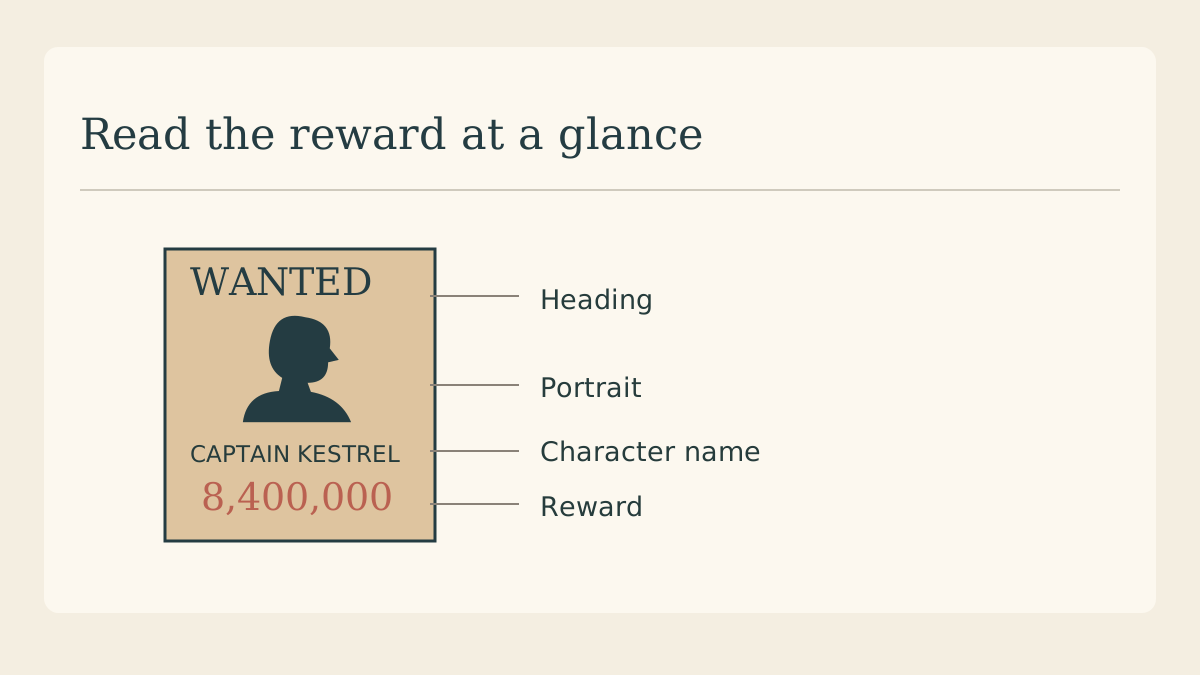
A fictional bounty notice is a small hierarchy problem. From across the room a viewer should see a face and the word WANTED. Up close they should discover the pirate’s name and reward. Here is a fan-poster layout for an invented character called Captain Kestrel.
Build a silhouette you own
Sketch a character with a crescent hat and a knotted scarf, or photograph a consenting friend in costume. Use your own drawing for the portrait. A distinctive hat remains recognizable when the face is reduced to a small thumbnail.
Reserve space for the reward
On a portrait page, sketch three bands for the heading, the portrait, and the name with the amount. Set the longest line first, such as “CAPTAIN KESTREL”. Reserve enough width to keep the complete reward on a single line.
Frame the eye line
Crop the portrait from just above the hat to below the shoulders. Keep visible space between the brim and the heading. If the eyes point towards an edge, shift the portrait slightly so there is some empty paper on that side.
Use the paper texture selectively
Try warm ivory behind a dark brown portrait and type. Add a few speckles in the outer margins and inspect the counters inside the reward digits. Speckles that turn an open zero into an eight belong outside the text area.
Check the amount character by character
Read “8,400,000” aloud from the exported poster and compare it to the character sheet. At small size a decorative comma can look like another digit. Keep the currency label and reward visually together so the reader knows what the number represents.
Export the edition you intend to share
Leave your own creator mark in the margin and identify the character as fan-made in the caption. For a printed party prop, test one sheet at final size. For chat, shrink the preview until it matches the width of an actual message.
Continue with the character artwork
Use the character portrait as the starting point for a second piece of key art.