Clothing launch planning
Keep a white dress edge visible on a pale backdrop
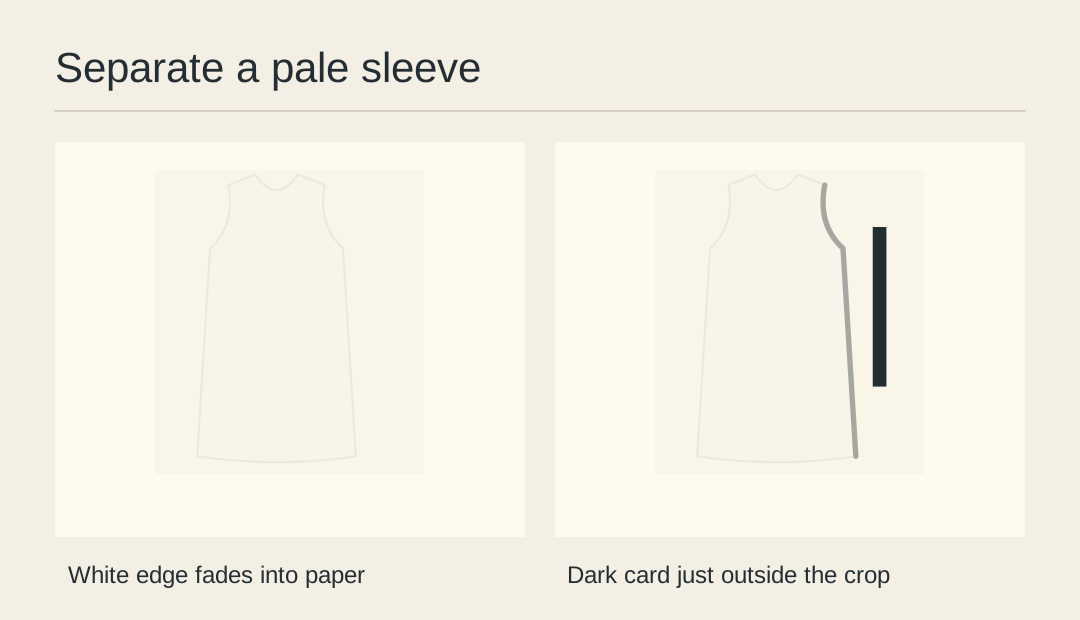
Where a white sleeve touches a pale background, an automatic brightening pass can erase its shape. Use a short dark card outside the camera frame to make the sleeve boundary visible in the photograph before editing.
Pick the disappearing edge
View the unedited frame at thumbnail size. Follow the shoulder to the sleeve and note exactly where it disappears. A small correction at the shoulder may be all the photograph needs.
Hold the backdrop still
Keep the paper and dress in their final positions. Place a short strip of dark card just outside the crop on the troublesome side, facing the garment. Support it so it cannot fall across the cloth.
Move the card in steps
Take a baseline, then two frames with the card at different distances. When it is close enough, less light returns to that sleeve. Watch the shoulder and the pale background separately.
Inspect the white areas
A readable outline should leave folds and stitch detail in the sleeve. Check a bright fold at full size. If it has turned into a blank patch, correct the exposure before you judge the edge.
Check both sides independently
The other shoulder may already be distinct. Leave the good side alone and compare the silhouette against the original garment. A dark halo all around usually calls for backing the card away.
Test the intended crop
Make the small listing crop and inspect it against the shop’s page background. Save a wider source as well. It gives the poster designer room to reposition the garment without redrawing the shoulder.
Inspect the sleeve at a smaller size
Try the listing crop on a pale background before handing it off.