Clothing launch planning
Reveal a seam on a dark dress without washing out the fabric
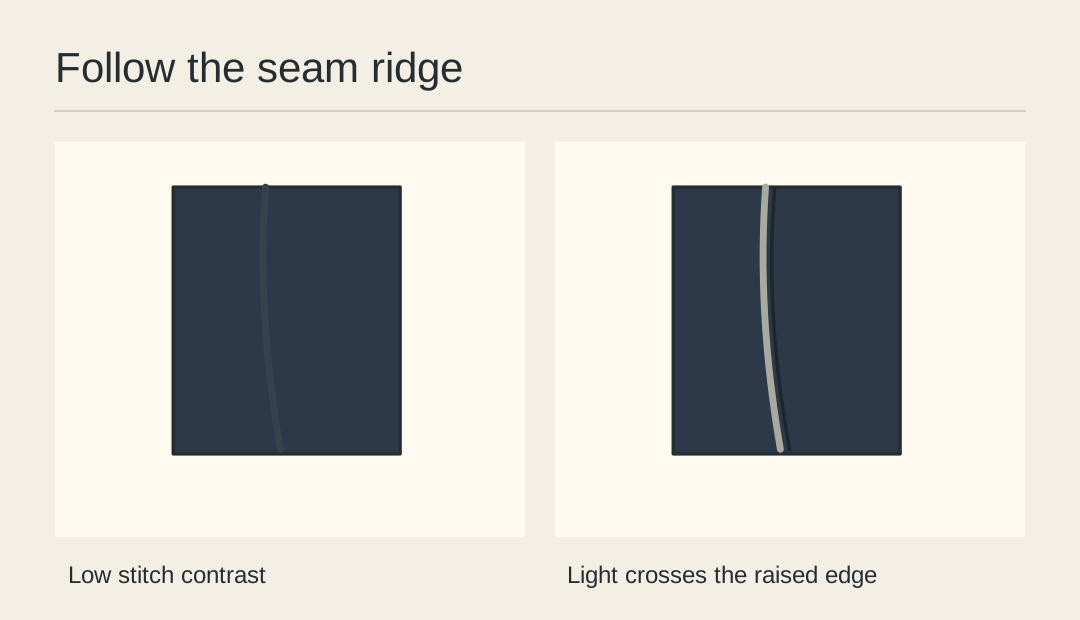
A navy sample can lose its side seam in a front-lit photograph. Start with the actual dark garment and use a narrow highlight along the raised stitching. The cloth should still read as navy when viewed beside the unedited reference.
Find the raised side
Run a finger along the seam to see which edge stands proud of the cloth. Orient the dress so the light can travel across that ridge. Smooth only the loose folds that hide the stitching.
Set a comparison patch
Choose a flat piece of the body beside the seam. Keep it in the frame during the test. You need both the dark body and the lit ridge to decide whether the change helps.
Move the light sideways
Take one frame with light toward the front and a second with the light farther to the side. Keep the exposure and camera position fixed for this pair so the difference belongs to the light direction.
Watch the stitch line
At listing size, trace the seam with your eye from top to bottom. If you only see a bright spot, ease the fabric flatter or widen the source. A continuous modest highlight is easier to follow.
Protect the dark body
Compare the reference patch with the physical sample in the same light. If the whole dress looks grey, bring the exposure back and adjust the light across the ridge instead.
Keep the pair together
Deliver one full view for colour and one detail for construction. Mark the detail crop on a copy of the full view so the buyer can tell where the seam belongs.
Review the dark frame
Lay the seam detail beside its colour reference before approving the listing.