Garment image editing
Mask an armhole gap when replacing a clothing background
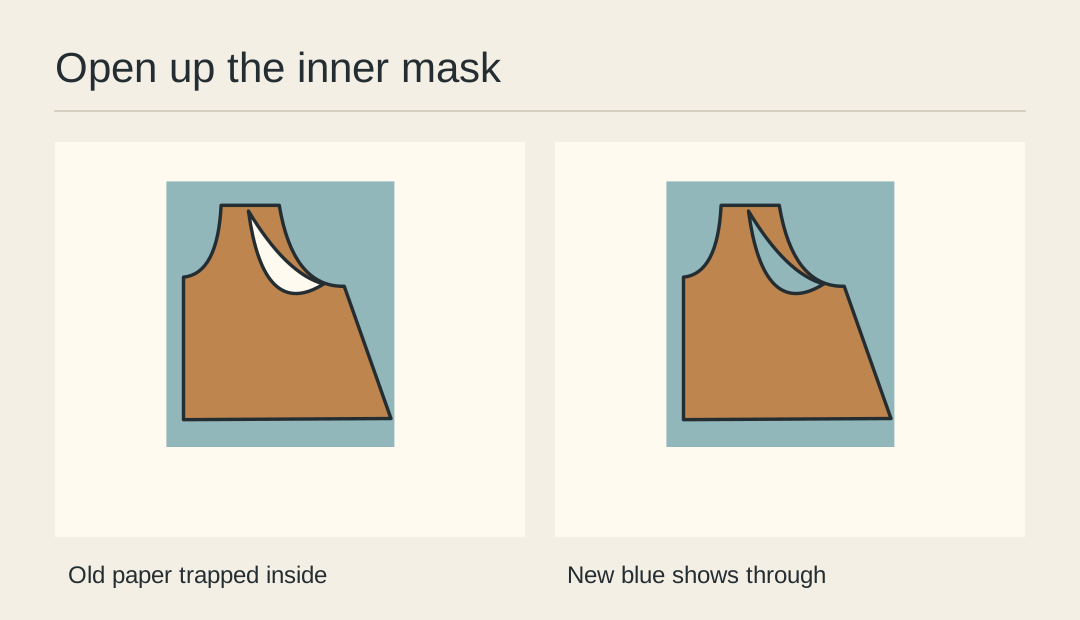
A cropped garment can have a second patch of background inside its outline. If a hanger leaves an open gap at the armhole, a background edit that misses that small region creates a conspicuous island of the original colour.
Choose the real opening
Examine the physical reference. Some apparent gaps contain lining or the reverse of the dress. Select only the area through which you really see the backdrop.
Set a contrast backing
Put a temporary bright colour behind the garment cutout. Toggle it on and off. A leftover patch of the old surface that never changes colour is a good place to inspect.
Trace the inner edge
At a comfortable zoom, follow the armhole contour in short runs. Leave the binding and its stitches on the garment side of the boundary. Work from a copy so the source can be checked again.
Test both surfaces
Switch between a light and dark backing. One reveals a pale fringe and the other may show a dark notch. Repair the small offending segment rather than contracting the entire dress outline.
Return to delivery size
Place the garment on its intended blue background and look at the full frame. Check both armholes. A technically tidy edge that pinches the binding still misrepresents the shape.
Keep the editable mask
Save the mask separately from the flattened campaign image. If a different background arrives tomorrow, the same preserved inner opening should reveal it without another round of tracing.
Prepare the cutout
Start from a copy of the original garment photograph and inspect the inner opening after extraction.