Garment image editing
Write a reference brief for an edited clothing campaign photo
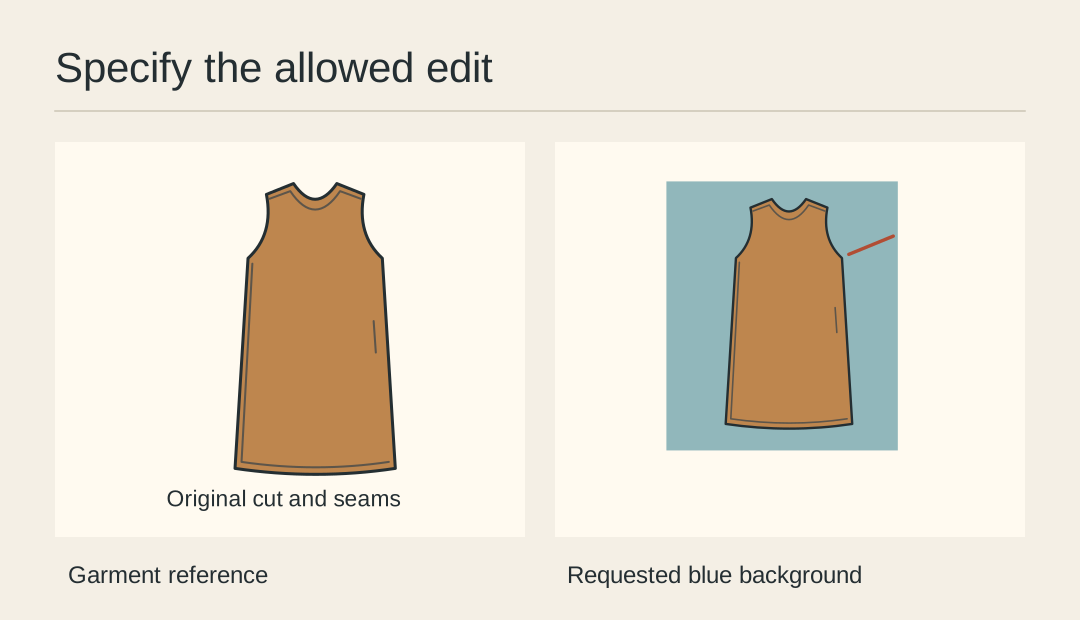
A linen shift will appear on a campaign poster against blue paper. The approved listing photograph already defines the dress. Before opening an image editor, write a short brief that distinguishes the change you want from the garment details the shop has approved.
Give the source a role
Name the original front view “garment master.” Put the requested surface or colour on a separate reference card. When an editor accepts several pictures, keep their names and order visible in the brief.
Describe the change precisely
Write “Replace the floor with matte blue paper. Keep the dress in its existing position.” This defines a visible result. “Make it more editorial” leaves the reviewer guessing which parts may move.
List the identity checks
Choose three details you can point to in the source. On the shift these are the neckline curve, the pocket entrance and the hem corners. Attach small unedited crops with their positions marked.
Set the boundary
Decide whether the original garment pixels must remain intact. If they must, keep a cutout of the original on a locked layer and edit the background separately. A text instruction alone cannot guarantee pixel preservation.
Request one proof
Start with a single composition at the final aspect ratio. Compare the three landmarks against the source before preparing other sizes. Record the first visible defect in concrete terms such as “right pocket moved up.”
Hand off a decision
Save the reference, brief and selected proof under separate names. Identify the approved use as campaign artwork. The actual listing and measurements should still have a traceable path to the photographed sample.
Prepare the editing board
Place the master photo, target background and labelled identity crops together.