Clothing listing photography
Photograph the inside facing of a dress neckline
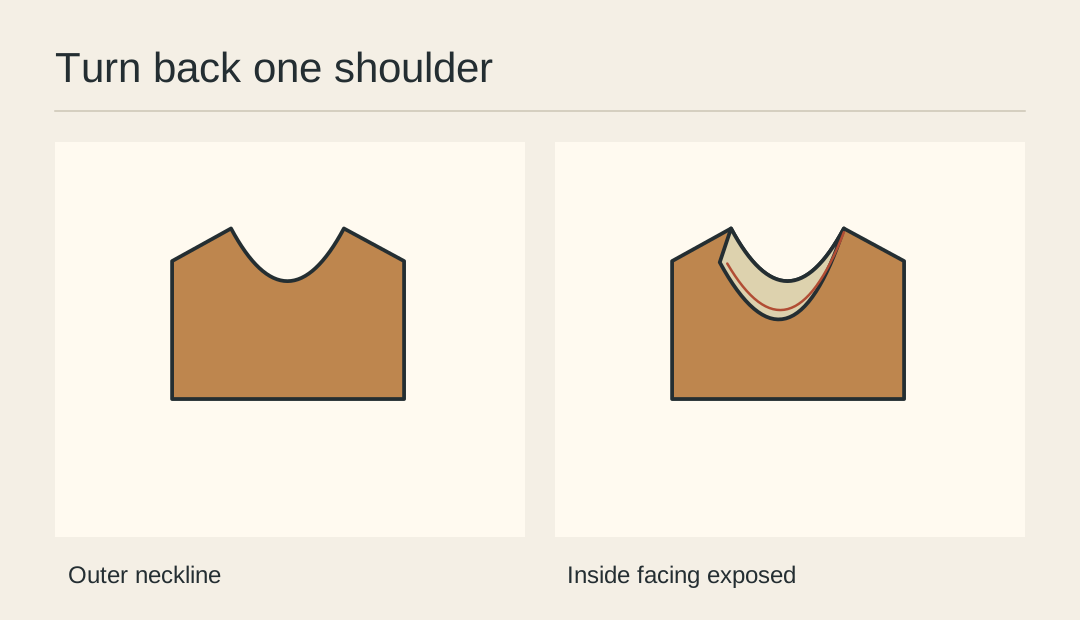
A facing is easy to mistake for an extra collar in a tight crop. For a sleeveless shift, make one frame that shows the outside neckline and a second that reveals how the inside edge is finished.
Anchor the outside curve
Lay the front of the dress upward. Frame the full neckline and both shoulder seams. These three landmarks give the viewer a way to orient the inside view.
Turn back a short section
At one shoulder, gently fold the neckline back enough to expose the facing. Leave the far shoulder in its original position. A complete inside-out garment makes orientation harder for this particular detail.
Light the inner edge
Bring the light across the fold. Watch the transition between the facing and the body. If both layers merge into one flat patch, change the direction a little before increasing contrast in software.
Show the attachment
Locate a real seam or stitch line securing the facing. Keep it sharp and in the frame. Describe what can be seen on this garment and avoid inferring an invisible construction method from the image.
Keep the crop readable
Try the two pictures at the width of a phone screen. If a reader cannot tell which shoulder is turned back, widen the frame to include more of the outside curve.
Label the handoff
Use “Outside neckline” and “Inside facing at left shoulder” as separate captions. Remove temporary clips before the final exposure so they do not look like supplied fastenings.
Pair inside and outside
Place the two approved views side by side with their final captions.