Clothing launch planning
Photograph linen weave with light across the threads
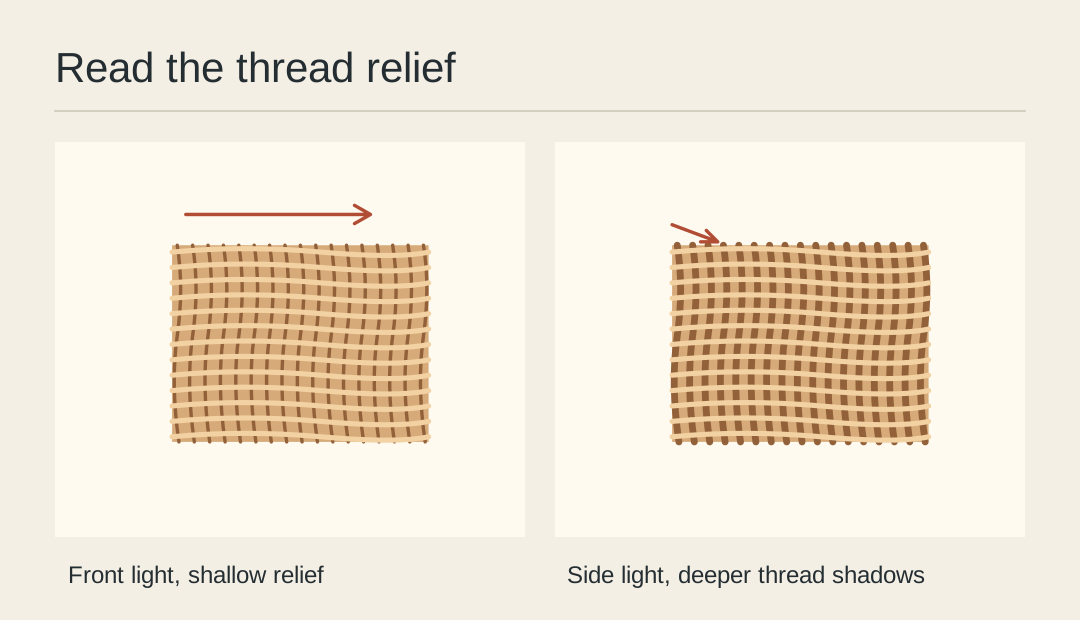
A listing photograph of ochre linen can look like smooth paper even when the real cloth has slubs. Try a low side light on a palm-sized patch. You are looking for enough small shadows to describe the weave at the size a buyer will see.
Choose a representative patch
Find an uncreased area from the body of the dress. Include one small slub that you can find again. Avoid hems and stacked layers for this test because their deep shadows can disguise what the threads are doing.
Anchor the cloth
Place two small weights well outside the crop. Fix the camera above the chosen patch and focus on the slub. Leave those positions alone while comparing lighting directions.
Photograph across the weave
Bring a movable light low beside the table, then turn it through a quarter turn for a second frame. With a fixed window, rotate the sample instead. Note the orientation so you can restore it for the garment shot.
Compare the same patch
Crop the same group of threads from each file. Watch whether the high threads pick up a fine highlight and the gaps retain detail. Broad black stripes usually mean a wrinkle has become the dominant feature.
Reduce the contrast locally
Stand a small white card opposite the light. Move it inward a little at a time and stop when the deepest tiny shadows open. Check that the weave still reads after you reduce the image to its listing width.
Save a texture reference
Store the chosen crop beside the full garment. Label the fabric direction and keep the original colour. An editor can compare the texture after a background change without recreating the shoot.
Check the texture crop
Inspect the visible weave after the source is reduced to a listing tile.