Garment image editing
Extend a product photo upward for a poster headline
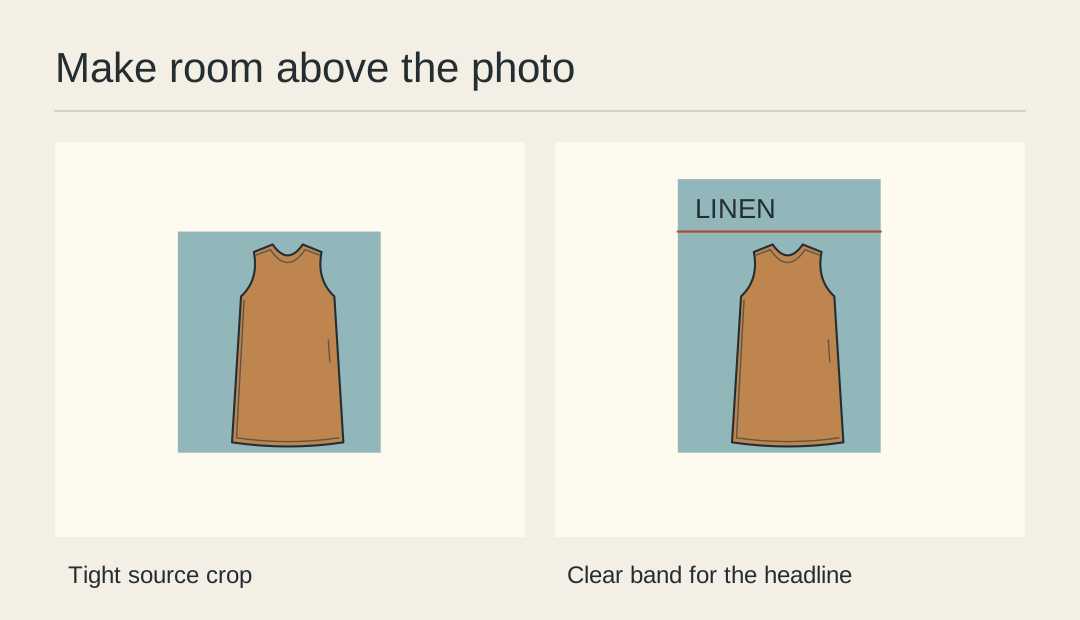
A seller has an approved full-length photograph but no space above the shoulders for a headline. Add canvas above the photograph and build the missing background there. The original dress can remain at its approved size.
Draw the text footprint
Set the final poster ratio and place the actual headline at reading size on a rough layout. Measure how much clear height the text and its margins need before asking for more background.
Anchor the source
Place the photograph against the lower part of the new canvas. Lock its position and scale. Mark the old top edge on a temporary guide so you can inspect the join later.
Extend the empty surface
Sample the existing surface near the join. For plain paper, a colour or gradient layer may suffice. For a textured surface, constrain any generated extension to the empty area and a narrow background transition.
Inspect the former edge
Temporarily hide the headline and view the join with increased contrast. Look for a repeated crease or sudden change of light. Repair the background while leaving the photographed neckline alone.
Restore the lettering
Turn on the live headline. Check its lightest and darkest letters against the extended area. If a new paper fold distracts from the words, simplify that part of the surface.
Keep the type editable
Export the image-only background and retain the text as a separate design layer. A different launch date or translated headline can then be set without extending the garment photograph again.
Test the live headline
Place the extended image in a flyer layout and check the headline’s real footprint.