Shop-window design
Lay out a product launch poster from one dress photograph
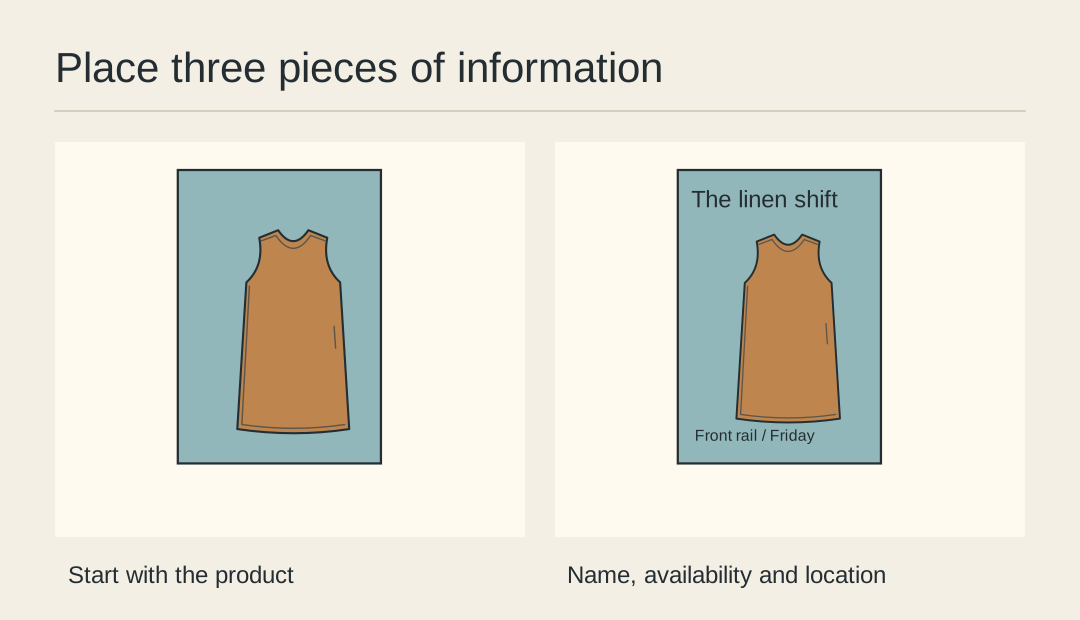
A small shop needs a window poster for the arrival of its linen shift. The reader should be able to recognise the dress, understand what is new and find the rack. Build the poster around those three jobs using one approved photograph.
Write the real copy
For the sample shop, use “The linen shift”, “Available Friday” and “Find it on the front rail.” Replace Friday with a dated or evergreen line if the poster will stay up across several weeks.
Choose the image position
Place the dress where its outline remains recognisable from the doorway. Check the neckline and hem after cropping. If the headline sits on the garment, move it into clear paper or extend the background above.
Set a reading order
Use one large line for the product, a smaller line for availability and one location cue. Print a small version and ask a colleague to read it aloud. Reorder the lines if the location sounds like part of the product name.
Decide on a detail inset
Add a fabric or pocket close-up only if it explains something the main view cannot. Label its position on the dress. If it forces the main garment below a useful size, reserve it for the listing instead.
Proof the display location
Tape a proof inside the shop window at the intended height. Look from the pavement and from inside under the shop lights. A strong reflection may mean moving the sheet farther from the glass.
Make the size variants
Save the print master before adapting it for a narrow display or social feed. Recompose each version from the same photo and copy. Compare the final files with the approved product and availability details.
Lay out the launch poster
Bring the approved photo and the three copy lines into a flyer design.